Adding Memory
$! |
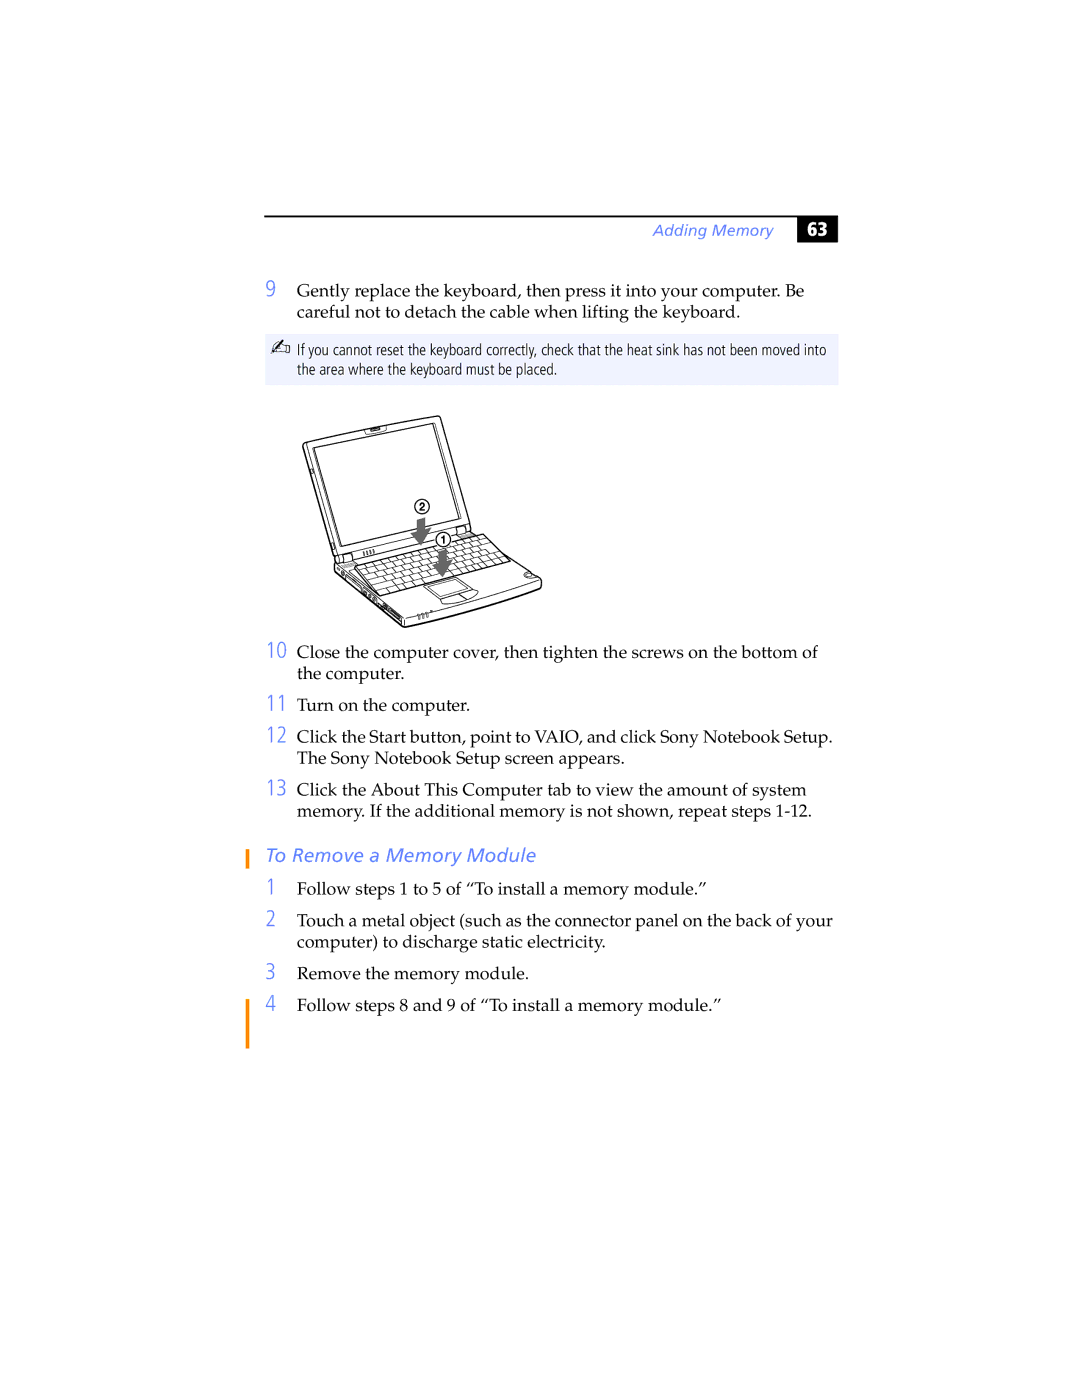
9Gently replace the keyboard, then press it into your computer. Be careful not to detach the cable when lifting the keyboard.
✍If you cannot reset the keyboard correctly, check that the heat sink has not been moved into the area where the keyboard must be placed.
10 Close the computer cover, then tighten the screws on the bottom of the computer.
11
12 Click the Start button, point to VAIO, and click Sony Notebook Setup. The Sony Notebook Setup screen appears.
13 Click the About This Computer tab to view the amount of system memory. If the additional memory is not shown, repeat steps
To Remove a Memory Module
1Follow steps 1 to 5 of “To install a memory module.”
2Touch a metal object (such as the connector panel on the back of your computer) to discharge static electricity.
3
4
Remove the memory module.
Follow steps 8 and 9 of “To install a memory module.”