Connecting other digital equipment
| Using the main menu |
| 11 |
|
|
|
|
Connecting a device using the Universal Serial Bus (USB) interface
The two ![]()
![]() USB connectors on the front of the console can be used to connect
USB connectors on the front of the console can be used to connect
![]()
![]() USB connectors
USB connectors
Note
Not all
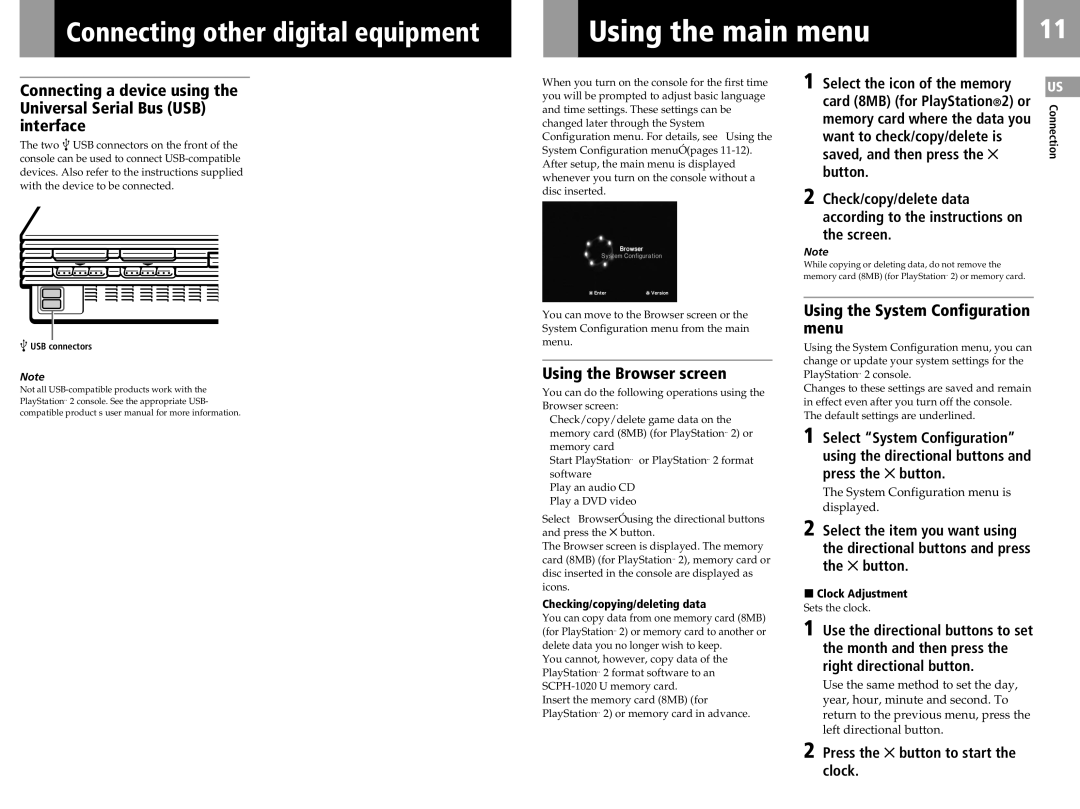
When you turn on the console for the first time you will be prompted to adjust basic language and time settings. These settings can be changed later through the System Configuration menu. For details, see “Using the System Configuration menu” (pages
You can move to the Browser screen or the System Configuration menu from the main menu.
Using the Browser screen
You can do the following operations using the Browser screen:
•Check/copy/delete game data on the memory card (8MB) (for PlayStation®2) or memory card
•Start PlayStation® or PlayStation®2 format software
•Play an audio CD
•Play a DVD video
Select “Browser” using the directional buttons and press the ✕ button.
The Browser screen is displayed. The memory card (8MB) (for PlayStation®2), memory card or disc inserted in the console are displayed as icons.
Checking/copying/deleting data
You can copy data from one memory card (8MB) (for PlayStation®2) or memory card to another or delete data you no longer wish to keep.
You cannot, however, copy data of the PlayStation®2 format software to an
Insert the memory card (8MB) (for PlayStation®2) or memory card in advance.
1 Select the icon of the memory card (8MB) (for PlayStation®2) or memory card where the data you want to check/copy/delete is saved, and then press the ✕ button.
2 Check/copy/delete data according to the instructions on the screen.
Note
While copying or deleting data, do not remove the memory card (8MB) (for PlayStation®2) or memory card.
Using the System Configuration menu
Using the System Configuration menu, you can change or update your system settings for the PlayStation®2 console.
Changes to these settings are saved and remain in effect even after you turn off the console. The default settings are underlined.
1 Select “System Configuration” using the directional buttons and press the ✕ button.
The System Configuration menu is displayed.
2 Select the item you want using the directional buttons and press the ✕ button.
xClock Adjustment
Sets the clock.
1 Use the directional buttons to set the month and then press the right directional button.
Use the same method to set the day, year, hour, minute and second. To return to the previous menu, press the left directional button.
US
