STR-DA90ESG specifications
The Sony STR-DA90ESG is a high-performance A/V receiver that made waves in the late 1990s, becoming a favorite among audiophiles and home theater enthusiasts. This 5.1-channel receiver is recognized for its robust build quality and an impressive array of features that elevate the home entertainment experience.At the heart of the STR-DA90ESG is its powerful amplification system. It delivers a continuous 90 watts per channel into 8 ohms, allowing for crystal-clear sound reproduction across a diverse range of audio frequencies. The receiver supports Dolby Digital and DTS formats, enhancing the surround sound experience for movies and music, making it a solid choice for home cinema setups.
One of the standout features of the STR-DA90ESG is its Digital Signal Processing (DSP) capabilities. The receiver includes various sound modes that can be tailored to suit different listening environments. Users can choose from multiple surround simulation settings to create an immersive audio experience, whether during a blockbuster movie or while listening to music.
The receiver is equipped with multiple input options, including six audio inputs and three video inputs, ensuring compatibility with a variety of devices. The inclusion of component video inputs allows for connections to high-definition sources, which was ahead of its time, catering to the evolving consumer landscape of the late 90s. This versatility makes it easy for users to switch between devices seamlessly, enhancing user convenience.
Another defining characteristic of the STR-DA90ESG is its build quality. Sony has a longstanding reputation for creating durable and reliable products, and this receiver is no exception. The solid chassis helps reduce vibrations and electromagnetic interference, which contributes to better sound quality overall.
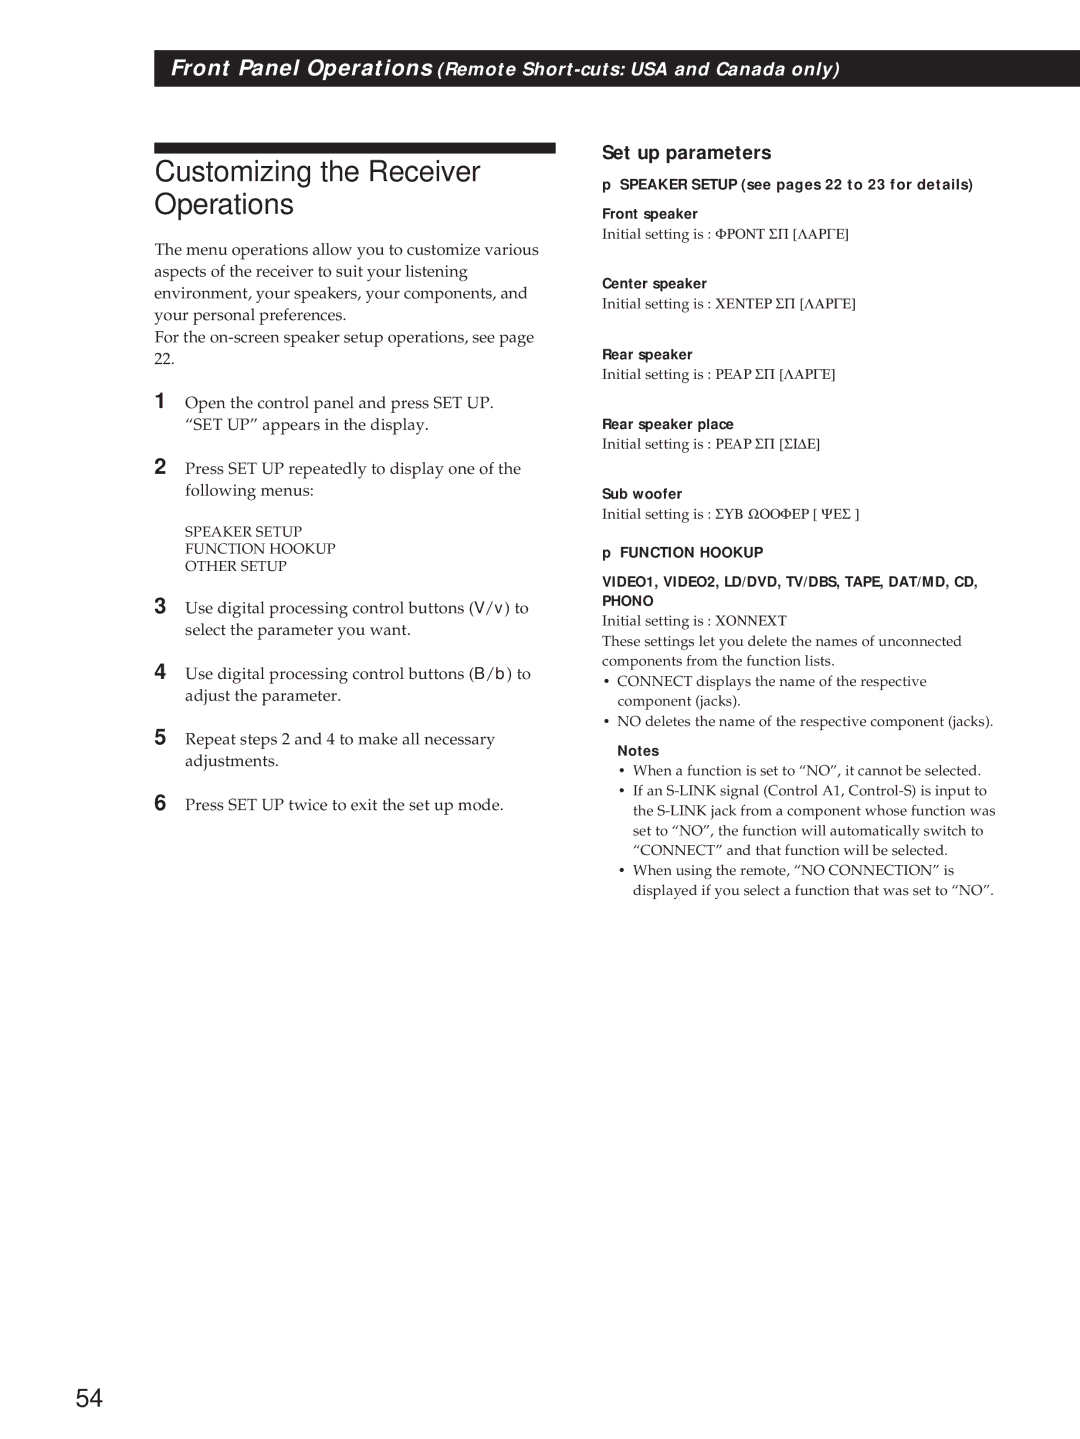
In terms of user interface, the receiver offers a straightforward LED display and an intuitive remote control that facilitates easy navigation through settings and adjustments. The ability to store custom sound settings also adds a personal touch to the listening experience.
Overall, the Sony STR-DA90ESG stands as a testament to the brand's commitment to quality audio and video performance. Its blend of powerful amplification, versatile connectivity, and user-friendly features makes it a timeless choice for those looking to enhance their home entertainment setup. Even years after its release, the STR-DA90ESG remains a respected component in the realm of audio and home theater systems.

