Model SB1027 | S E R V I C E | For Machines Mfg. Since 8/09 |
Longitudinal Leadscrew Backlash
1.DISCONNECT MILL FROM POWER!
2.Loosen the two cap screws on the leadscrew nut accessed from underneath the left side of the table, as shown in Figure 61.
Leadscrew Nut (1 of 2)
& Cap Screw
Figure 61. Longitudinal leadscrew nut and cap screw, as viewed from underneath the left side of the table.
3.Use the
4.When you are satisfied with the adjustment,
Cross Leadscrew Backlash |
|
Tools Needed | Qty |
1 | |
Hex Wrench 8mm | 1 |
Wrench 19mm | 1 |
1.DISCONNECT MILL FROM POWER!
2.Remove the hex nut and ball handle from the cross leadscrew.
Note: In the next step, take care not to misplace the leadscrew key as you remove the parts.
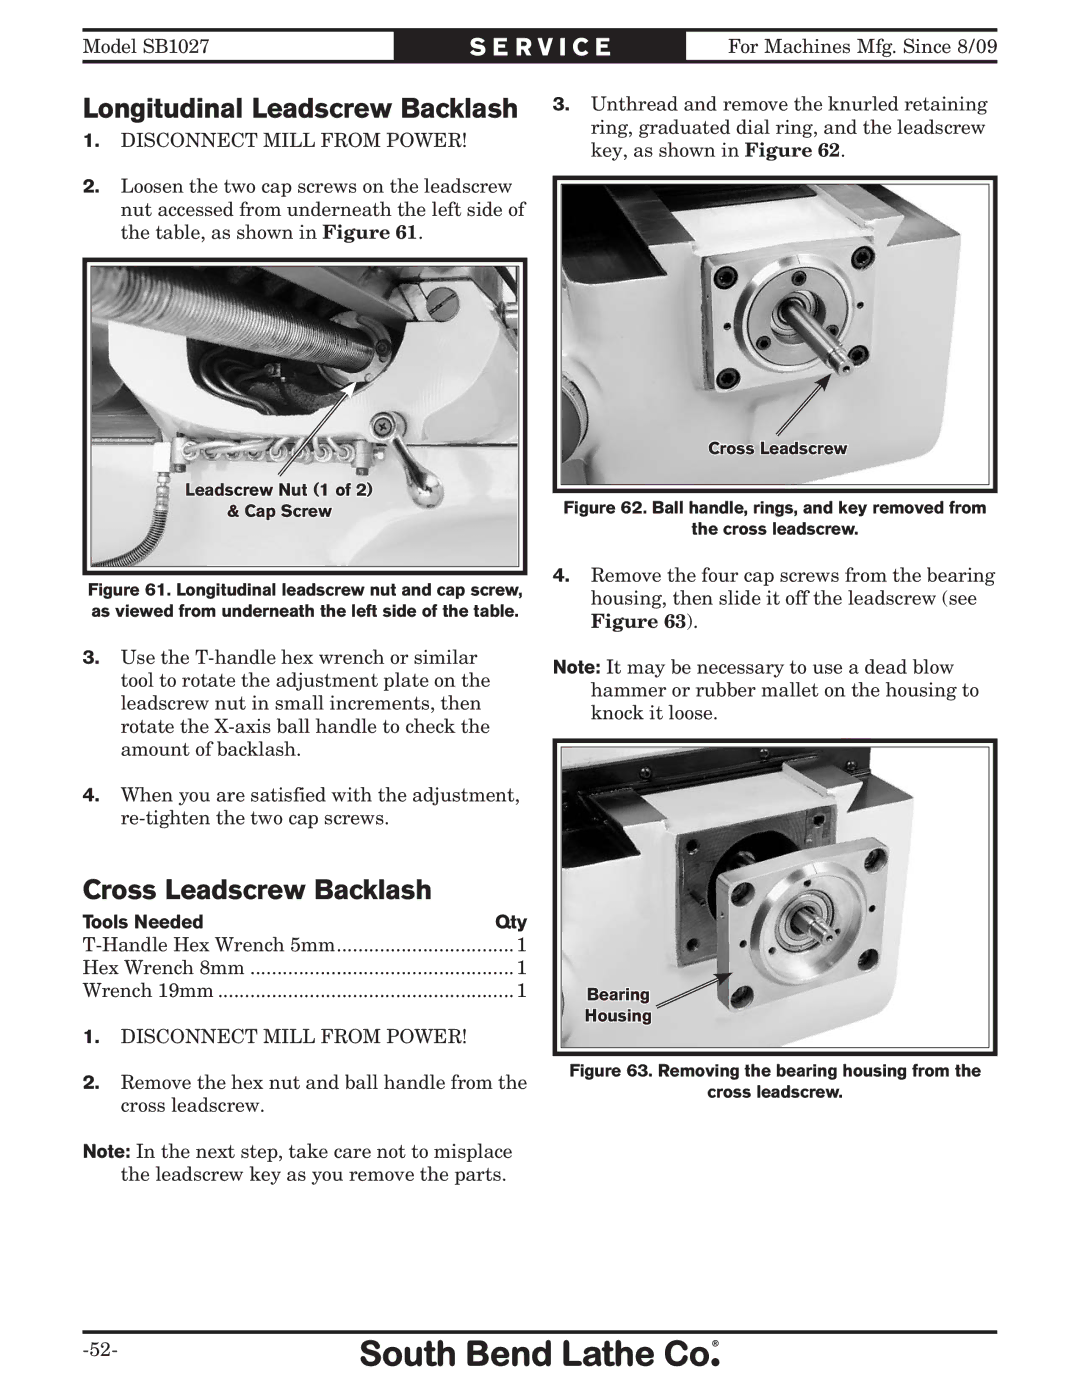
3.Unthread and remove the knurled retaining ring, graduated dial ring, and the leadscrew key, as shown in Figure 62.
Cross Leadscrew
Figure 62. Ball handle, rings, and key removed from
the cross leadscrew.
4.Remove the four cap screws from the bearing housing, then slide it off the leadscrew (see Figure 63).
Note: It may be necessary to use a dead blow hammer or rubber mallet on the housing to knock it loose.
Bearing
Housing