GPX, GS6, GSX specifications
State Industries offers a range of high-quality residential and commercial water heaters that cater to diverse customer needs. Among their prominent models are the GSX, GS6, and GPX, each equipped with unique features, advanced technologies, and distinct characteristics that enhance their performance and efficiency.The GSX series is well-known for its energy efficiency and reliability. It utilizes a high-efficiency gas burner to provide fast recovery rates, making it suitable for households with high hot water demand. The GSX water heaters are designed with a Foam Insulation System that minimizes heat loss and maximizes energy conservation. Additionally, their innovative design includes a durable glass-lined tank to prevent corrosion, ensuring long-term performance and extended lifespan.
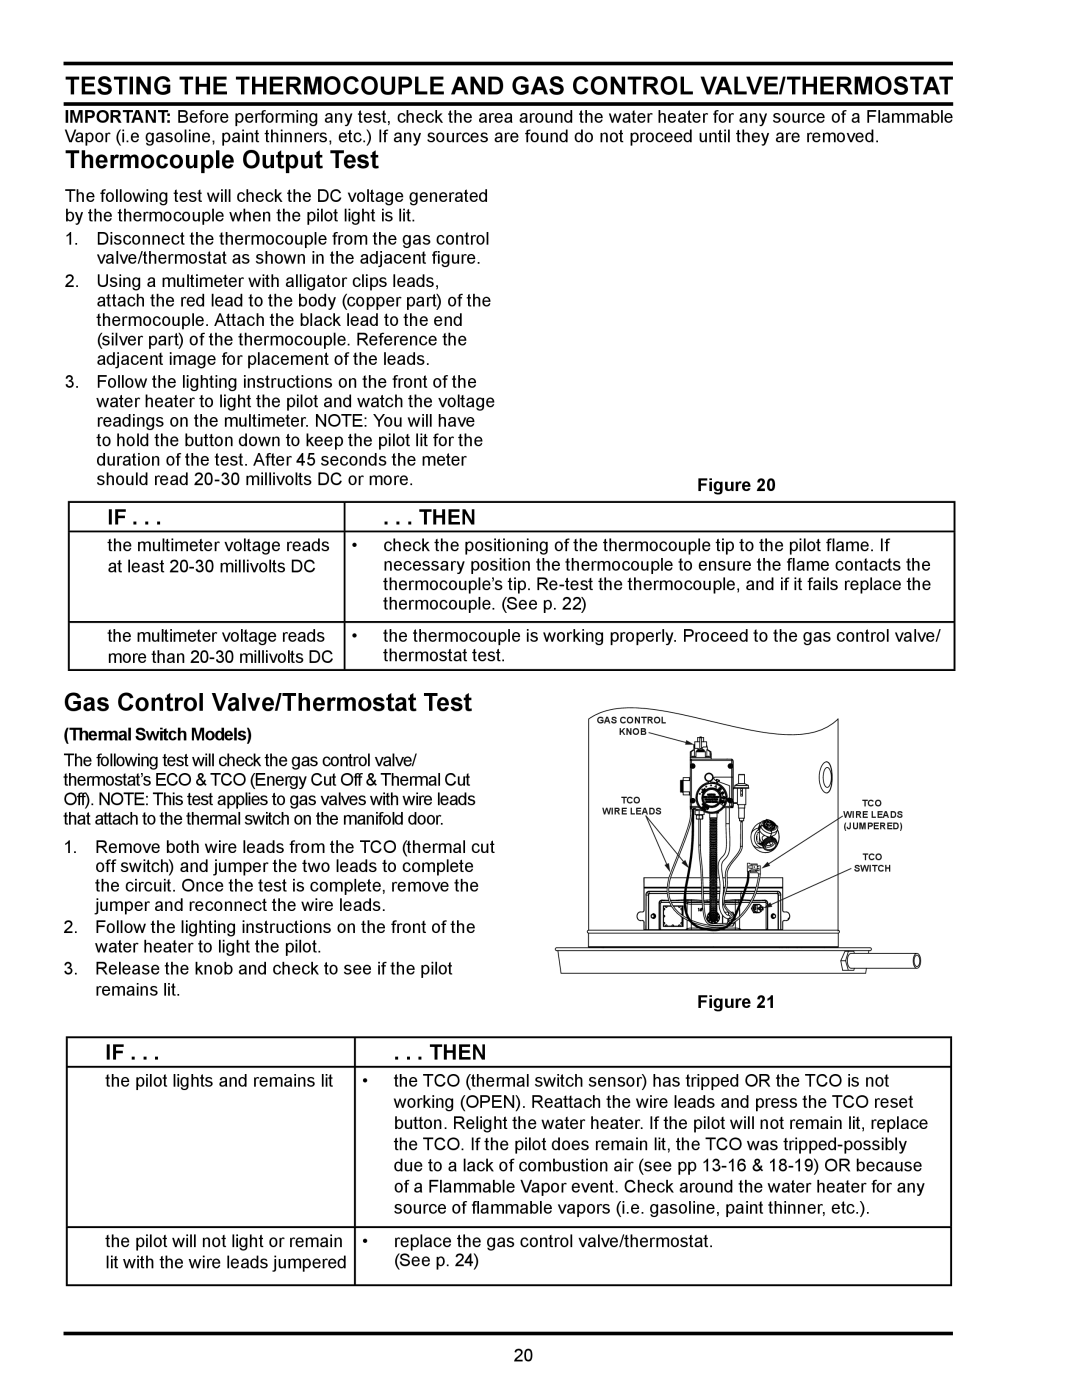
Moving on to the GS6 model, this water heater is characterized by its user-friendly control features, including an adjustable thermostat that allows for precise temperature settings. The GS6 is built with a robust gas control valve that enhances efficiency and helps maintain consistent water temperature. The model is also designed with an anode rod that minimizes corrosion, prolonging the life of the tank. Its standing pilot light system provides reliable ignition, while its compact design makes it suitable for various installation locations, even in tight spaces.
The GPX series stands out in the market with its advanced technological features and sleek design. It integrates smart technologies designed to monitor and optimize performance. The built-in diagnostics programmable control allows users to track system performance and troubleshoot any potential issues easily. The GPX models also come equipped with a high-efficiency condensing gas burner that maximizes energy use, contributing to reduced utility bills. Furthermore, their stainless steel construction adds to their durability and resistance against rust and corrosion.
In summary, State Industries' GSX, GS6, and GPX models represent innovation in the water heating industry. They incorporate energy-efficient technologies, durable materials, and user-friendly controls, making them reliable choices for both residential and commercial applications. With custom features tailored to meet varied needs, these water heaters uphold State Industries' commitment to quality and customer satisfaction, ensuring that users enjoy consistent hot water while being conscious of energy consumption.

