X4140, X4440, X4240 specifications
Sun Microsystems was a prominent player in the computing industry, known for its innovative and powerful server systems. Among its notable offerings were the Sun Fire X4240, X4440, and X4140 servers, which made significant inroads in the market for high-performance computing solutions.The Sun Fire X4240 server was designed to meet the demands of data-intensive applications. It offered impressive scalability, supporting up to 64 GB of DDR2 memory across its eight memory slots. This server utilized AMD Opteron processors, which provided excellent performance thanks to their multi-core architecture. The X4240 also featured a flexible I/O architecture, allowing for various configurations tailored to specific workload requirements.
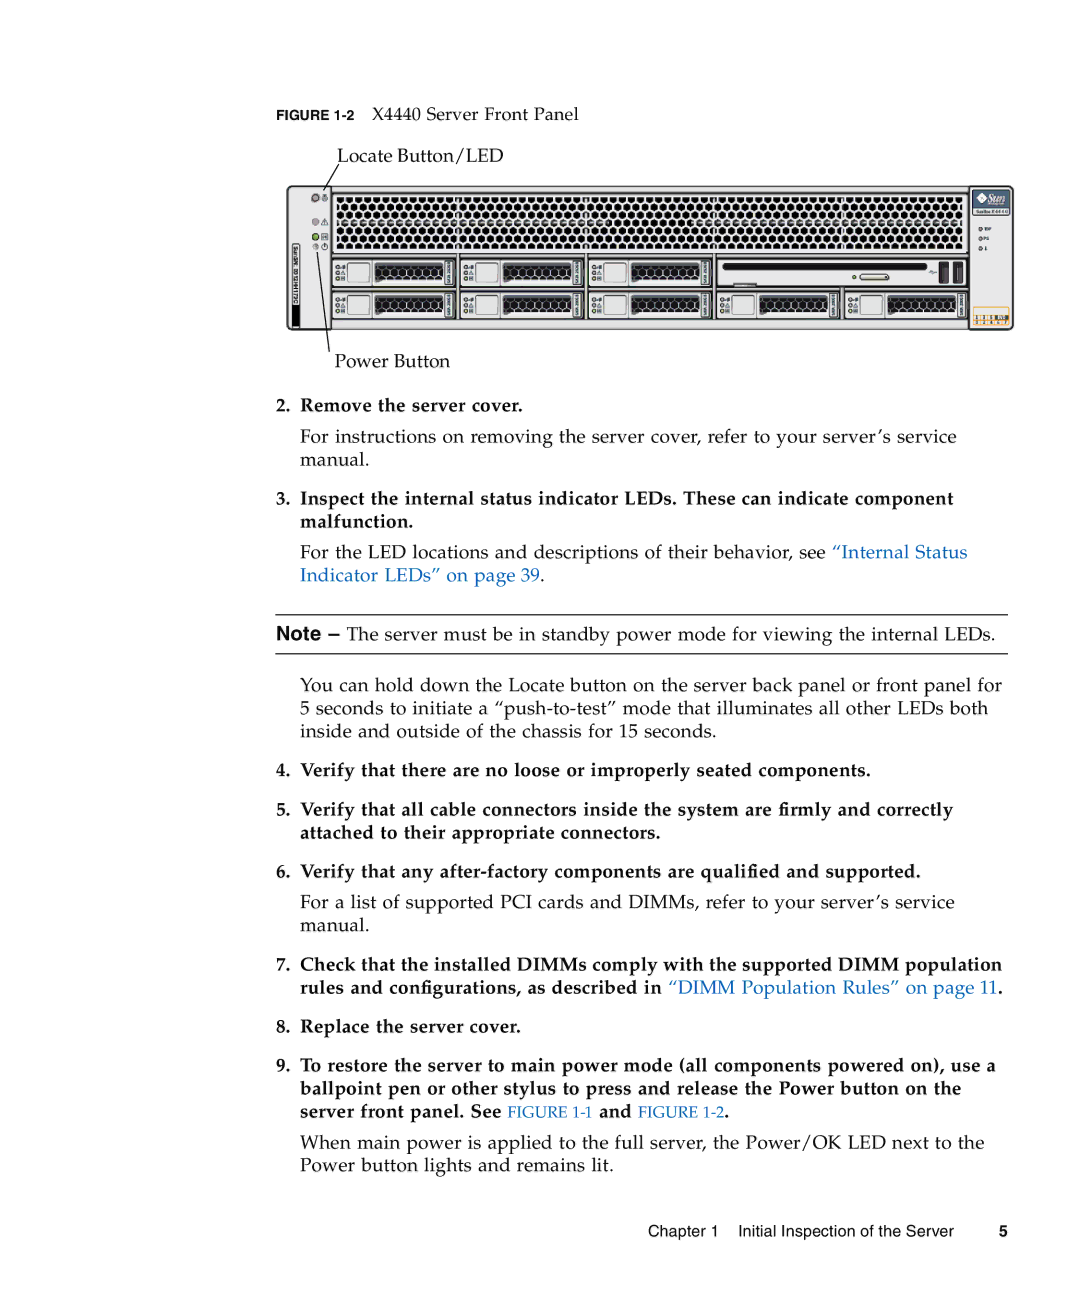
Next in line was the Sun Fire X4440, which expanded on the capabilities of the X4240. This server was particularly valuable for virtualization and consolidation tasks. It featured up to 128 GB of memory and supported more CPU options, with dual- and quad-core Opteron processors available. The X4440 also included a high-density design that enabled increased storage capacity, accommodating up to 12 SFF drives. This made it ideal for databases and enterprise applications needing fast access to large volumes of data.
Finally, the Sun Fire X4140 brought a balance of performance and efficiency. Like its counterparts, it supported AMD's Opteron processors, delivering robust processing power. The X4140 was designed for environments where space and power efficiency were critical. It was notable for its compact form factor, which allowed organizations to pack more servers into less physical space without sacrificing performance. The server architecture included advanced thermal management technologies, ensuring optimal airflow and cooling, which contributed to reliability in demanding environments.
In terms of connectivity, all three servers featured multiple Gigabit Ethernet ports, offering redundant network connectivity essential for enterprise-level applications. The integrated management interfaces simplified server monitoring and maintenance, ensuring that IT administrators could efficiently manage their resources.
In summary, the Sun Fire X4240, X4440, and X4140 were pivotal servers from Sun Microsystems that provided robust performance, scalability, and efficiency. Their features made them suitable for a variety of workloads, from virtualization to data management, cementing their place in the server market during their era.

