Chapter 6: Advanced Chassis Setup
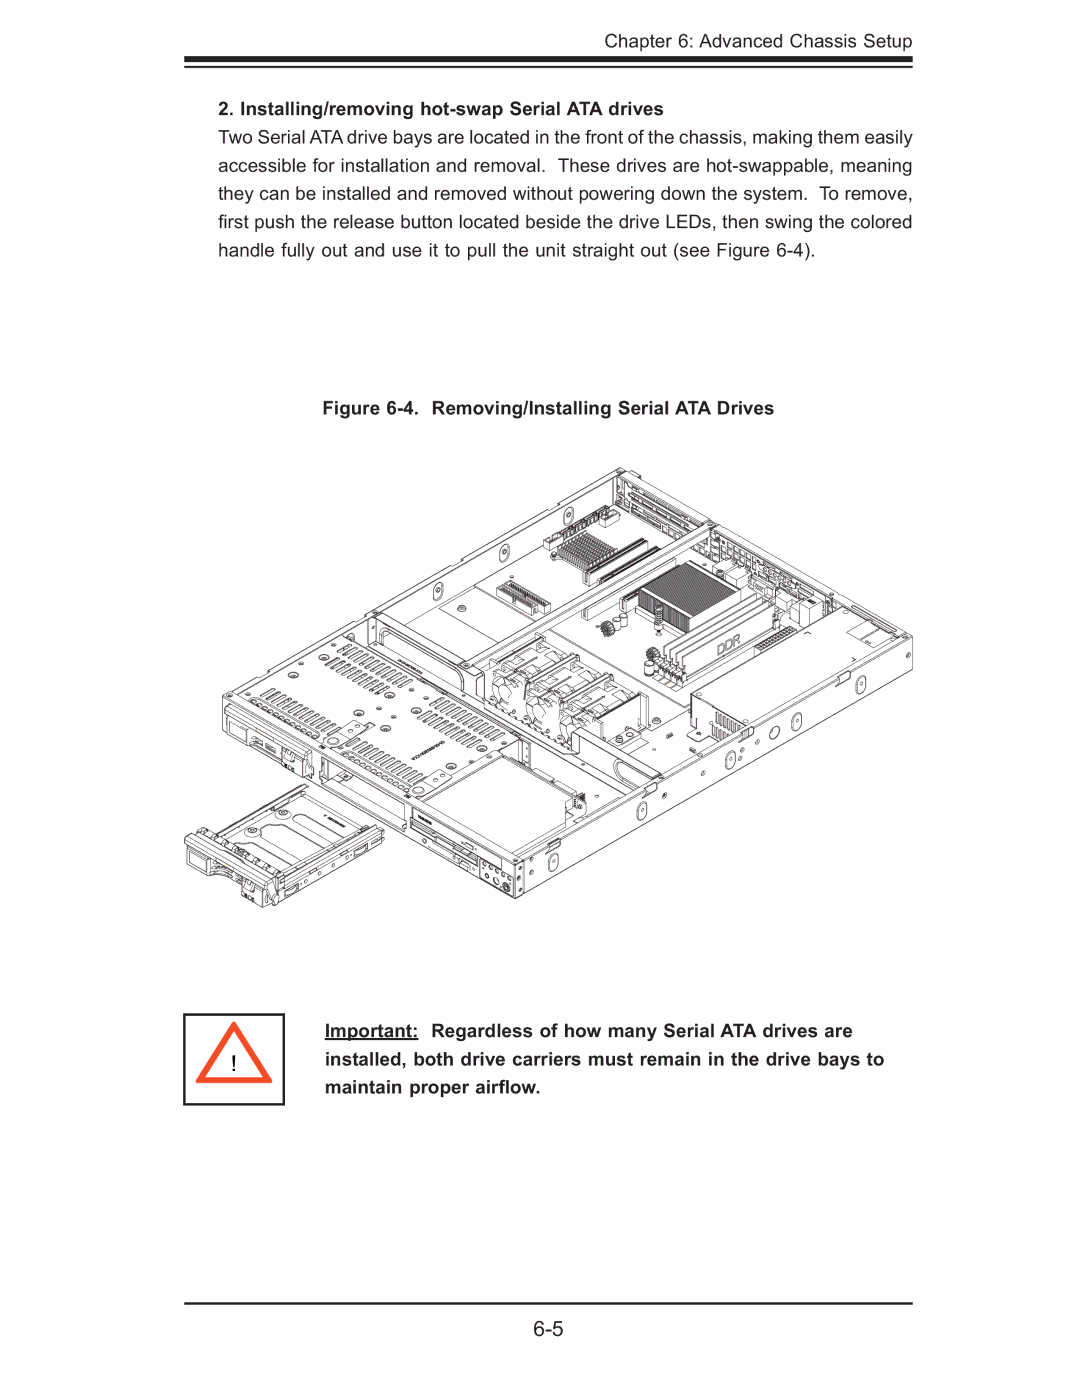
2. Installing/removing hot-swap Serial ATA drives
Two Serial ATA drive bays are located in the front of the chassis, making them easily accessible for installation and removal. These drives are
first push the release button located beside the drive LEDs, then swing the colored handle fully out and use it to pull the unit straight out (see Figure
Figure 6-4. Removing/Installing Serial ATA Drives
! |