Chapter 2: Installation
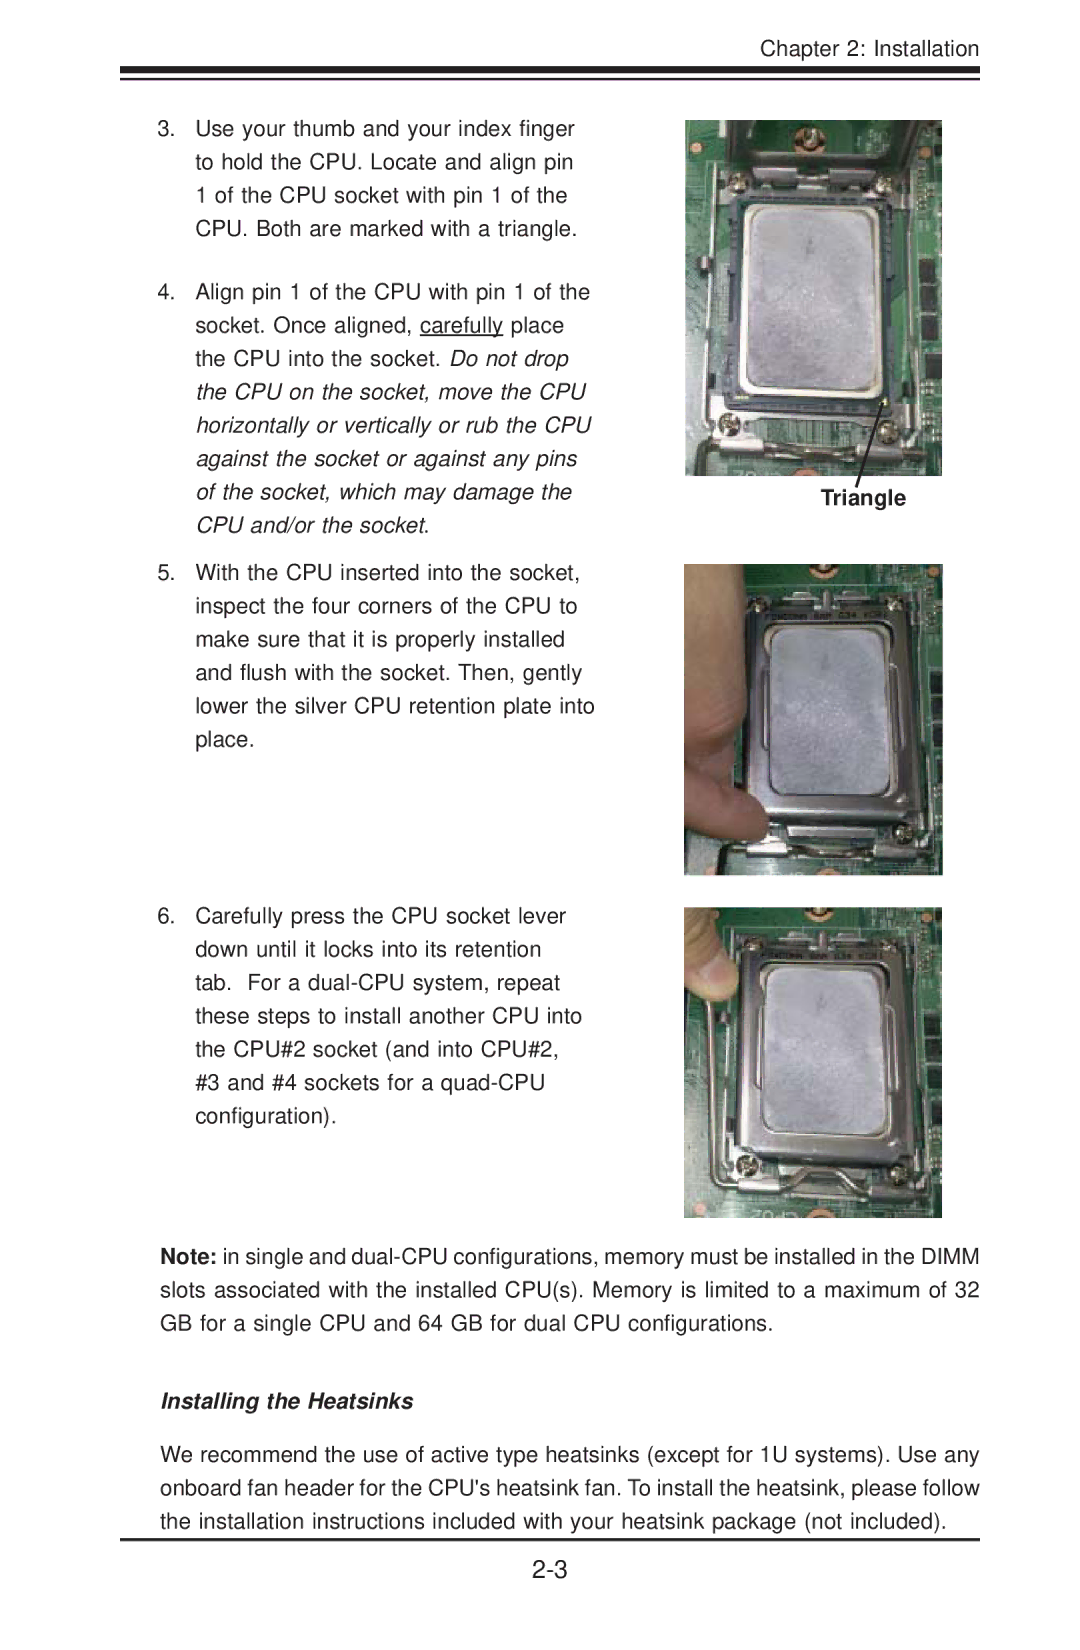
3.Use your thumb and your index finger to hold the CPU. Locate and align pin 1 of the CPU socket with pin 1 of the CPU. Both are marked with a triangle.
4.Align pin 1 of the CPU with pin 1 of the socket. Once aligned, carefully place the CPU into the socket. Do not drop the CPU on the socket, move the CPU horizontally or vertically or rub the CPU against the socket or against any pins
of the socket, which may damage the | Triangle |
CPU and/or the socket. |
|
5.With the CPU inserted into the socket, inspect the four corners of the CPU to make sure that it is properly installed and flush with the socket. Then, gently lower the silver CPU retention plate into place.
6.Carefully press the CPU socket lever down until it locks into its retention tab. For a
Note: in single and
Installing the Heatsinks
We recommend the use of active type heatsinks (except for 1U systems). Use any onboard fan header for the CPU's heatsink fan. To install the heatsink, please follow the installation instructions included with your heatsink package (not included).
