K1 CD-RECEIVER specifications
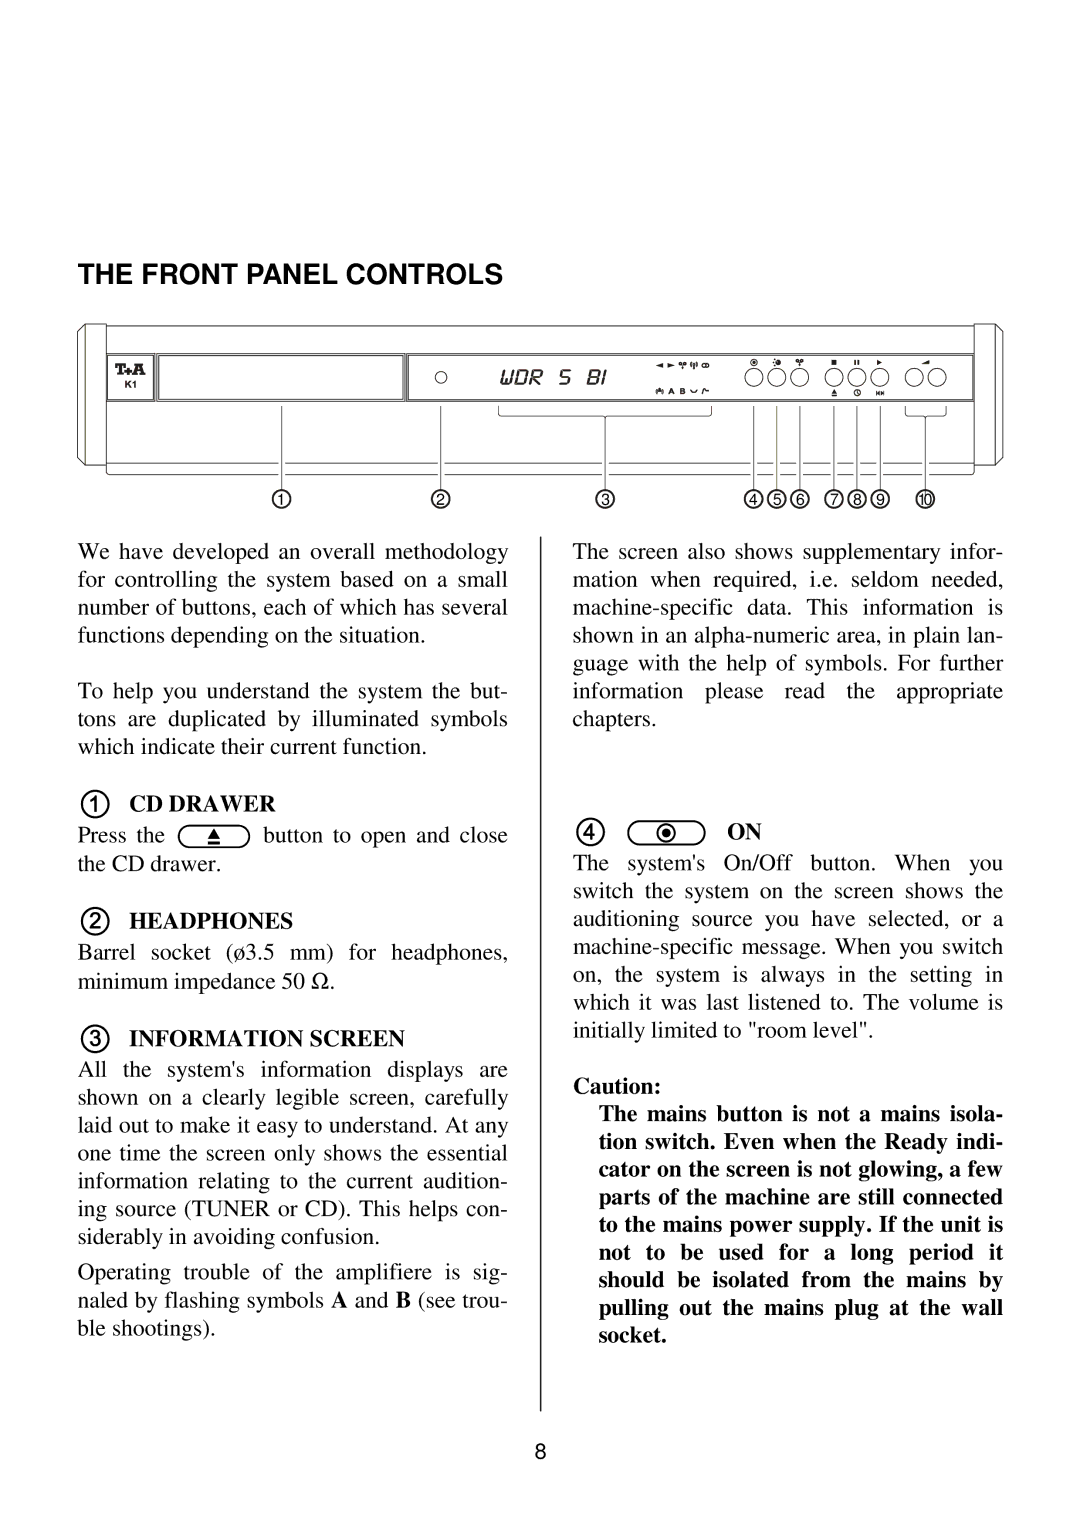
The T+A Elektroakustik K1 CD-Receiver is a remarkable piece of audio equipment that perfectly blends performance with elegance. Known for its meticulous German engineering, the K1 is designed to deliver an exceptional listening experience, making it an attractive option for audiophiles and casual listeners alike.One of the defining features of the K1 CD-Receiver is its high-quality build. Housed in a solid, sturdy chassis, the design not only contributes to the aesthetic appeal but also minimizes vibrations that can affect sound quality. The front panel includes a user-friendly interface, making navigation between inputs and controls simple and intuitive. The display is clear and concise, providing users with valuable information about the current playback status or selected settings.
Equipped with a high-precision CD player, the K1 supports various disc formats, ensuring compatibility with a wide range of audio CDs. Its premium DAC (Digital-to-Analog Converter) technology enhances audio fidelity, reproducing music with remarkable clarity and detail. The K1 excels in its ability to convey subtle nuances, providing an enriching listening experience across different genres.
What sets the K1 apart is its versatile connectivity options. It features multiple inputs, including analog and digital connections, allowing users to hook up devices like turntables and streaming devices efficiently. Additionally, the K1 supports Bluetooth connectivity, enabling wireless streaming from smartphones and tablets. This modern feature means that users can enjoy their favorite tracks without the fuss of cables.
The integrated amplifier within the K1 CD-Receiver delivers ample power, driving even demanding speakers effortlessly. With adjustable bass and treble controls, users can tailor the sound to their personal preferences, ensuring the best possible audio performance in any setting.
Another key characteristic of the K1 is its energy efficiency. The design incorporates advanced power management, which not only enhances performance but also adheres to environmentally friendly standards.
In conclusion, the T+A Elektroakustik K1 CD-Receiver is an impressive blend of technology and style. Its robust construction, exceptional audio performance, and versatile connectivity options make it a standout choice for anyone looking to elevate their listening experience. Whether enjoying a cherished CD or streaming the latest hits, the K1 promises to deliver an outstanding sound experience that will satisfy the most discerning audiophiles.

