Installation Summary
There are five steps to installing the Phonecell SX3i FWT properly. These steps are summarized below and explained in detail in the remainder of this manual.
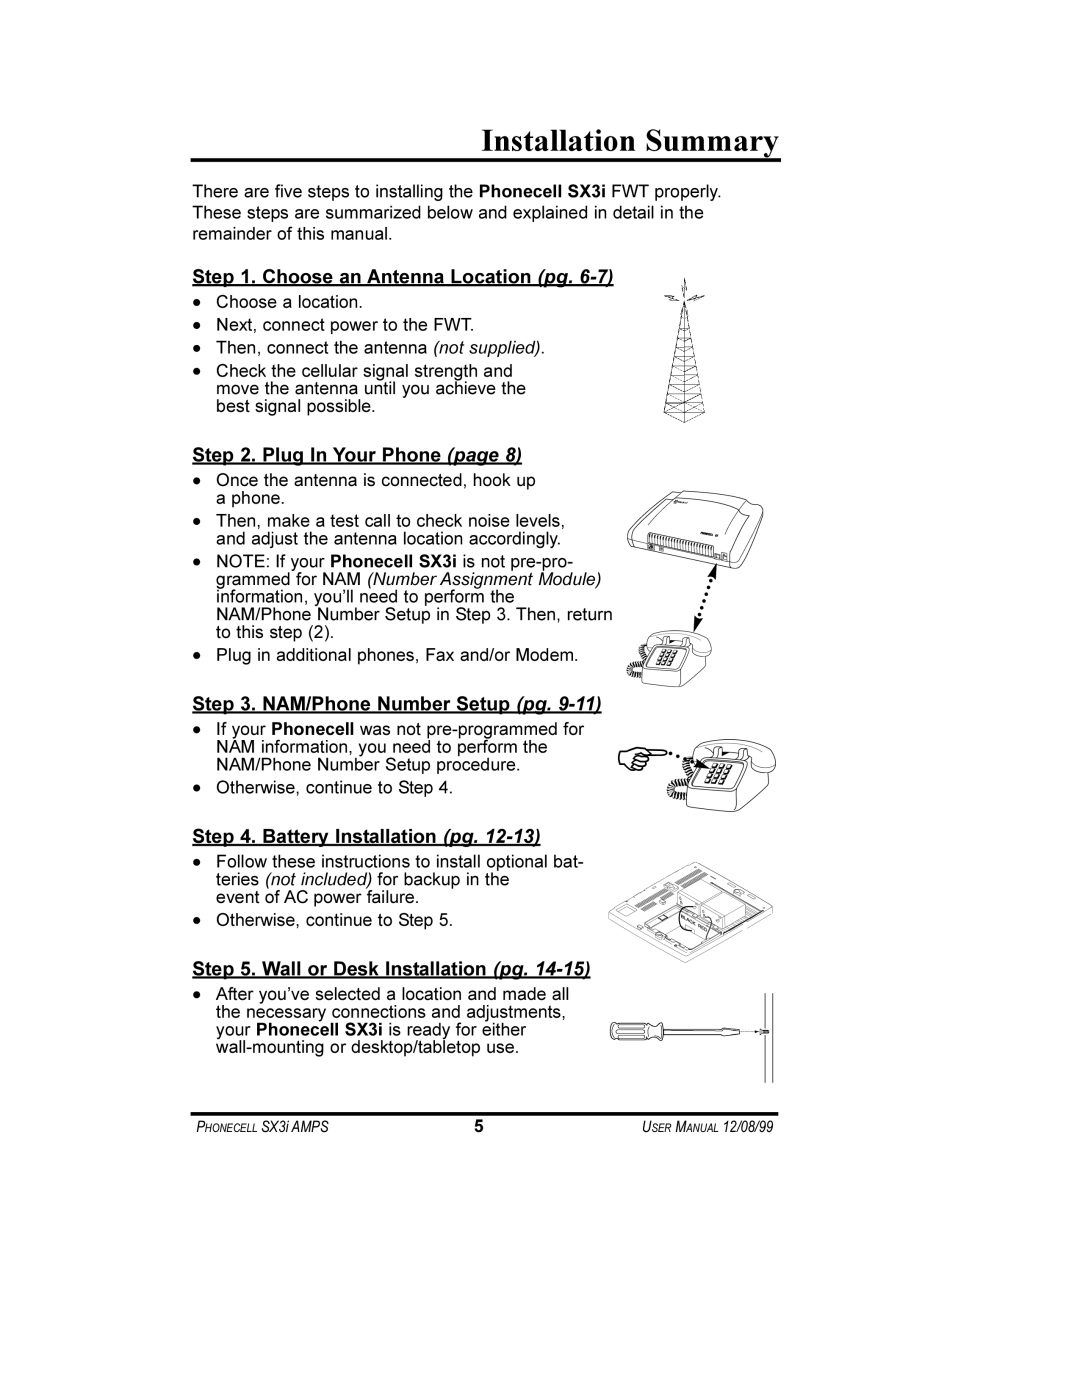
Step 1. Choose an Antenna Location (pg. 6-7)
·Choose a location.
·Next, connect power to the FWT.
·Then, connect the antenna (not supplied).
·Check the cellular signal strength and move the antenna until you achieve the best signal possible.
Step 2. Plug In Your Phone (page 8)
·Once the antenna is connected, hook up a phone.
·Then, make a test call to check noise levels, and adjust the antenna location accordingly.
·NOTE: If your Phonecell SX3i is not
grammed for NAM (Number Assignment Module) information, you’ll need to perform the NAM/Phone Number Setup in Step 3. Then, return to this step (2).
·Plug in additional phones, Fax and/or Modem.
Step 3. NAM/Phone Number Setup (pg. 9-11)
· | If your Phonecell was not | Φ |
| NAM information, you need to perform the | |
| NAM/Phone Number Setup procedure. | |
· | Otherwise, continue to Step 4. |
Step 4. Battery Installation (pg. 12-13)
· Follow these instructions to install optional bat- teries (not included) for backup in the
event of AC power failure.
· Otherwise, continue to Step 5.
Step 5. Wall or Desk Installation (pg. 14-15)
·After you’ve selected a location and made all the necessary connections and adjustments, your Phonecell SX3i is ready for either
PHONECELL SX3i AMPS | 5 | USER MANUAL 12/08/99 |