| in this column. |
Writable | Provides Write access to users or groups who are displayed in |
| this column. |
Remove | Removes the selected user or group from the column in order to |
| reset their access privileges. |
Sync AD account | Press this button when there is no list from ADS/PDC or more |
| ADS user has been added but yet appear from list. |
Submit | Submits and confirms settings. |
Reset | Cancel your settings and return to the Folder screen. |
To configure folder access, follow the steps below:
1.On the ACL screen, all network groups and users are listed in the left hand column. Select a group or user from this list.
2.With the group or user selected, press one of the buttons from the three access level columns at the top. The group or user then appears in that column and has that level of access to the folder.
3.Continue selecting groups and users and assigning them access levels using the column buttons.
4.To remove a group or user from an access level column, press the Remove button in that column.
5.When you are finished, press Submit to submit and confirm your ACL settings.
NOTE
If one user has belonged to more than one group but different privilege than the priority Deny > Read Only > Writable
The ACL screen also allows you to search for a particular user. To do this, follow the steps below:
1.In the blank, enter the name of the user you would like to find.
2.From the drop down select the group you would like to search for the user in.
3. Click Search.
NOTE
The system will list up to 1,000 users from the chosen category. To narrow your search, enter a search term in the blank provided.
File System Check
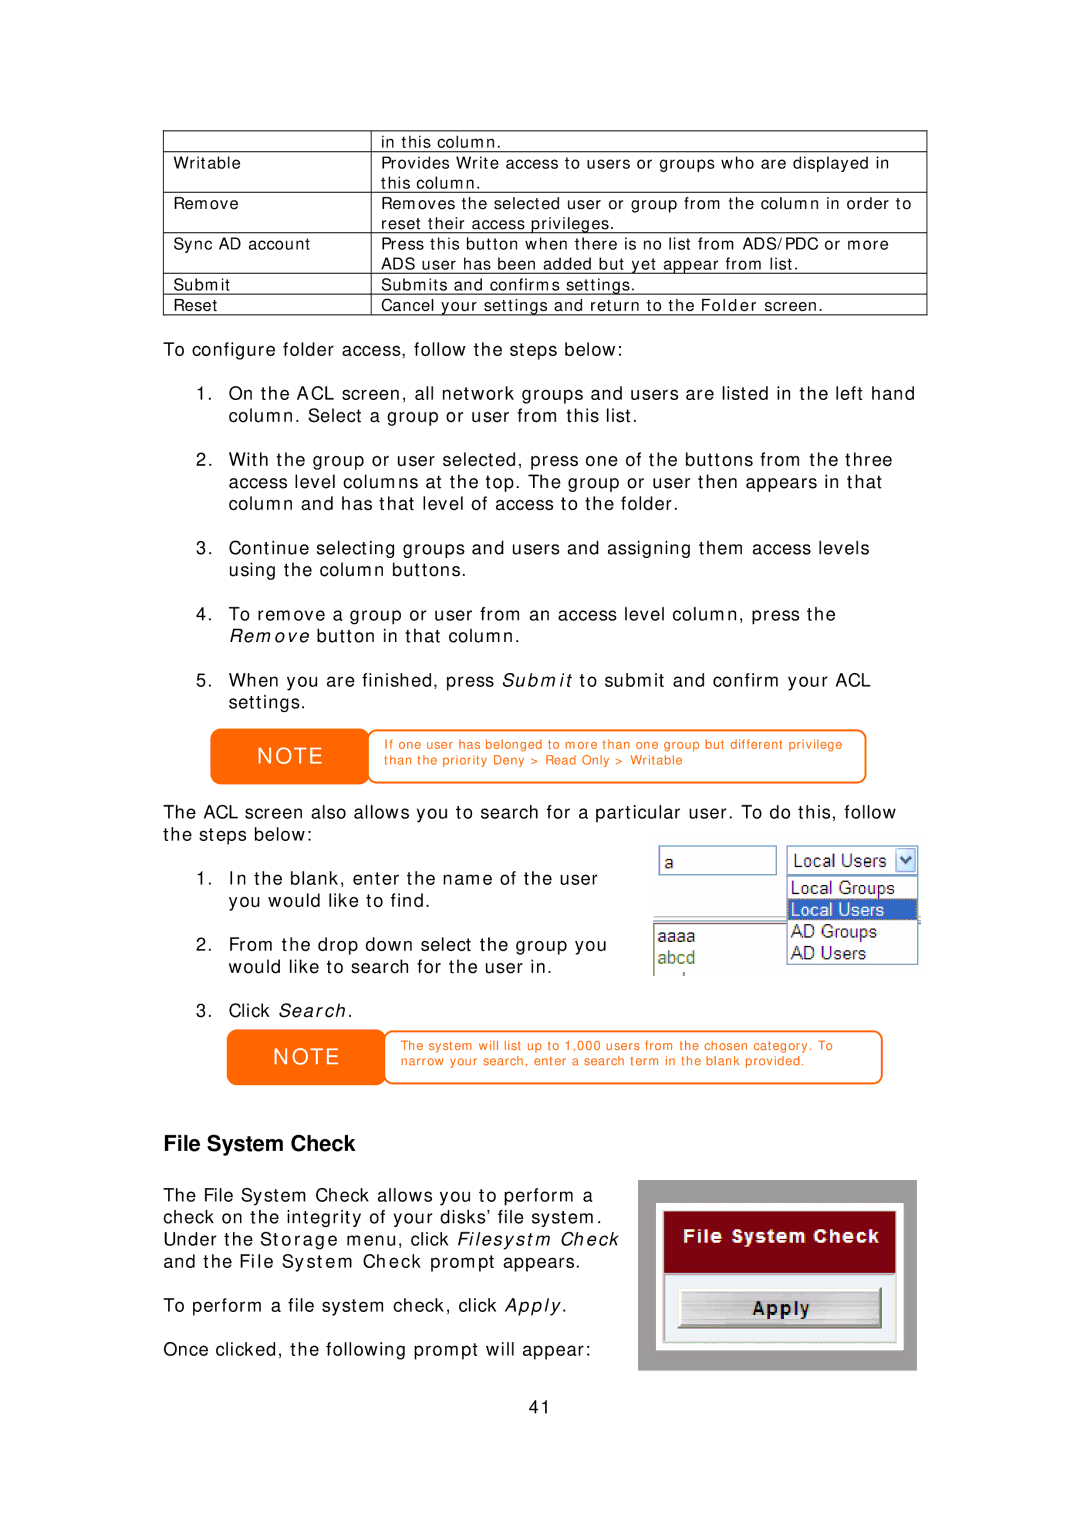
The File System Check allows you to perform a check on the integrity of your disks’ file system. Under the Storage menu, click Filesystm Check and the File System Check prompt appears.
To perform a file system check, click Apply.
Once clicked, the following prompt will appear:
41
