Adding Groups
1.On the Local Group Configuration screen, click on the Add button.
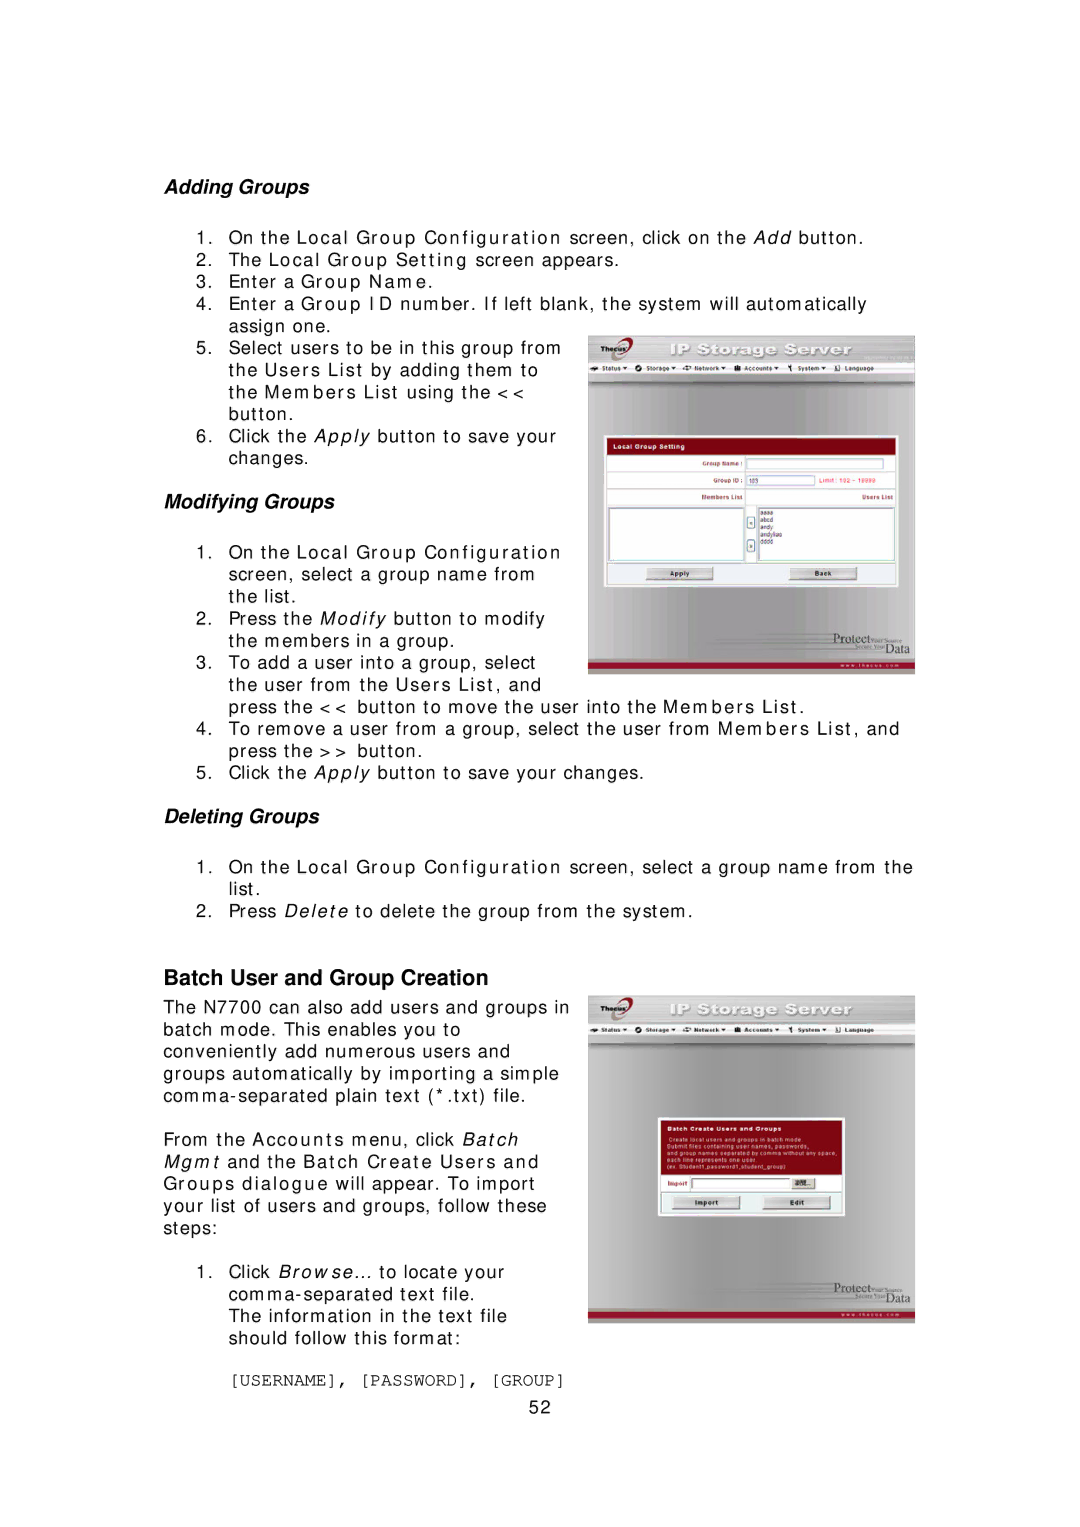
2.The Local Group Setting screen appears.
3.Enter a Group Name.
4.Enter a Group ID number. If left blank, the system will automatically assign one.
5.Select users to be in this group from the Users List by adding them to the Members List using the << button.
6.Click the Apply button to save your changes.
Modifying Groups
1.On the Local Group Configuration screen, select a group name from the list.
2.Press the Modify button to modify the members in a group.
3.To add a user into a group, select the user from the Users List, and
press the << button to move the user into the Members List.
4.To remove a user from a group, select the user from Members List, and press the >> button.
5.Click the Apply button to save your changes.
Deleting Groups
1.On the Local Group Configuration screen, select a group name from the list.
2.Press Delete to delete the group from the system.
Batch User and Group Creation
The N7700 can also add users and groups in batch mode. This enables you to conveniently add numerous users and groups automatically by importing a simple
From the Accounts menu, click Batch Mgmt and the Batch Create Users and Groups dialogue will appear. To import your list of users and groups, follow these steps:
1.Click Browse… to locate your
[USERNAME], [PASSWORD], [GROUP]
52