40L3400U 50L3400U
GMA300034010
Safety Precautions
DearCustomer
Proper Television Placement Matters
Important Safetyinstructions
AdditionalSafetyPrecautions
Instaflation,Care,and Service
Personal Injury or Death
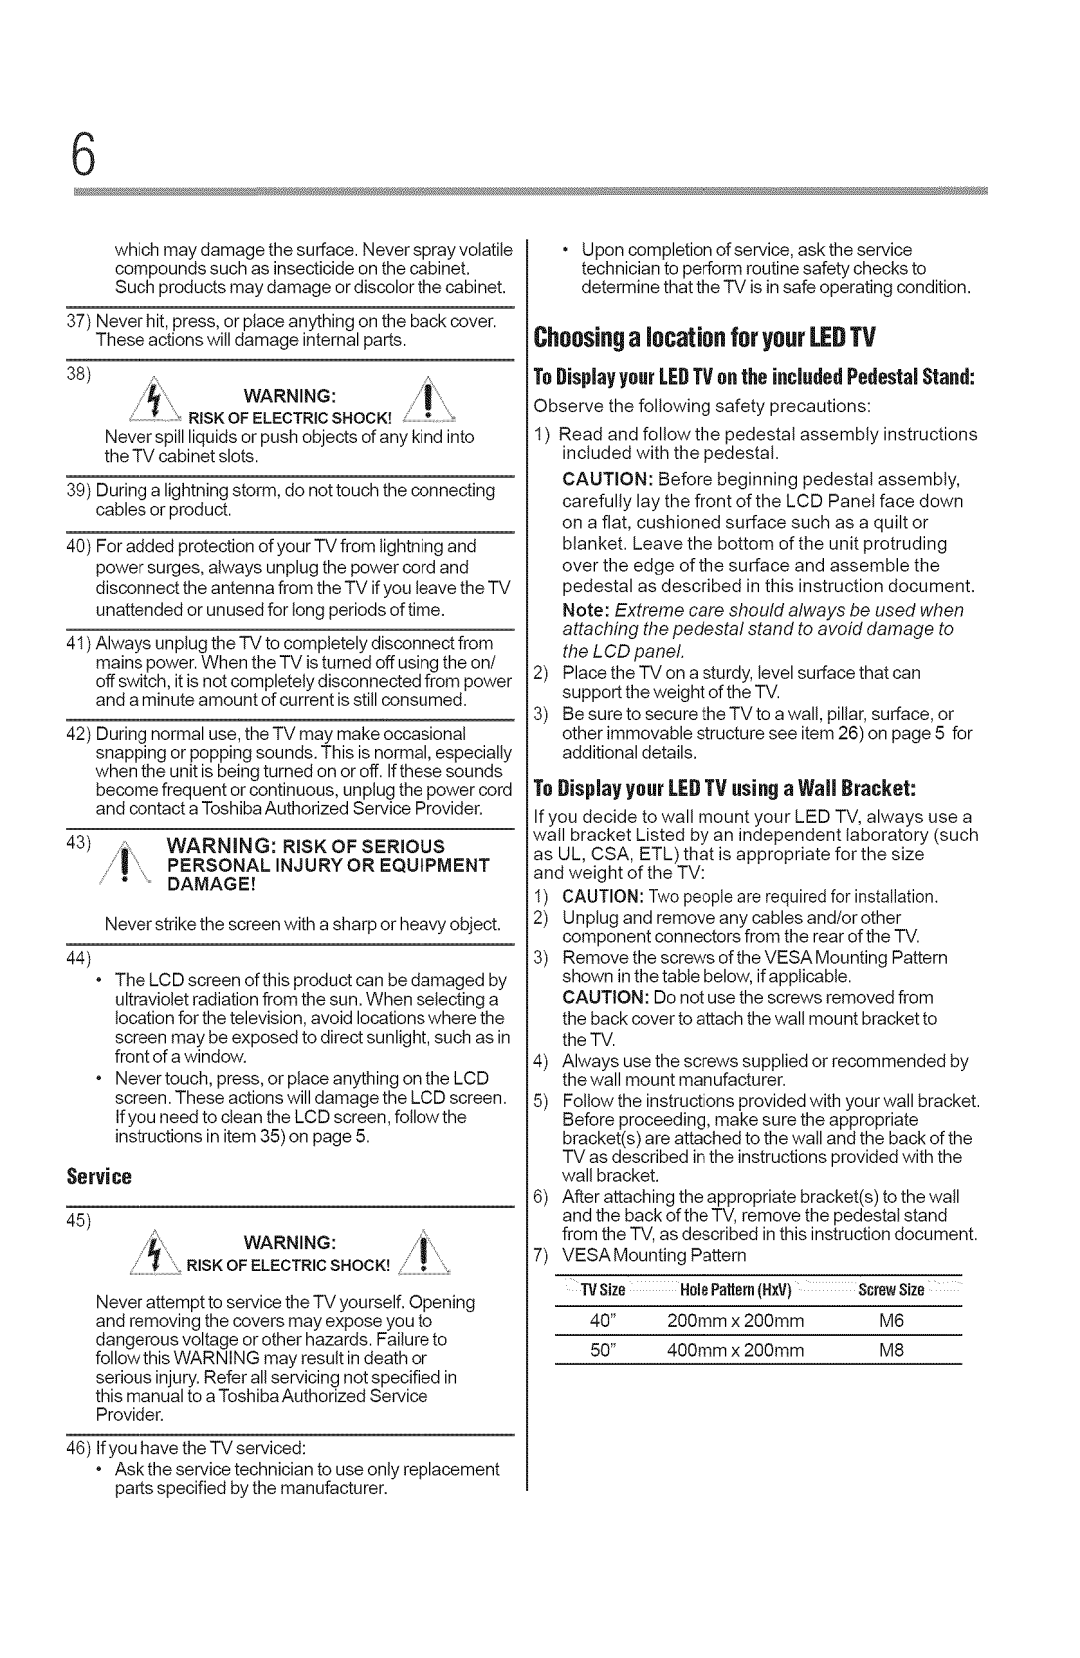
Choosingalocationfor yourLEDTV
Risk Ofelectricshock
FCCDeclarationof Conformify ComplianceStatementPart15
Energystar UserInformation
Trademarkinformation
Contents
Settingthe AVinput mode
SettingupyourTV
Connectingan Hdmi or DVI deviceto
Coo,ots
Contents
Usingthe Auto Aspectfeature
Resetting Factory Defaults
Baseclosedcaptions
SoundMode
Adjusting the audioquality
Tounregisteryour device ToplaybackDivX HDcontent
Tosetthe repeatmode
100
129
120
138
Wireless connection 131 Ethernet
134
AppendixBLicenseAgreement
Safetyicons
Introduction
Foatgros
Introduction
Energy Star qualified
Overviewofinstallation,setup,anduse
IfltroductJofl21
TVfivnt and sidepanel controls and connections
IVbackpaneJconnections
Sample IlhLstration 40/50L3400U- Back panel comections
JflrOdUCUOfl23
Overviewof cane types
CoaxialF-type cane
SimpleIlhlstratioO oaaial cable
StandardAN cablesrod/white/yellow
Hnvu cablewithHDNILogo
Sample Illustratio @tical audio cable
ConnectingaVCR,antenna,caNelV,orcamcorder
Connecting¥ourTV
MTpleIlhlstratioH LAN cable
Co..ecungYourw p7
Connecting¥ourTV
ConnectinganHNVll or OVldevieto theHNVll input
Co..oouYoo,Tv29.g
Lo,o
MTple IlhlstratioO 40/50L3400U HDMl comectios
ToensurethattheHDMI orDVIdeviceis resetproperly
Hdnp CECconnection
TVbackpanel
ConnectingYourTV
D3!LrR C conneclTon
Connectingadigitalaudiosystem
ConnectingYourTV
Comectitga digital audio system
Connectionto the TVsHDNI terminal
Connectinga computer
ConnectingYourTV
Aoc,%%b,-f%g
Connection
Connectingtoa homenetwork
ConnectingtheTVdirectlytoacomputerwithoutanInternet
TV back panel
ConnectingtheTVto ahomeneorkwithoutanIntemetconnection
Co..oouYo,Tv37
Bternet comection wireless Item. Description
ModemDSkorcable I Wireless kAN access point
Sample IllustratioO Remov#g the remote back cover
Sample LllustratioO !,,stallirgthe batteries
Donotexposebatteriestoexcessiveheatsuchassunshine,fire,etc
Remotecontroleffectiverange
Learningabouttheremotecontrol
UsingtheRemoteControl AI
Sample Ilhlstratiotd Remote control o,era,iew
Learning about the remote conm
UsingtheRemoteControl
Lealing abcmt the remote conn,ol
UsingtheRemotecontrouAq
Learning about the remote control
MenuLayoutand avi ation
Mainmenulayout
IVlenuLayoutand Navigation
Navigatingthemenusystem
SettingupyourTV
Initial Setup
Instal/aon setup selecon
Installationsetupselection
SettingupyourTV
Sample Image ,%lect#g the metal langlmge
Stor#g chamels itmemol optiotal
AutoTuning
SeingupyourTV
ProgrammingchannelsSeeANT/CABLEINonpage48
Auto Tuning
Sample Image setup metal I,,stallatio selectio
SeingupyourTV
ManualTuning
Settingchannelskip
ATV Analogchannel DTV Digitalchannel
SettingtheAVinputmode
Settingthetimezone
Sett#g the AV #put mode
ResettingFactoryDefaults
Viewingthesystemstatus
SsttiuggpyourTV
Selectingthe videoinputsource
Ample Image lnpzct Selectiol ,scree
Se.i.g.pVo TV
Selecdng the video inpzlt soztrce
Labelingthevideoinputsources
Labeling the video inpzctsozcrces
Labeling lhe video input sources
Noinputslabeled
Switching heNeenMe channels using ChannelReturn
Tuningtothenext programmedchannel
Tuningtoaspecificchannelprogrammedor unprogrammed
Tuning lo the next progFammed channel
Switching belween two channelsusingSurfLockTM
Selectingthe picturesize
SZecth the picture size
SettingupyourTV
TheaterWide1
TheaterWide3
Native
Ecting /he picmre size
Normal
Sample I/lustratiol!Pictmesize =43
Sample Illustratiol!Pictmesize irmal
Settingup yourTV
ScrollingtheTheaterWideTM pictureTheaterWide2 and3 only
Sample Image Picture metal Theater sett#gs se/ectiol
Ing lhe Aulo Aspec@ature
UsingtheAutoAspectfeature
Usingthe43Stretch
43Normal 43LetterBox TheaterWide2 169Full NotdefinednoID-1
Adjustingthe picture
Personal Preferences
MTpleImayePicture metal Mode selectio17
SeRJrlgupyourTV Atjustingflpidure
Press Press P9
Usingclosedcaptions
Using dosd capfions
Basedosed captions
DigitalCCse ings
¢ YoucannotsetCaptionTextandBackgroundasthesamecolor
Usinglhe ClosedcapUonbuUon
Using dosd cupfions
Mode.Descriptiol
Adjustingtheaudio
UsingtheDigitalAudioSelecion
Sample Image 5oreadmenu DigitaI Audio Selector selection
Selectingstereo/SAPbroadcas
¢ Ifthesoundisnoisy,selectMonoto reducethenoise
StableSoundTM
Adjustingtheaudioquality
DTSTruSurmundTM
@/sting the on/clio
SelectingthePINcode
Usingthe Dolbye DigitalDynamicFlangeControlfeature
Settingup yourTV Sdecting theP1Ncode
Entera newPINcode
BlockingTVprogramsandmoviesbyratingV-Chip
Usingparenial controlsfor USAregion
Usingparenm/ conlro/s r SMre, on
Changingor deleUngyour PiNcode
SettingupyourTV Usinparenta! convls r SM1gion
Downloadinganadditionalratingsystem
Page
Rat#Ns Description and bntent themes
SellingupyourTV
Rating system
GGeneralAudienceAppropriateforallages
Sample bmT09e RatinO, b!b screets
Usingparental controls for SMregion
Bisplayingratings
Sample Ilh/stratiotd VYartit-gexceeded ratitg limit
8O SetUngup yourTV
Mode. Description
Using the GameTimeF M
Locking chamels
Usinglhe panel lockfeature
SetUngup yourTV
Locldng channels
SettingupyourTV Q
LVlediaShareVideos,Music,andPhotos
MediaSare deo Music, and Photos
MediaSare deos, Music, and Photos
¢ Non-supportedcharacterswill bereplacedwithasquare
AutoStartfunction
MediaSare lddeo Music, and Photos
Manual Start
MediaSoare 14deos, Music, and Ihotos
Viewingphotoflies
MultiView
Theviewerwill openevenif therearenophotoormusicfiles
Singleview
Slideshow
PlayingmusicflJes
EachtimeyoupressREVor FF,theplaybackspeedchanges
Viewingphotofilesandplayingmusicfiles atthe sametime
Playingvideofiles
Media57are 14deosMusic, and Photos
Automaticallystartto playfromthebeginning
Begin
Tounregisteryourdevice
DivX
1oregisteryourTVtoa Div× account
SeirlgupyourTV
Settingthesleeptimer
ToplaybackDiv×HDcontent
SettingupyourTV QQ
NoSignalPowerDown
UsingHOMPCEC
No 5ial Power Down
HDIVil CECplaybackdeviceBlu-rayWDVDplayer,etc.control
Hdni CECPlayer Controlmenufunctions
Hnvu CECinputsourceselection
VOLUNEandNUTEcontrolsotAudioReceiver
Usmg HDMq
OtherHDIVll CECfunctions
SeingupHBIVU CEC
HDiVU 12,or3 RGBRange
UsingtheHDlVll settingsfeature
Default!o
HDiVU InformationDisplay
Settingup yourTV Displuyirlg stums illatiorl
DisplayingiVstatusinformation
Understanding the last mode memory feature
Understanding the last mode memolTjbamre
BaseColorAdjustment
ColorMasterTM
StaticGamma
CalorTemperature
UsingtheTVsAdvancedFeatures1
Mode
DynamicContrast
£ing the advancedpic raresettings
DynaLightTM
CinemaNode
UsingtheTVsAdvancedFeatures103
Using the advanced picmre settings
DNRDynamic Noise Reduction
Usingyourhomenetwork
Somefeaturesmayrequireanalways-onbroadbandInternet
UsingtherVSAdvancedFeaturss1
WirelessLANandyourHealth
Usingthe13/inawirelessLANenvironment
When usin, a Wirelesnemork comection
WirelessSetup
EasySetupusingPBCPushbuUonconfiguration
EasySetupusingPiNPersonalIdenUflcationNumber
Setting zpthe Network U
UsingiheTVsAdvancedFeatures
AssistedSetup
NanualSetup
Setting up the Network
UsingthesAdvancedFeatures109
Setdng up the Network
Selected
WirelessInformation
0 UsingtheTVAdvanced Features
Disconnectedfromthe AP
Settingis changedtoAESUndermanualsetup
AdvancedNeork Setup IPAddressSetup
UsingtheSAdvanced Features1 1
WhenmanuallysettingtheIPAddress,setAutoSetupto Off
DRSSetup
Settingup tke Network
UsingtheTVsAdvancedFeatures1 1
NetworkConnectionTest
NAC Address
UsingtheTVsAdvancedFeatures
Sample IllustratioO 51jhlre keyboard
Textentryfield Toshowthecharactersyouinput Shift
Jsing the software kcvboard
Enterte usingthesoftwarekeyboard
UsingtheTWsAdvancedFeatures1
Item. Desciptiol
PerformingaSoftwareUpgrade
Pelbling a 5f!,are UpgTude
Userregistrationor Ioginmayberequiredto usesomeservices
UsingtheTVApplicationServicesfeatures
UsingtheTVsAdvancedFeatures1 1
Tewingthe Software Licenses
Viewing the Software Licenses
UsingtheTVSAdvancedFeatures
Watchingmovieswith Neli
Dependingonthecommunicationspeedandbit-rate
UsingtheTVSAdvancedFeatures 1 1
YonTubeTM
Troubleshooting
Pictureproblems
Troubleshooting
Picmreproblems
Soundproblems
5mdproblems
Channeltuningproblems
Troubleshooting
Remote conlrol plvblems
Closed cction problems
Closedcaptionproblems
RatingblockingV-Chipproblems
NoNDlVll CCoperation
Networkproblems
Networkproblems
12G Troubleshooting
Network problems
Wirelessnetworkproblems
Wireless lemorkplvblems
Iftheproblempersistsaftertryingthesolutions
TroubJeshooUng
Ij?fle prob/em persists after tidyingthe haions
Specifications
Channelcoverage
Video/audioterminals
Powersource
Speakertype
ColorStreamTM componentvideoFIDinput
Specifications
Wirelessconnection
Dimensionswithstand
Digitalaudiooutput
Supplied acceories
Suppliedaccessories
Weightmass
Le..F-95F0C 35C
640x480 59.940Hz 31.469kHz 25.175MHz
Acceptablesignalformatsfor HDlVll
HDMlsignalformats
800x600 60.317Hz 37.879kHz 40.000MHz
LicenseAgreement
LicenseInformationonthesoftwareusedintheTOSHIBA DigitalIV
Pre-lnstalledSoftware-EULA
ExhibitA
Introduction
Exhibit B
Uooo.o
AutoAspect Using AutoStartfunction MediaShare86
Choosinga locationfor your Ledtv ToDisplayyourLEDTVonthe
Ratingsystem Displayingratings77
Ox139
ExhibitA 130 Locksmenu Settingpincode
Securite17 Introduction Safetyicons Features
Lastmodememoryfeature97
Powerconsumption Audiopower Speakertype
SelectingthePINcode 76 specifications
Settingchannelskip SettingtheAVinputmode Settingthetimezone
NoSignalPowerDown UsingHDMI OEC Hdmi CECplaybackdeviceBlu
Pictureproblems
Usingthepanellockfeature UsingtheMediaShare
AutoStartfunction 84 UsingtheRemoteControl
UsingtheTVsAdvancedFeatures

