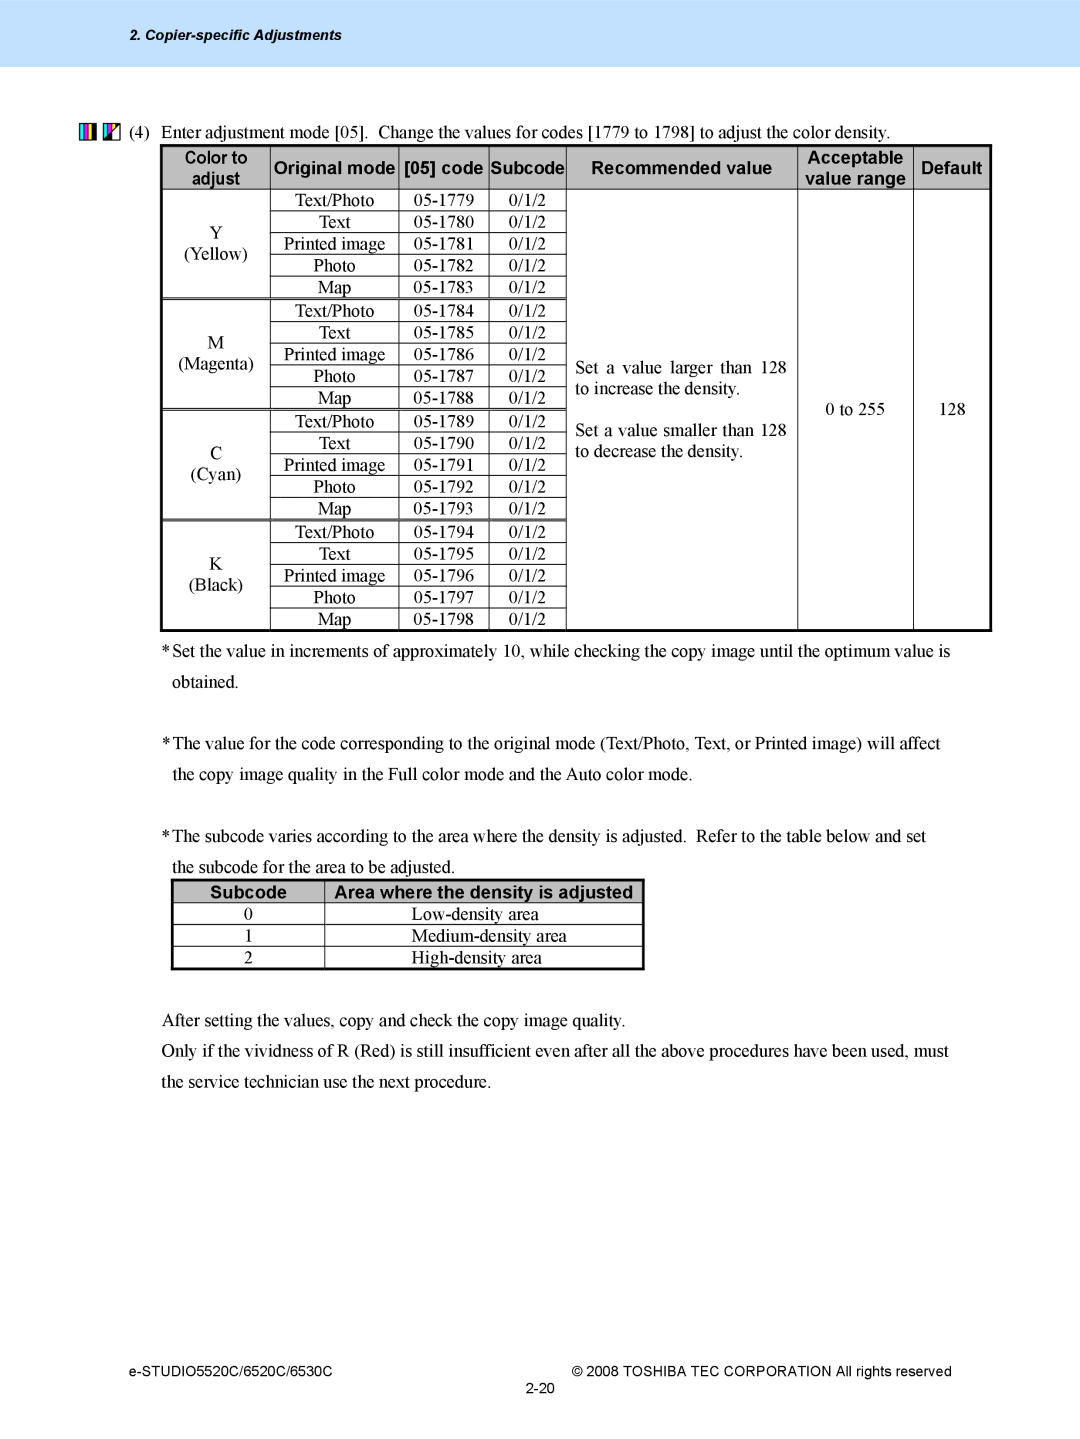
6520c, 5520c specifications
The Toshiba e-STUDIO5520c and e-STUDIO6520c are advanced color multifunction printers designed for businesses looking to enhance productivity and efficiency in their document handling. These models combine printing, copying, scanning, and faxing functionalities into a single device, making them an ideal solution for busy office environments.One of the standout features of the e-STUDIO5520c and e-STUDIO6520c is their impressive printing speed. The e-STUDIO5520c is capable of printing up to 55 pages per minute, while the e-STUDIO6520c can reach speeds of up to 65 pages per minute. This high-speed performance ensures that large print jobs are completed quickly, allowing businesses to maintain workflow without unnecessary delays.
Both models also feature a high-quality color printing capability with a resolution of up to 1200 x 1200 dpi. This ensures that documents, presentations, and marketing materials are produced with crisp text and vibrant colors, helping to create a professional image for any organization.
Another key characteristic of these printers is their versatile paper handling options. They are equipped with multiple paper trays, allowing users to accommodate various paper sizes and types, including envelopes and heavy stock paper. An optional high-capacity feeder can be added to increase the maximum paper capacity to suit larger print volumes.
The Toshiba e-STUDIO5520c and e-STUDIO6520c also incorporate advanced scanning technologies. With the capability to scan at speeds of up to 160 images per minute, these models streamline document management processes. Features such as duplex scanning and optional OCR (Optical Character Recognition) ensure that scanned documents are easily searchable and can be converted into editable formats.
Security is paramount in today’s business environment, and these multifunction printers come equipped with robust security features to protect sensitive information. They support secure printing, user authentication, and encrypted data transfer, providing peace of mind for organizations that handle confidential materials.
In terms of user experience, both models feature an intuitive touchscreen interface, making navigation and operation straightforward. Additionally, they support mobile printing solutions, allowing users to print documents directly from their smartphones or tablets.
Overall, the Toshiba e-STUDIO5520c and e-STUDIO6520c multifunction printers are designed to meet the diverse needs of modern offices. With their high-speed printing, top-quality output, robust security measures, and user-friendly features, they present a comprehensive solution for businesses aiming to optimize their document workflows and productivity.

