English Français Español Deutsch Italiano Português Svenska
Using handy features
■Using auto setting
This function sets up the projector to the optimum state for | Control panel | Remote | |
Control | |||
each type of the input signal by using simple operations. | |||
|
| ||
|
|
1 Press the SET UP button.
The Set up menu appears.
2 Press the SET UP button again.
The displayed menu item is automatically adjusted/set.
For computer input, the | icon will appear during |
processing. |
|
For manual adjustment and setting, see the following table p.26 .
![]() Notes
Notes
• The image may not be projected or auto adjustment/setting may not be performed correctly for input signals other than those supported by the projector p.39 , p.40 , p.41 .
• Keystone adjustment cannot be corrected automatically.
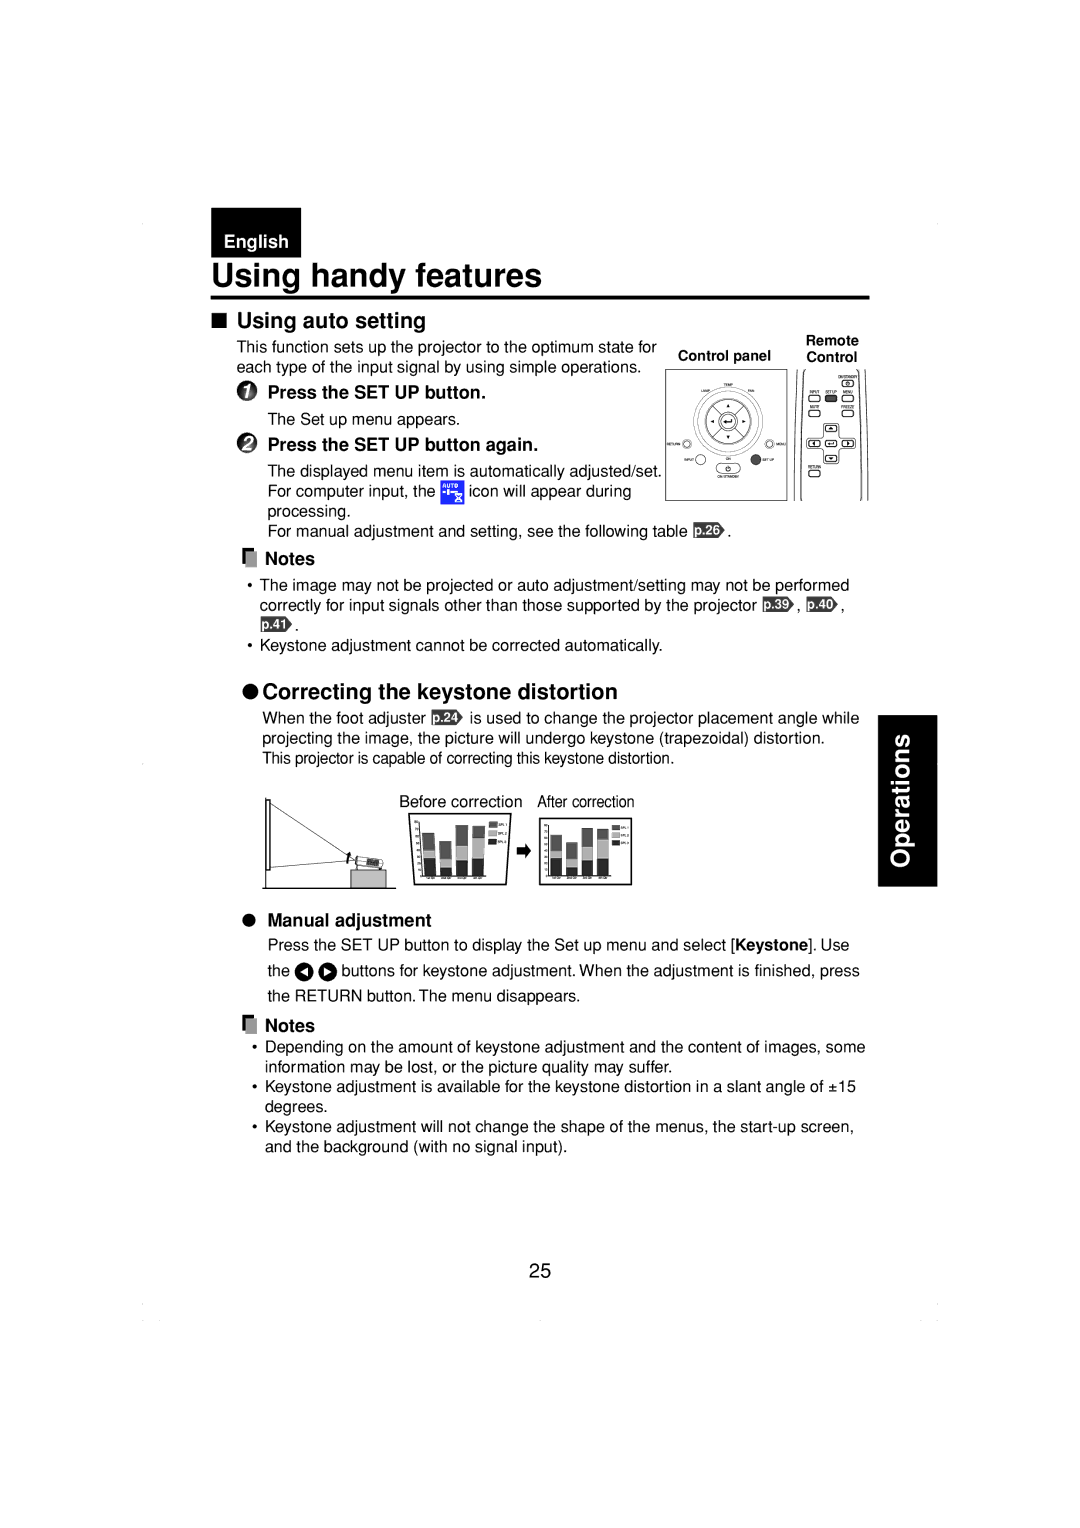
●Correcting the keystone distortion
When the foot adjuster p.24 is used to change the projector placement angle while projecting the image, the picture will undergo keystone (trapezoidal) distortion. This projector is capable of correcting this keystone distortion.
Before correction After correction
●Manual adjustment
Press the SET UP button to display the Set up menu and select [Keystone]. Use
the ![]()
![]() buttons for keystone adjustment. When the adjustment is finished, press the RETURN button. The menu disappears.
buttons for keystone adjustment. When the adjustment is finished, press the RETURN button. The menu disappears.
![]() Notes
Notes
•Depending on the amount of keystone adjustment and the content of images, some information may be lost, or the picture quality may suffer.
•Keystone adjustment is available for the keystone distortion in a slant angle of ±15 degrees.
•Keystone adjustment will not change the shape of the menus, the
Operations
25
