FULL MENU settings – Default setting (continued)
CONTENTS | 69 |
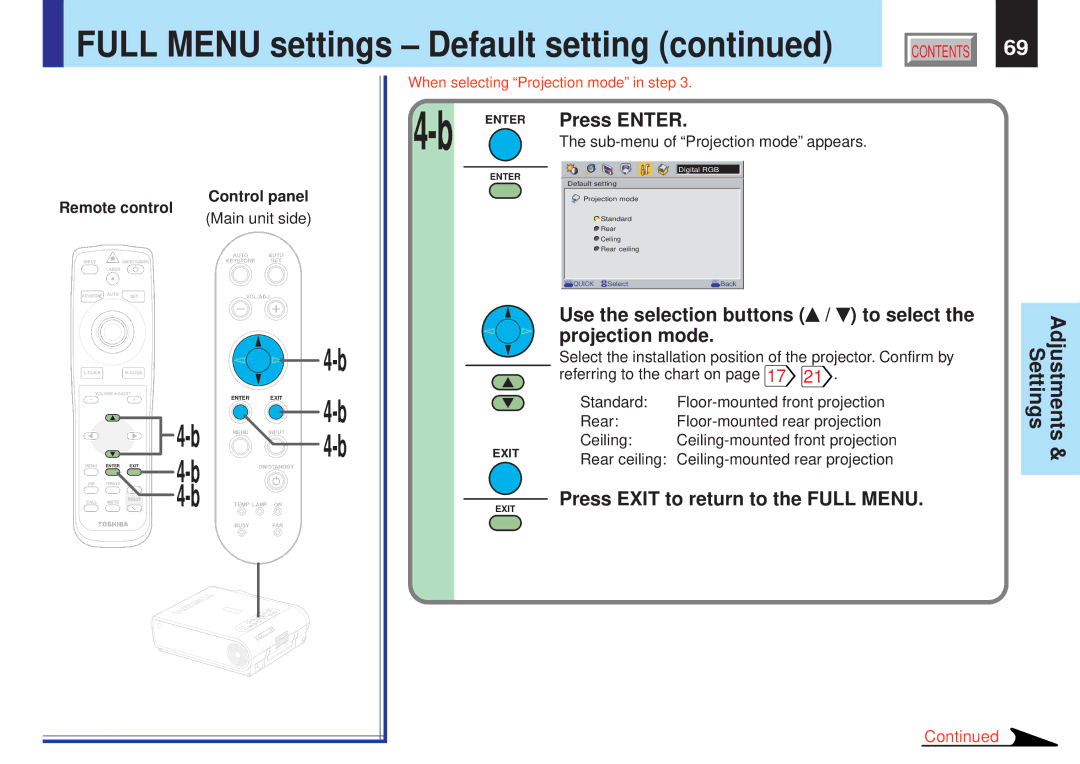
When selecting “Projection mode” in step 3.
Remote control |
| Control panel | |||
| (Main unit side) | ||||
|
|
|
| ||
|
|
|
| AUTO | AUTO |
INPUT |
| ON/STANDBY |
| KEYSTONE | SET |
| LASER |
|
|
|
|
KEYSTONE | AUTO | SET |
| VOL/ADJ. | |
|
| ||||
|
|
| |||
VOLUME/ADJUST |
| ENTER | EXIT | ||
|
|
|
| ||
|
|
|
| ||
|
|
| MENU | INPUT | |
MENU | ENTER | EXIT |
| ||
| ON/STANDBY | ||||
PIP | FREEZE |
|
|
| |
CALL | MUTE | RESIZE | TEMP LAMP ON | ||
| |||||
|
|
| |||
|
|
|
| BUSY | FAN |
ENTER
EXIT
EXIT
Press ENTER.
The sub-menu of “Projection mode” appears.
Digital RGB
Default setting
![]()
![]()
![]() Projection mode
Projection mode
![]() Standard
Standard
![]() Rear
Rear
![]() Ceiling
Ceiling
![]() Rear ceiling
Rear ceiling
MENU QUICK | Select | EXIT Back |
Use the selection buttons ( /
/  ) to select the projection mode.
Select the installation position of the projector. Confirm by referring to the chart on page 17![]() 21
21![]() .
.
Standard: | |
Rear: | |
Ceiling: |
Rear ceiling: Ceiling-mounted rear projection
Press EXIT to return to the FULL MENU.
Settings | Adjustments |
| & |
|
|
Continued