Projection on the screen | CONTENTS | 28 |
CAUTION – Do not look into the projection lens while operating the projector.
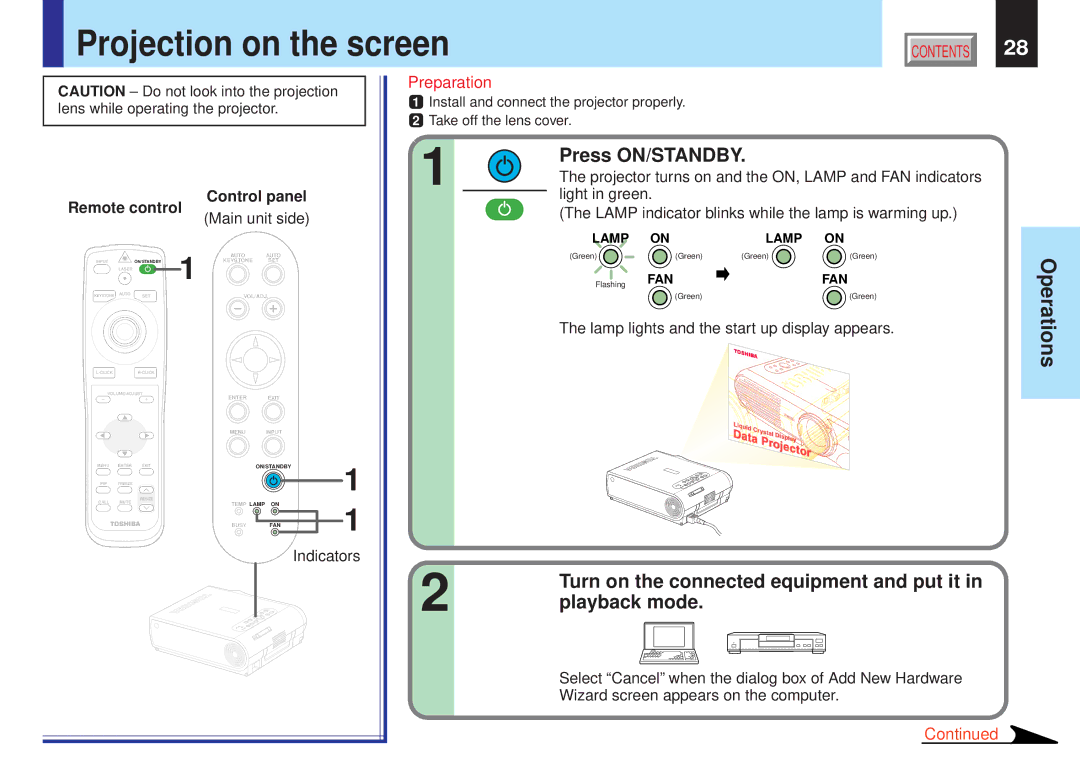
Control panel
Remote control | (Main unit side) | ||||
|
|
|
| ||
|
|
| 1 | AUTO | AUTO |
INPUT |
| ON/STANDBY | KEYSTONE | SET | |
| LASER |
|
|
|
|
KEYSTONE | AUTO | SET |
| VOL/ADJ. | |
|
| ||||
|
|
| ||
VOLUME/ADJUST | ENTER | EXIT |
| |
|
|
| ||
|
| MENU | INPUT |
|
MENU | ENTER EXIT |
| ON/STANDBY | 1 |
PIP | FREEZE |
|
| |
CALL | RESIZE |
|
|
|
MUTE | TEMP LAMP ON | 1 | ||
|
| |||
|
| BUSY | FAN | |
Indicators
Preparation
1Install and connect the projector properly.
2Take off the lens cover.
1 |
| Press ON/STANDBY. |
|
| |
|
| The projector turns on and the ON, LAMP and FAN indicators |
|
| light in green. |
|
| |
|
| (The LAMP indicator blinks while the lamp is warming up.) |
LAMP | ON | LAMP | ON |
(Green) | (Green) | (Green) | (Green) |
Flashing | FAN |
| FAN |
| (Green) |
| (Green) |
The lamp lights and the start up display appears.
2 | Turn on the connected equipment and put it in |
playback mode. |
Operations
Select “Cancel” when the dialog box of Add New Hardware Wizard screen appears on the computer.
Continued