Projection on the screen (continued) | CONTENTS | 30 |
Select the input source to project.
There are two kinds of methods as follows
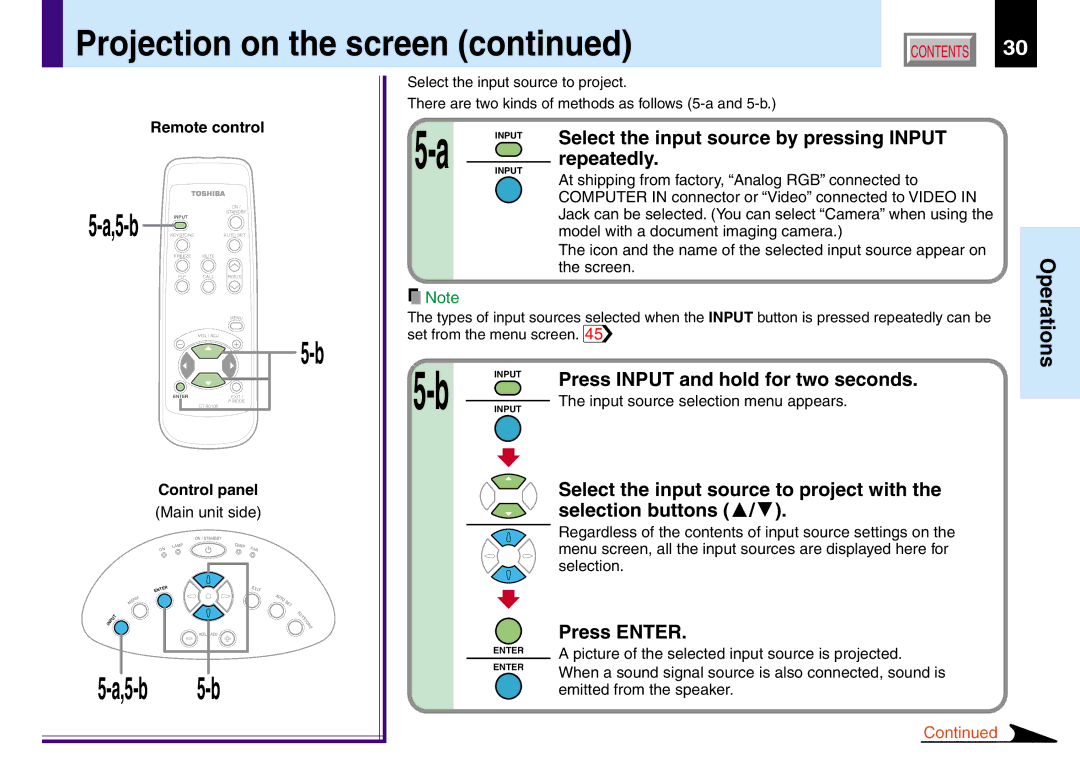
Remote control
|
| ON / |
| STANDBY | |
INPUT |
| |
KEYSTONE | AUTO SET |
FREEZE MUTE
PIP CALL RESIZE
![]() Note
Note
Select the input source by pressing INPUT repeatedly.
At shipping from factory, “Analog RGB” connected to COMPUTER IN connector or “Video” connected to VIDEO IN Jack can be selected. (You can select “Camera” when using the model with a document imaging camera.)
The icon and the name of the selected input source appear on the screen.
MENU |
VOL / ADJ |
The types of input sources selected when the INPUT button is pressed repeatedly can be set from the menu screen. 45![]()
Operations
ENTER | EXIT / |
| P.MODE |
|
Control panel (Main unit side)
ON / STANDBY
|
|
|
|
|
| P | T | EMP |
|
|
|
|
|
| ON | LAM |
| FAN |
| ||
|
|
|
|
|
|
|
| |||
|
|
|
| TE |
|
|
| EXI |
| |
|
|
|
| EN | R |
|
|
| T |
|
|
|
|
| U |
|
|
|
| A |
|
|
|
|
|
|
|
|
| UT |
| |
|
|
|
| N |
|
|
|
| O | S |
|
|
|
| E |
|
|
|
|
| |
|
|
|
| M |
|
|
|
|
| ET |
|
|
|
|
|
|
|
|
|
| K |
|
|
|
| T |
|
|
|
|
| E |
|
|
|
|
|
|
|
|
| S | |
|
|
| U |
|
|
|
|
|
| Y |
| N | P |
|
|
|
|
|
| T | |
I |
|
|
|
|
|
|
| O | ||
|
|
|
|
|
|
|
| N | ||
|
|
|
|
|
|
|
|
| E | |
VOL / ADJ
5-a,5-b 5-b
ENTER
ENTER
Press INPUT and hold for two seconds.
The input source selection menu appears.
Select the input source to project with the selection buttons (![]() /
/ ![]() ).
).
Regardless of the contents of input source settings on the menu screen, all the input sources are displayed here for selection.
Press ENTER.
A picture of the selected input source is projected. When a sound signal source is also connected, sound is emitted from the speaker.
Continued