4.3Timer
You can set the unit to turn on or off automatically at scheduled times.
1Press the Menu button on the remote control. The Main Menu screen will appear.
2Use the CH Up/Down buttons on the main unit/remote control to select the System Setup menu, and then press the OK button.
3Use the CH Up/Down buttons on the main unit/remote control to select "5. Timer", and then press the OK button. If the current time is not set, the Local Time screen will appear. For details on setting the local time, please refer to [5.2.1 Local Time].
4In the Timer screen, select the setting(s) that are not yet set, and then press the OK button.
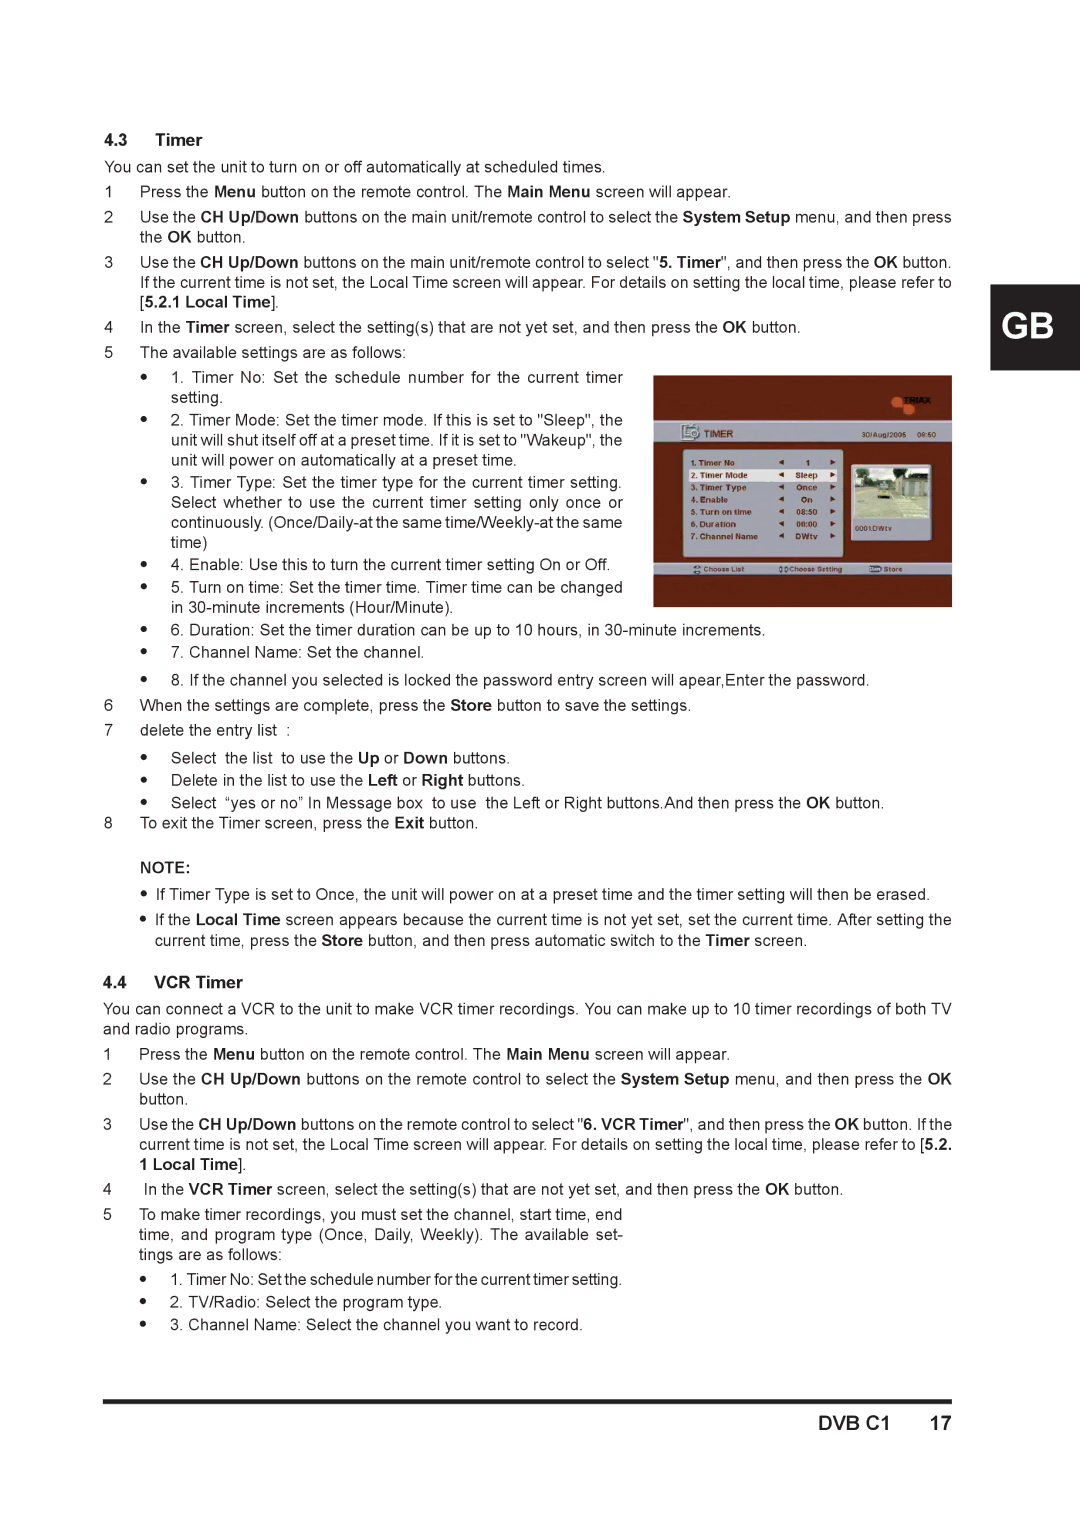
5The available settings are as follows:
z1. Timer No: Set the schedule number for the current timer setting.
z2. Timer Mode: Set the timer mode. If this is set to "Sleep", the unit will shut itself off at a preset time. If it is set to "Wakeup", the unit will power on automatically at a preset time.
z3. Timer Type: Set the timer type for the current timer setting. Select whether to use the current timer setting only once or continuously.
z4. Enable: Use this to turn the current timer setting On or Off.
z5. Turn on time: Set the timer time. Timer time can be changed in
z6. Duration: Set the timer duration can be up to 10 hours, in
z7. Channel Name: Set the channel.
z8. If the channel you selected is locked the password entry screen will apear,Enter the password. 6 When the settings are complete, press the Store button to save the settings.
7 delete the entry list :
zSelect the list to use the Up or Down buttons.
zDelete in the list to use the Left or Right buttons.
zSelect “yes or no” In Message box to use the Left or Right buttons.And then press the OK button. 8 To exit the Timer screen, press the Exit button.
NOTE:
zIf Timer Type is set to Once, the unit will power on at a preset time and the timer setting will then be erased.
zIf the Local Time screen appears because the current time is not yet set, set the current time. After setting the current time, press the Store button, and then press automatic switch to the Timer screen.
4.4VCR Timer
You can connect a VCR to the unit to make VCR timer recordings. You can make up to 10 timer recordings of both TV and radio programs.
1Press the Menu button on the remote control. The Main Menu screen will appear.
2Use the CH Up/Down buttons on the remote control to select the System Setup menu, and then press the OK button.
3Use the CH Up/Down buttons on the remote control to select "6. VCR Timer", and then press the OK button. If the current time is not set, the Local Time screen will appear. For details on setting the local time, please refer to [5.2. 1 Local Time].
4In the VCR Timer screen, select the setting(s) that are not yet set, and then press the OK button.
5To make timer recordings, you must set the channel, start time, end time, and program type (Once, Daily, Weekly). The available set- tings are as follows:
z1. Timer No: Set the schedule number for the current timer setting.
z2. TV/Radio: Select the program type.
z3. Channel Name: Select the channel you want to record.
GB
