Th Street Chicago, IL 60609 USA
SmartOnline
UPS Location Warnings
Important Safety Instructions
Mounting Rack
Post Mounting
Connection and Start-Up
Post Telecom Mounting Mounting Tower
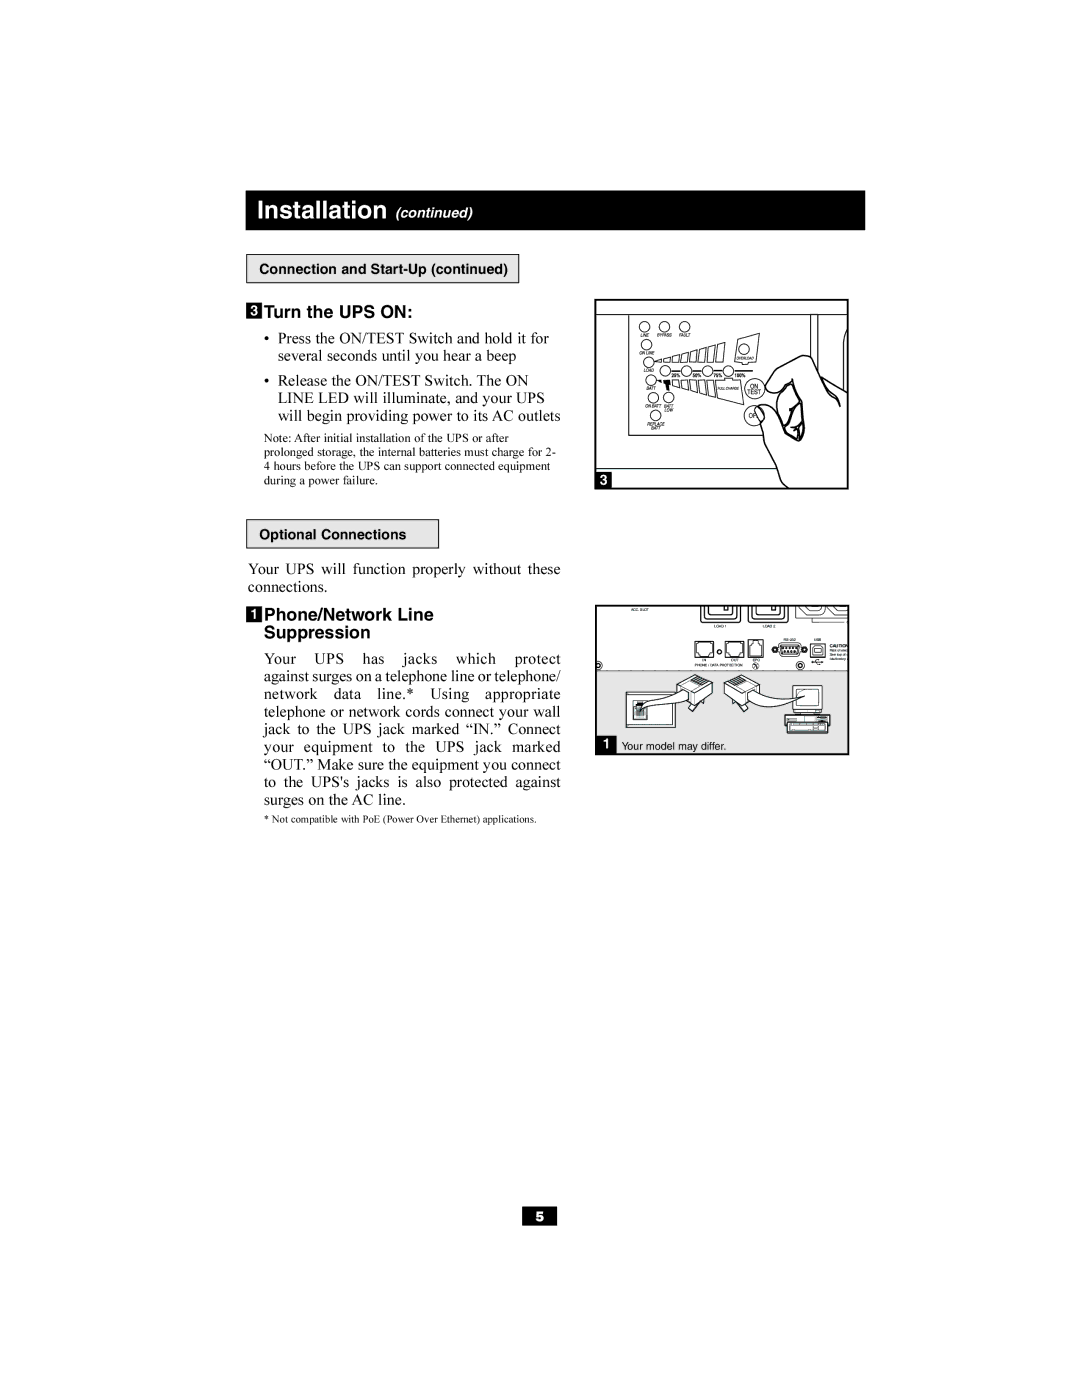
Turn the UPS on
InstallationImporant Safety Instructions
Phone/Network Line Suppression
Optional Connections
EPO Port Connection
External Battery Connection
USB and RS-232 Serial Communications
Front Panel Indicator Lights
Front Panel Switches
Basic Operation
Rear Panel
Communications
Restart the UPS. If the problem persists
Or low for the UPS to operate in Bypass
This indicates that utility power is too high
Adequate space for air to circulate near
Procedure
Storage
Service
Th Street Chicago, IL 60609 EE.UU
Manual del usuario
Guarde Estas Instrucciones
Importantes instrucciones de seguridad
Montaje de 4 postes
Conexión y encendido
Montaje de 2 postes Telecomunicaciones
Conexiones opcionales
Encienda el UPS
Conexión con un puerto EPO
Conexión de Puerto USB y DB9
Conexión del paquete de baterías externas
Conexiones opcionales continuación
Luces indicadoras del panel frontal
Interruptores del panel frontal
Luces indicadoras del panel frontal continuación
Operación básica continuación
Panel posterior
Comunicaciones
Panel posterior continuación
Encendida FAULT, BYPASS, LINE, 50%
Encendida FAULT, 100%
Encendida FAULT, BYPASS, Line
Encendida FAULT, BYPASS, LINE, 25%
Localización de fallas continuación
Modelos de UPS de 2U
Reemplazo de batería
Procedimiento
Servicio
Almacenamiento
Th Street, Chicago, IL 60609 USA
Guide de lutilisateur
Conservez CES Instructions EN UN Lieu SÛR
Importantes consignes de sécurité
Bâti à quatre montants
Montage Tour
Installation suite
Montage sur 2 montants Télécom
Connexion et démarrage
Mettre en fonction londuleur
Connexions facultatives suite
Connexion du port USB et du port série DB9
Connexion du port darrêt durgence
Voyants du panneau avant
Commutateurs du panneau avant
Voyants du panneau avant suite
Exploitation de base suite
Panneau arrière
Panneau arrière suite
Problème Remplacez la batterie
Communiquez avec le service à la
ON/Test comme décrit en
Clientèle de Tripp Lite
Dépannage suite
Procédure
Entretien
Entreposage
Page
Ðóêîâîäñòâî ïîëüçîâàòåëÿ
Ñîõðàíèòå ÝÒÓ Èíñòðóêöèþ
Âàæíûå óêàçàíèÿ ïî òåõíèêå áåçîïàñíîñòè
Ìîíòàæíûå ñòîéêè
Óñòàíîâêà ÈÁÏ
Êðåïëåíèå íà ÷åòûðåõ ñòîéêàõ Telecom
Óñòàíîâêà ÈÁÏ ïðîäîëæåíèå
Âêëþ÷åíèå ÈÁÏ
Ïîñëåäîâàòåëüíûå êîììóíèêà-öèîííûå ïîðòû USB è RS-232
Êíîïêè íà ïåðåäíåé ïàíåëè
Áàçîâûå èíñòðóêöèè ïî èñïîëüçîâàíèþ ÈÁÏ
Ïðîäîëæåíèå
Áàçîâûå èíñòðóêöèè ïî èñïîëüçîâàíèþ ÈÁÏ
Çàäíÿÿ ïàíåëü ïðîäîëæåíèå
Çàìåíèòå Áàòàðåè
Ïîèñê è óñòðàíåíèå íåèñïðàâíîñòåé
Ïîèñê è óñòðàíåíèå íåèñïðàâíîñòåé ïðîäîëæåíèå
Õðàíåíèå è òåõîáñëóæèâàíèå
Çàìåíà àêêóìóëÿòîðíûõ áàòàðåé

