Rear Bolts
2.Undo the Top Covers – at the front and rear by using a 4mm extended hex key. Carefully lift the top cover (front and rear) upwards over the top clamp.
3.To reassemble, carefully position the covers back onto the assembly by easing it downwards over the top clamp until the holes are lined up on the internal assembly.
4.Thread all bolts before tightening any one to ensure that the holes are correctly lined up.
5.Take care to ensure that the seal is correctly secured into the groove on the top bar of the assembly before fastening back onto the assembly.
Side Covers
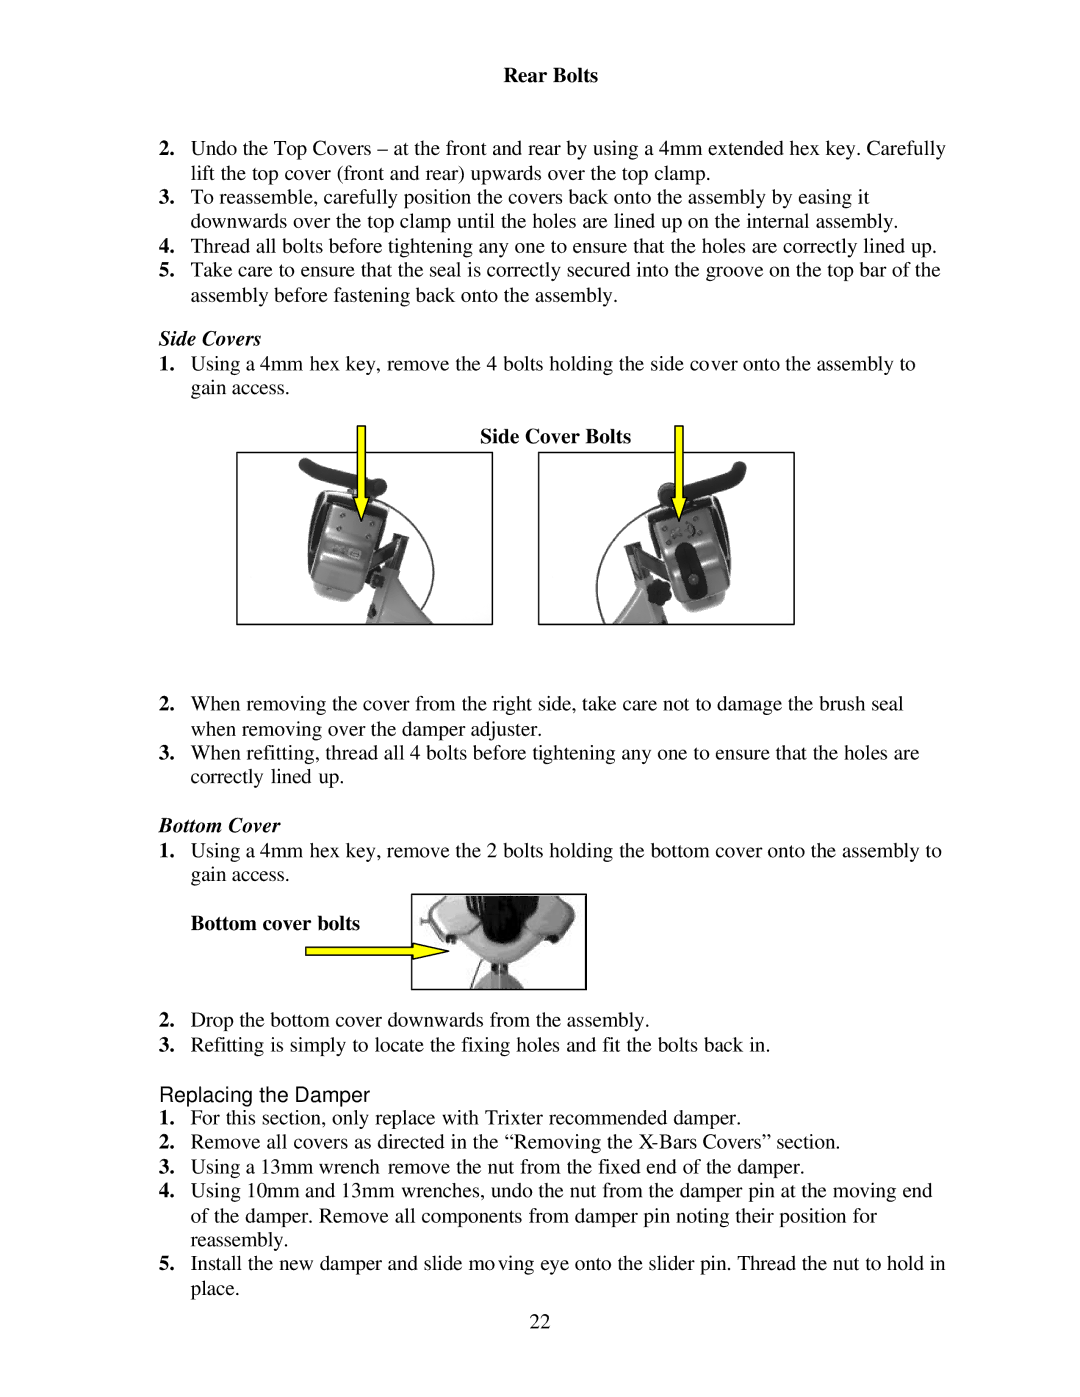
1.Using a 4mm hex key, remove the 4 bolts holding the side cover onto the assembly to gain access.
Side Cover Bolts
2.When removing the cover from the right side, take care not to damage the brush seal when removing over the damper adjuster.
3.When refitting, thread all 4 bolts before tightening any one to ensure that the holes are correctly lined up.
Bottom Cover
1.Using a 4mm hex key, remove the 2 bolts holding the bottom cover onto the assembly to gain access.
Bottom cover bolts
2.Drop the bottom cover downwards from the assembly.
3.Refitting is simply to locate the fixing holes and fit the bolts back in.
Replacing the Damper
1.For this section, only replace with Trixter recommended damper.
2.Remove all covers as directed in the “Removing the
3.Using a 13mm wrench remove the nut from the fixed end of the damper.
4.Using 10mm and 13mm wrenches, undo the nut from the damper pin at the moving end of the damper. Remove all components from damper pin noting their position for reassembly.
5.Install the new damper and slide mo ving eye onto the slider pin. Thread the nut to hold in place.
22