Insert the 4 x M8 bolts provided through the base plate of the X-Bars into the adaptor from front towards the rear, and ensure that a washer is fitted on both the nut and bolt ends. Tighten securely. Fit the bottom cover using the 2 x M4 Hex head screws provided.
7.Before inserting the X-Bars system into the Frame Head tube, place the square rubber gator on the top on the head tube. The X-Bars System assembly is inserted through the rubber gator and into the head tube with the head of the assembly facing towards the front of the bike. Tighten the adjustable quick release knob until you are ready to set the head height position.
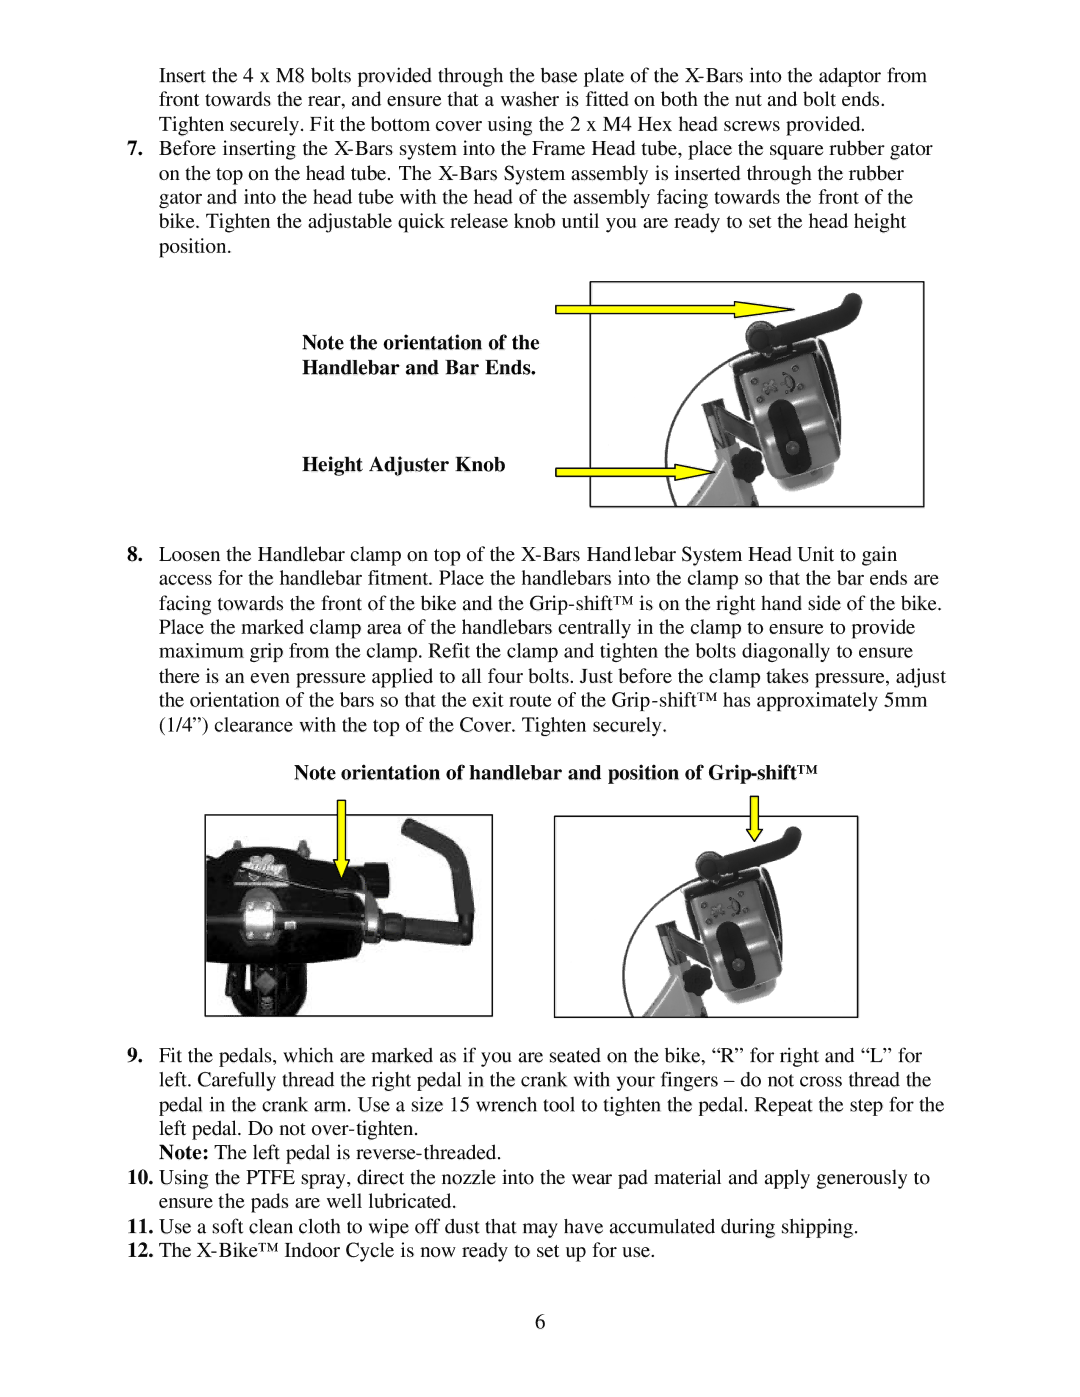
Note the orientation of the
Handlebar and Bar Ends.
Height Adjuster Knob
8.Loosen the Handlebar clamp on top of the X-Bars Hand lebar System Head Unit to gain access for the handlebar fitment. Place the handlebars into the clamp so that the bar ends are facing towards the front of the bike and the Grip-shift™ is on the right hand side of the bike. Place the marked clamp area of the handlebars centrally in the clamp to ensure to provide maximum grip from the clamp. Refit the clamp and tighten the bolts diagonally to ensure there is an even pressure applied to all four bolts. Just before the clamp takes pressure, adjust the orientation of the bars so that the exit route of the Grip-shift™ has approximately 5mm (1/4”) clearance with the top of the Cover. Tighten securely.
Note orientation of handlebar and position of Grip-shift™
9.Fit the pedals, which are marked as if you are seated on the bike, “R” for right and “L” for left. Carefully thread the right pedal in the crank with your fingers – do not cross thread the pedal in the crank arm. Use a size 15 wrench tool to tighten the pedal. Repeat the step for the left pedal. Do not over-tighten.
Note: The left pedal is reverse-threaded.
10.Using the PTFE spray, direct the nozzle into the wear pad material and apply generously to ensure the pads are well lubricated.
11.Use a soft clean cloth to wipe off dust that may have accumulated during shipping.
12.The X-Bike™ Indoor Cycle is now ready to set up for use.