™ | CLR2060 — Clear Ice Maker |
|
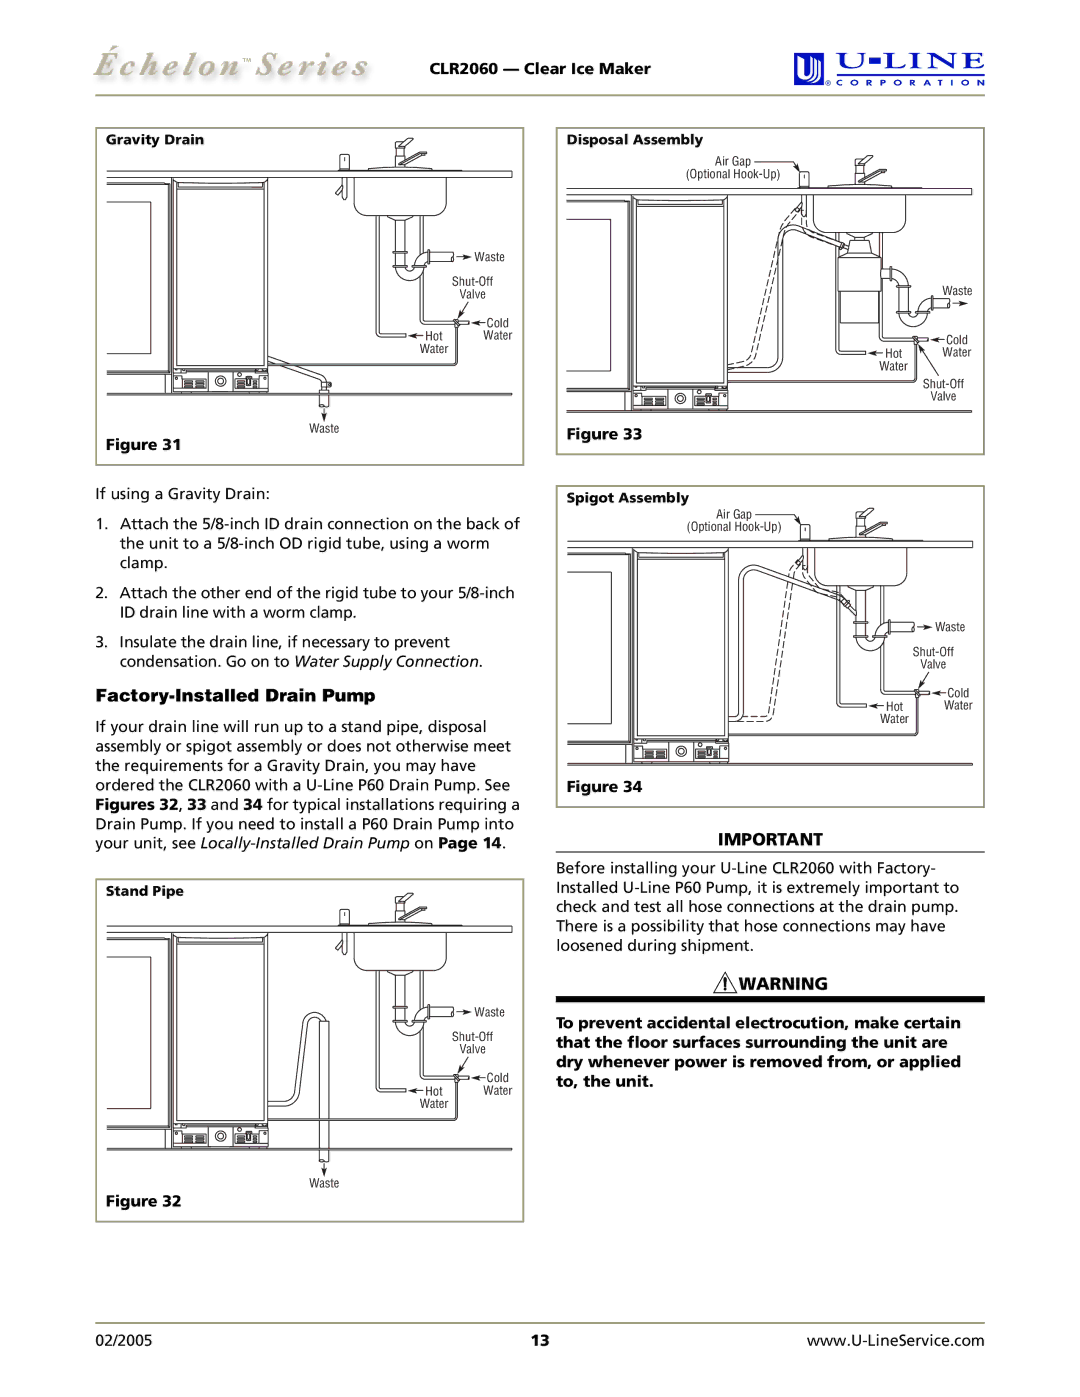
Gravity Drain |
|
| Waste |
| |
| Valve |
| Cold |
Hot | Water |
Water |
|
Waste |
|
Figure 31 |
|
If using a Gravity Drain:
1.Attach the
2.Attach the other end of the rigid tube to your
3.Insulate the drain line, if necessary to prevent condensation. Go on to Water Supply Connection.
Factory-Installed Drain Pump
If your drain line will run up to a stand pipe, disposal assembly or spigot assembly or does not otherwise meet the requirements for a Gravity Drain, you may have ordered the CLR2060 with a
Stand Pipe |
|
| Waste |
| |
| Valve |
| Cold |
Hot | Water |
Water |
|
Waste |
|
Figure 32 |
|
Disposal Assembly |
|
Air Gap |
|
(Optional |
|
| Waste |
| Cold |
Hot | Water |
Water |
|
| |
| Valve |
Figure 33 |
|
Spigot Assembly |
|
Air Gap |
|
(Optional |
|
| Waste |
| |
| Valve |
| Cold |
Hot | Water |
Water |
|
Figure 34 |
|
IMPORTANT
Before installing your
![]() WARNING
WARNING
To prevent accidental electrocution, make certain that the floor surfaces surrounding the unit are dry whenever power is removed from, or applied to, the unit.
02/2005 | 13 |