™ | CLR2060 — Clear Ice Maker |
|
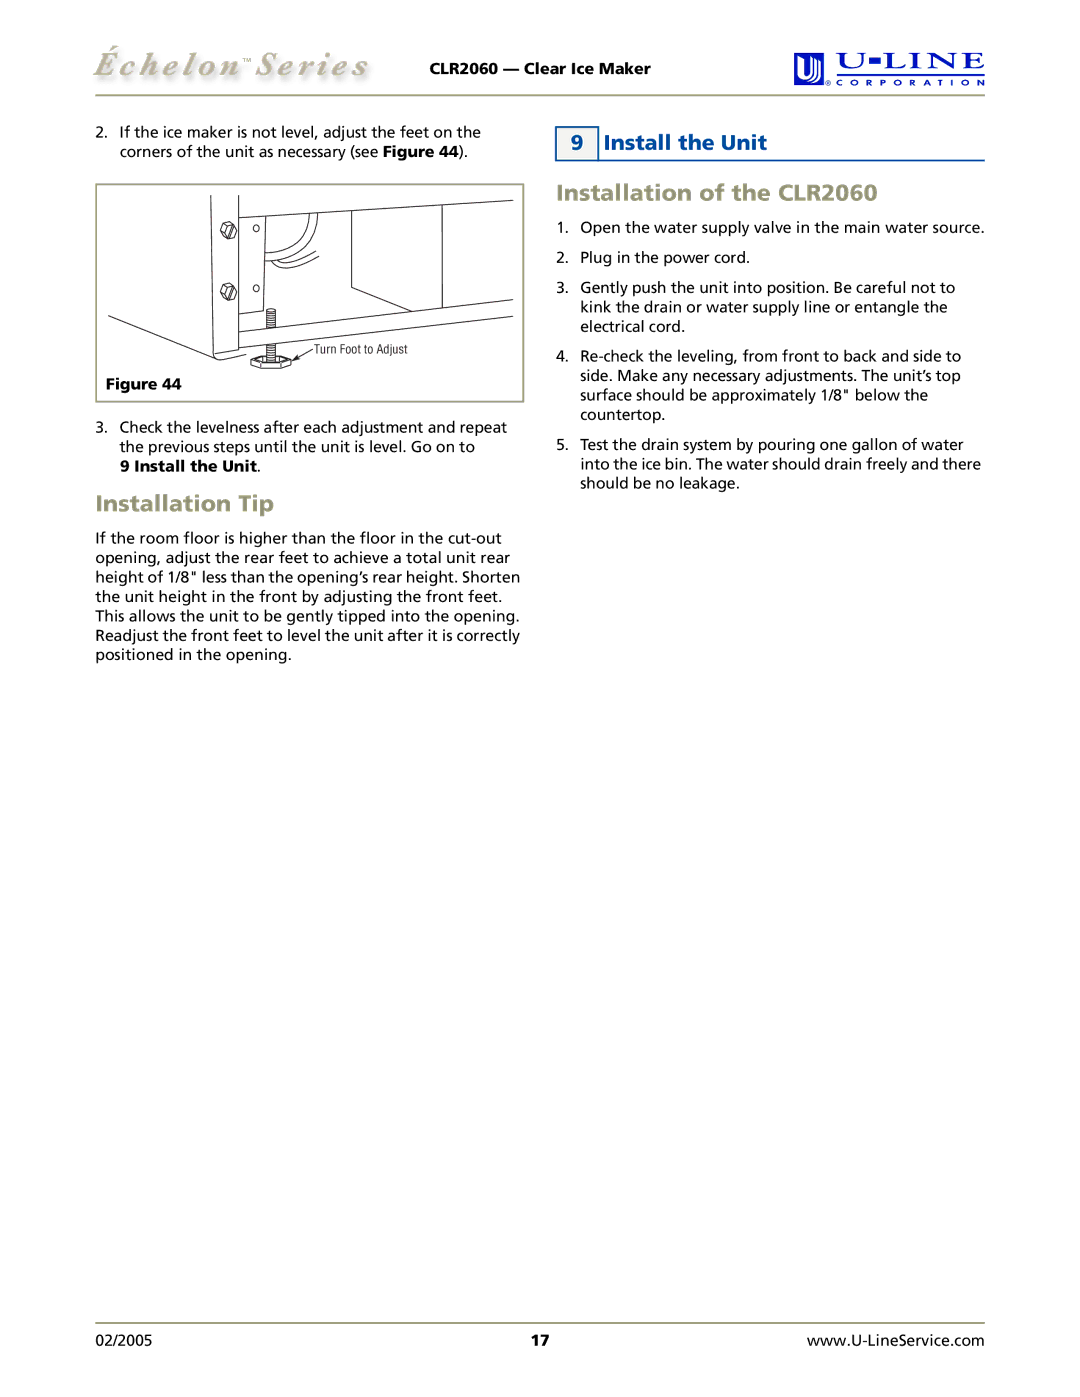
2.If the ice maker is not level, adjust the feet on the corners of the unit as necessary (see Figure 44).
Turn Foot to Adjust |
Figure 44 |
3.Check the levelness after each adjustment and repeat the previous steps until the unit is level. Go on to
9 Install the Unit.
9 Install the Unit
Installation of the CLR2060
1.Open the water supply valve in the main water source.
2.Plug in the power cord.
3.Gently push the unit into position. Be careful not to kink the drain or water supply line or entangle the electrical cord.
4.
5.Test the drain system by pouring one gallon of water into the ice bin. The water should drain freely and there should be no leakage.
Installation Tip
If the room floor is higher than the floor in the
02/2005 | 17 |