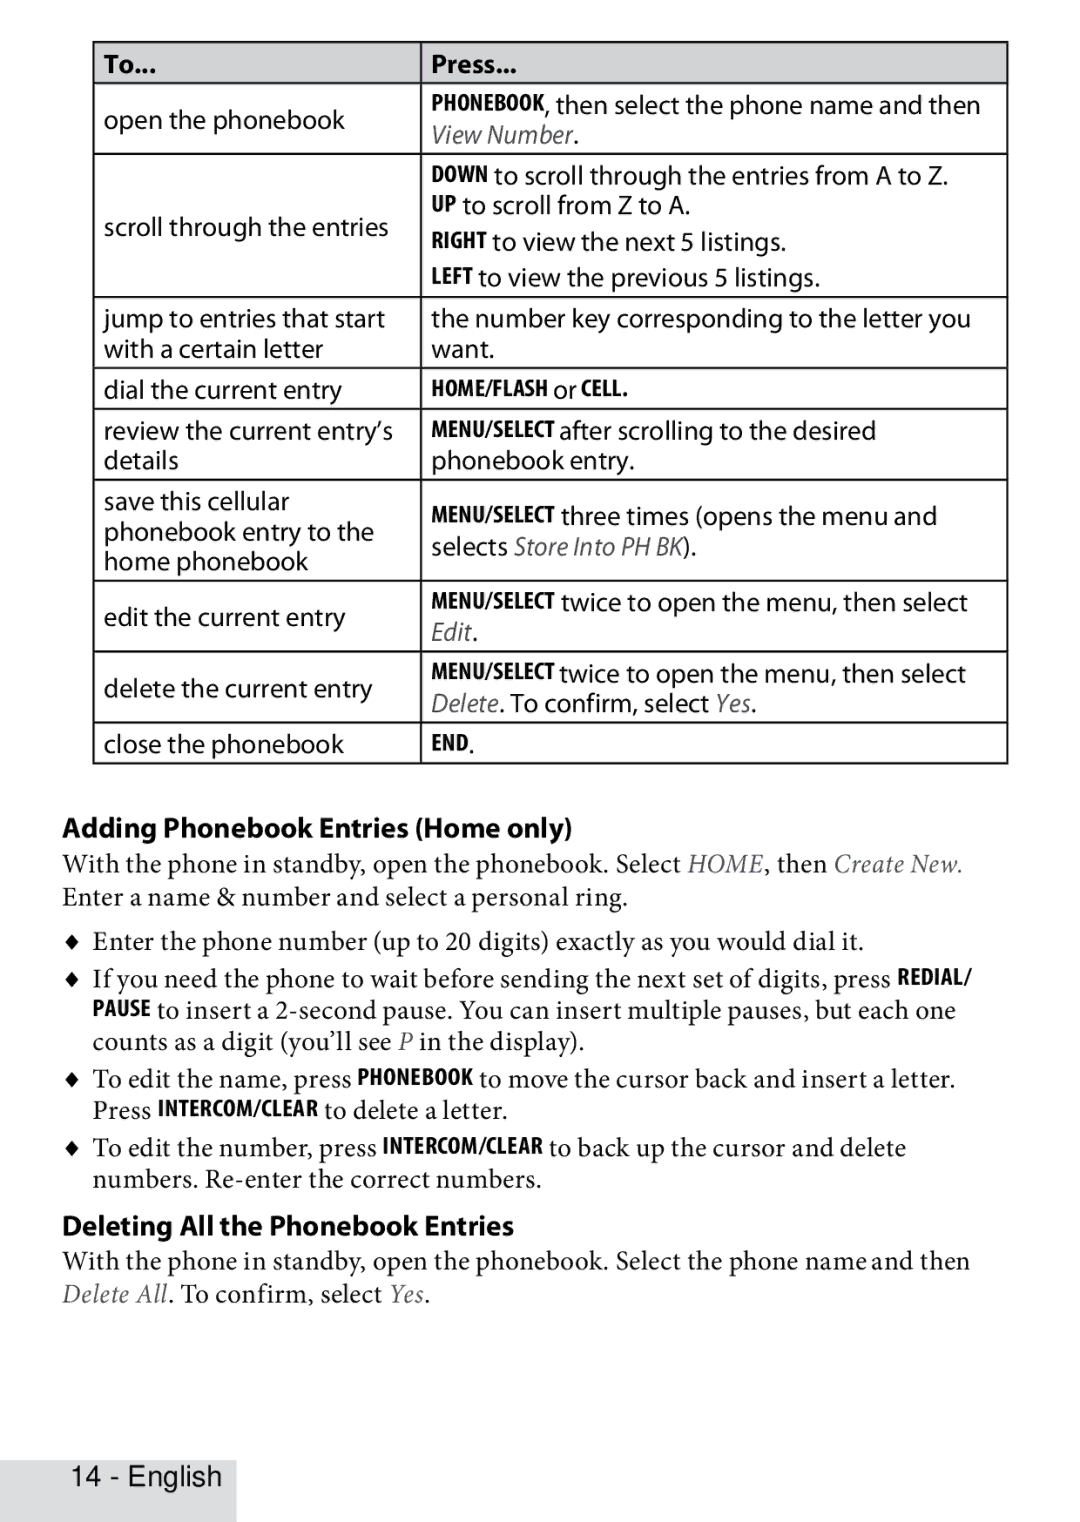
To... | Press... | |
open the phonebook | Phonebook, then select the phone name and then | |
View Number. | ||
| ||
| Down to scroll through the entries from A to Z. | |
scroll through the entries | Up to scroll from Z to A. | |
Right to view the next 5 listings. | ||
| ||
| Left to view the previous 5 listings. | |
jump to entries that start | the number key corresponding to the letter you | |
with a certain letter | want. | |
dial the current entry | HOME/FLASH or Cell. | |
review the current entry’s | Menu/Select after scrolling to the desired | |
details | phonebook entry. | |
save this cellular | MENU/SELECT three times (opens the menu and | |
phonebook entry to the | ||
selects Store Into PH BK). | ||
home phonebook | ||
| ||
edit the current entry | Menu/select twice to open the menu, then select | |
Edit. | ||
| ||
delete the current entry | Menu/select twice to open the menu, then select | |
Delete. To confirm, select Yes. | ||
| ||
close the phonebook | End. |
Adding Phonebook Entries (Home only)
With the phone in standby, open the phonebook. Select HOME, then Create New. Enter a name & number and select a personal ring.
♦Enter the phone number (up to 20 digits) exactly as you would dial it.
♦If you need the phone to wait before sending the next set of digits, press Redial/ pause to insert a
♦To edit the name, press Phonebook to move the cursor back and insert a letter. Press Intercom/Clear to delete a letter.
♦To edit the number, press Intercom/Clear to back up the cursor and delete numbers.
Deleting All the Phonebook Entries
With the phone in standby, open the phonebook. Select the phone name and then Delete All. To confirm, select Yes.
