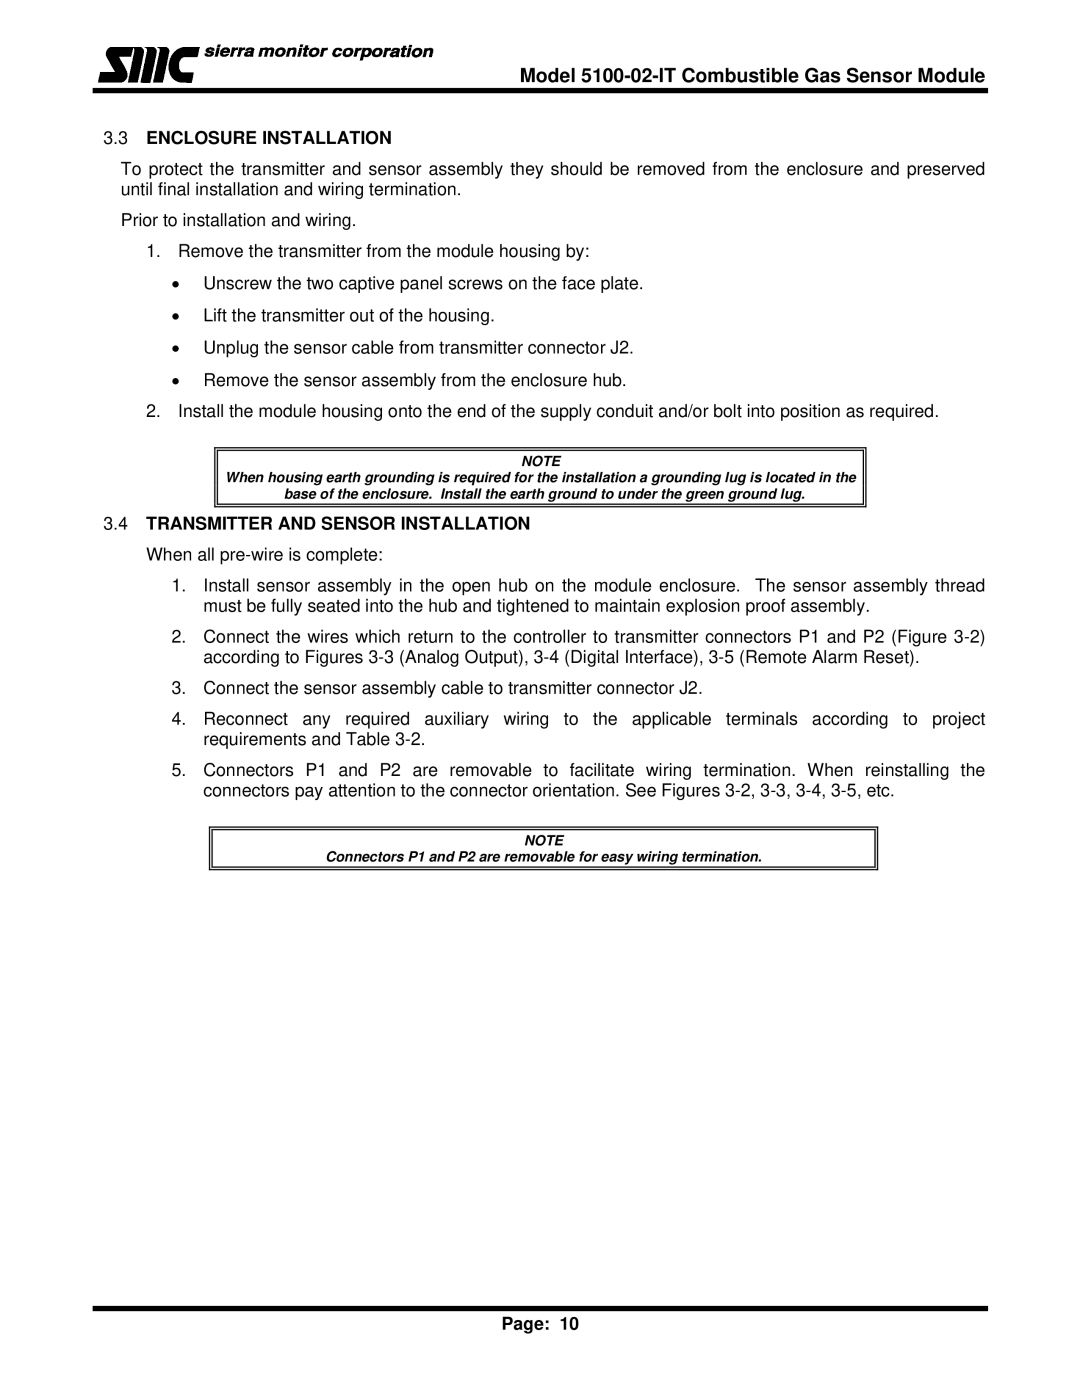
5100-02-IT, IT Series specifications
The Univex 5100-02-IT, part of the IT Series, is a highly advanced piece of technology designed to cater to a myriad of industrial applications. This product stands out for its impressive features and robust performance, making it a sought-after solution in various sectors.One of the key characteristics of the Univex 5100-02-IT is its versatility. Designed with a modular architecture, it allows for easy customization according to specific operational needs. This flexibility supports an extensive range of configurations, ensuring that users can optimize performance based on their unique requirements.
In terms of connectivity, the Univex 5100-02-IT excels with its comprehensive array of communication options. It supports multiple protocols, including Ethernet, Wi-Fi, and serial communications, ensuring seamless integration with existing systems. This adaptability facilitates efficient data exchange and helps streamline operations, whether in manufacturing, logistics, or other industrial settings.
The IT Series emphasizes reliability and durability, which are critical in industrial environments. The 5100-02-IT is built with high-quality materials that can withstand harsh conditions, including temperature fluctuations and exposure to various chemicals. This robustness ensures minimal downtime and adds to the overall efficiency of operations.
Another standout feature of the Univex 5100-02-IT is its advanced data processing capabilities. Equipped with a powerful processor, it ensures quick and accurate analysis of data, enhancing decision-making processes. This allows organizations to respond faster to changing conditions and optimize their operations in real-time.
Security is paramount in the current technological landscape, and the Univex 5100-02-IT addresses this concern with a suite of security features. With built-in firewalls and data encryption capabilities, it safeguards sensitive information against unauthorized access and cyber threats.
User-friendliness is also a priority with this device. The intuitive interface makes navigation simple, allowing operators to efficiently manage settings and monitor performance with ease. This simplicity reduces the learning curve and enhances overall productivity.
In summary, the Univex 5100-02-IT from the IT Series embodies a range of advanced features, technologies, and characteristics that cater to the evolving demands of industrial applications. Its versatility, robust construction, reliable connectivity, advanced data processing, security measures, and user-friendly interface make it an invaluable asset for companies looking to enhance their operational efficiency and adaptability.

