Radiance Direct Vent/Natural Vent Gas Heater
The Radiance stove, when installed as a Natural vent heater, includes a vent safety switch. (Page 34, Figure
67)Operating the stove when it is not connected to a properly installed and maintained venting system, or tampering with or disconnecting the vent safety switch, can result in carbon monoxide (CO) poisoning and possible death.
For U.S. installations: The venting system must conform with local codes and/or the current National Fuel Gas Code, ANSI Z22.1.
For Canadian installations: The venting system must conform to the current CSA B149.1 installation code.
Install the Vent Pipe
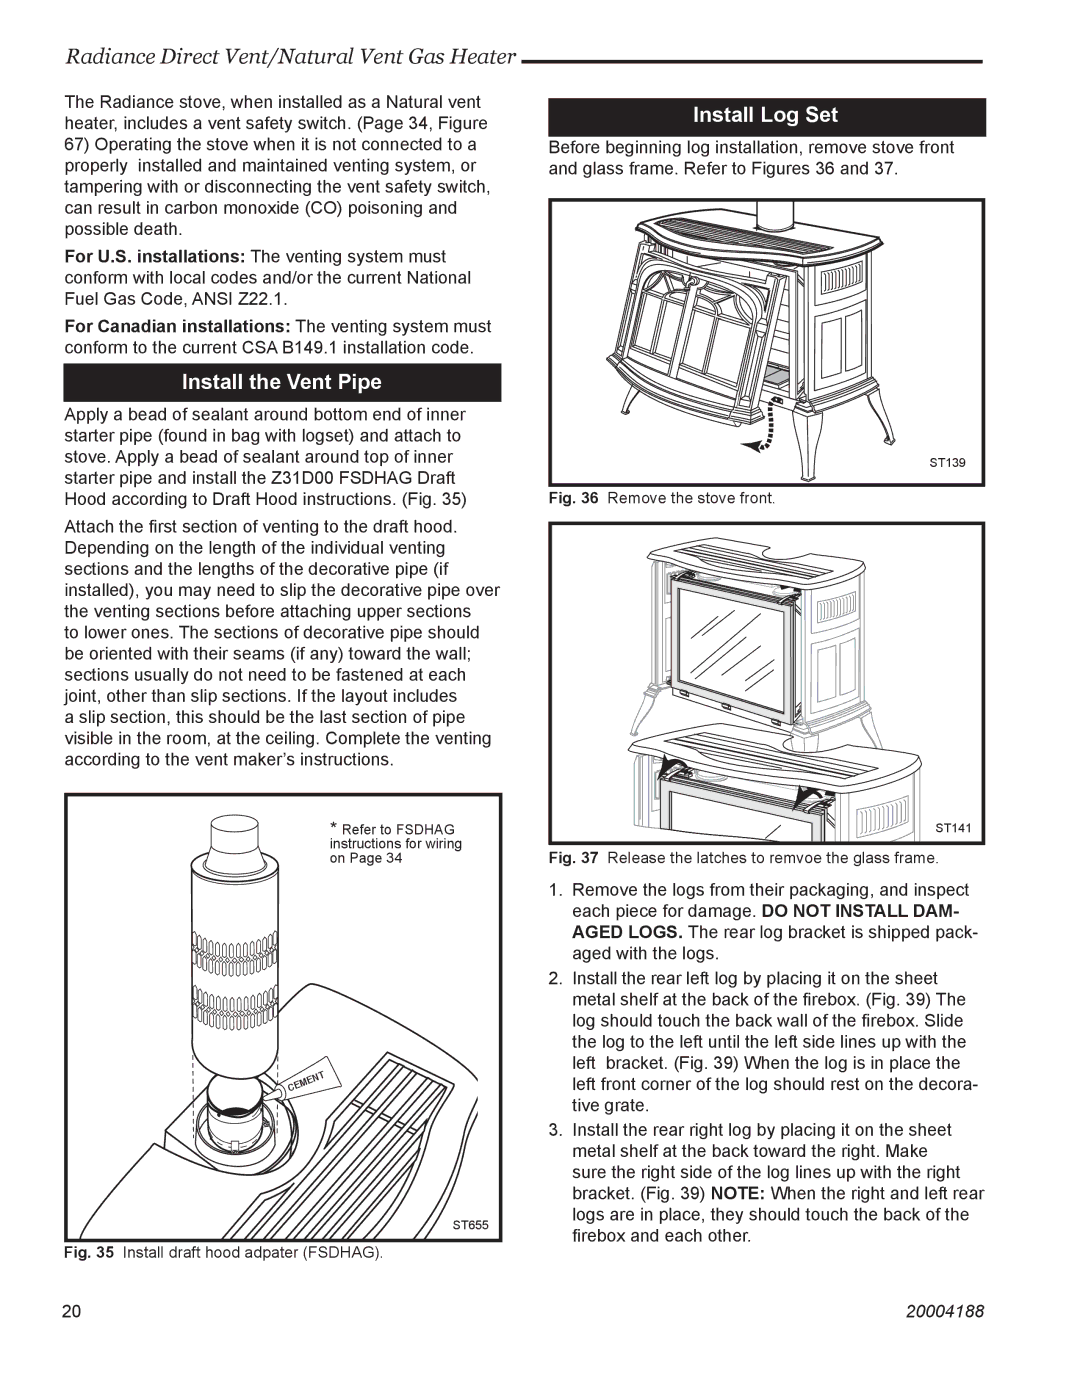
Apply a bead of sealant around bottom end of inner starter pipe (found in bag with logset) and attach to stove. Apply a bead of sealant around top of inner starter pipe and install the Z31D00 FSDHAG Draft Hood according to Draft Hood instructions. (Fig. 35)
Attach the first section of venting to the draft hood. Depending on the length of the individual venting sections and the lengths of the decorative pipe (if installed), you may need to slip the decorative pipe over the venting sections before attaching upper sections to lower ones. The sections of decorative pipe should be oriented with their seams (if any) toward the wall; sections usually do not need to be fastened at each joint, other than slip sections. If the layout includes
a slip section, this should be the last section of pipe visible in the room, at the ceiling. Complete the venting according to the vent maker’s instructions.
* Refer to FSDHAG instructions for wiring on Page 34
![]()
![]() CEMENT��� ���
CEMENT��� ���
ST655
Fig. 35 Install draft hood adpater (FSDHAG).
Install Log Set
Before beginning log installation, remove stove front and glass frame. Refer to Figures 36 and 37.
ST139
Fig. 36 Remove the stove front.
ST141
Fig. 37 Release the latches to remvoe the glass frame.
1.Remove the logs from their packaging, and inspect each piece for damage. DO NOT INSTALL DAM- AGED LOGS. The rear log bracket is shipped pack- aged with the logs.
2.Install the rear left log by placing it on the sheet metal shelf at the back of the firebox. (Fig. 39) The log should touch the back wall of the firebox. Slide the log to the left until the left side lines up with the left bracket. (Fig. 39) When the log is in place the left front corner of the log should rest on the decora- tive grate.
3.Install the rear right log by placing it on the sheet metal shelf at the back toward the right. Make sure the right side of the log lines up with the right bracket. (Fig. 39) NOTE: When the right and left rear logs are in place, they should touch the back of the firebox and each other.
2020 | 20004188 |