V3200 Camera User’s Guide
Setting the Camera Date and Time
You are automatically prompted to set the date and time when you first use the camera or whenever you replace the batteries. You can change these settings at any time through the Date & Time Preference menu tab.
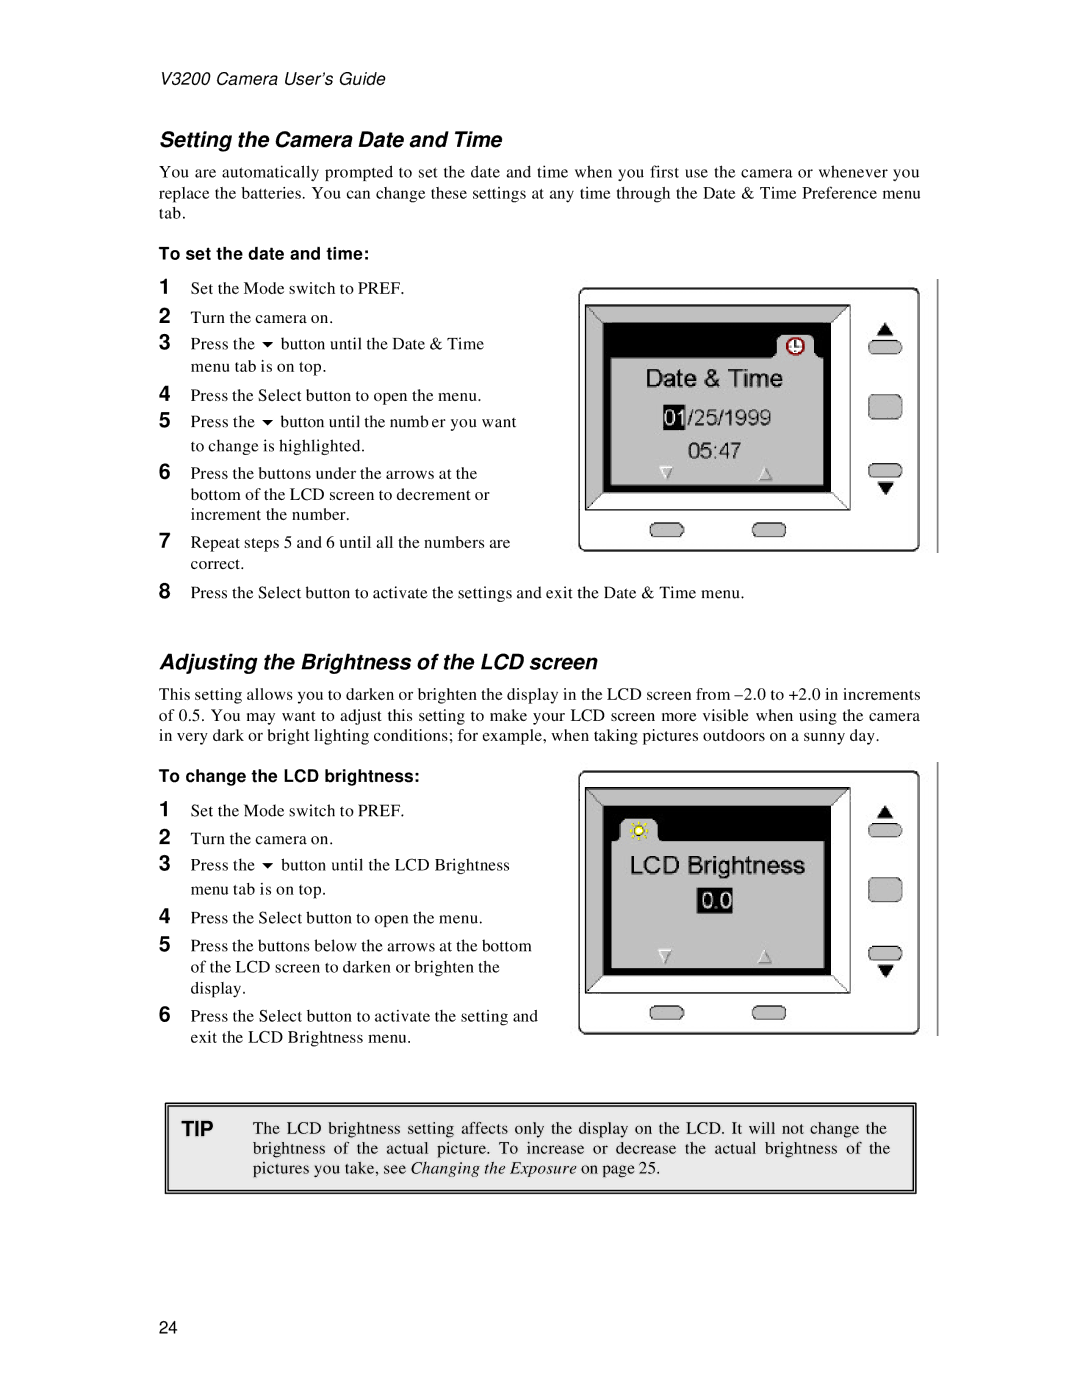
To set the date and time:
1Set the Mode switch to PREF.
2Turn the camera on.
3Press the 6 button until the Date & Time menu tab is on top.
4Press the Select button to open the menu.
5Press the 6 button until the numb er you want to change is highlighted.
6Press the buttons under the arrows at the bottom of the LCD screen to decrement or increment the number.
7Repeat steps 5 and 6 until all the numbers are correct.
8Press the Select button to activate the settings and exit the Date & Time menu.
Adjusting the Brightness of the LCD screen
This setting allows you to darken or brighten the display in the LCD screen from
To change the LCD brightness:
1Set the Mode switch to PREF.
2Turn the camera on.
3Press the 6 button until the LCD Brightness menu tab is on top.
4Press the Select button to open the menu.
5Press the buttons below the arrows at the bottom of the LCD screen to darken or brighten the display.
6Press the Select button to activate the setting and exit the LCD Brightness menu.
TIP | The LCD brightness setting affects only the display on the LCD. It will not change the |
| brightness of the actual picture. To increase or decrease the actual brightness of the |
| pictures you take, see Changing the Exposure on page 25. |
|
|
24