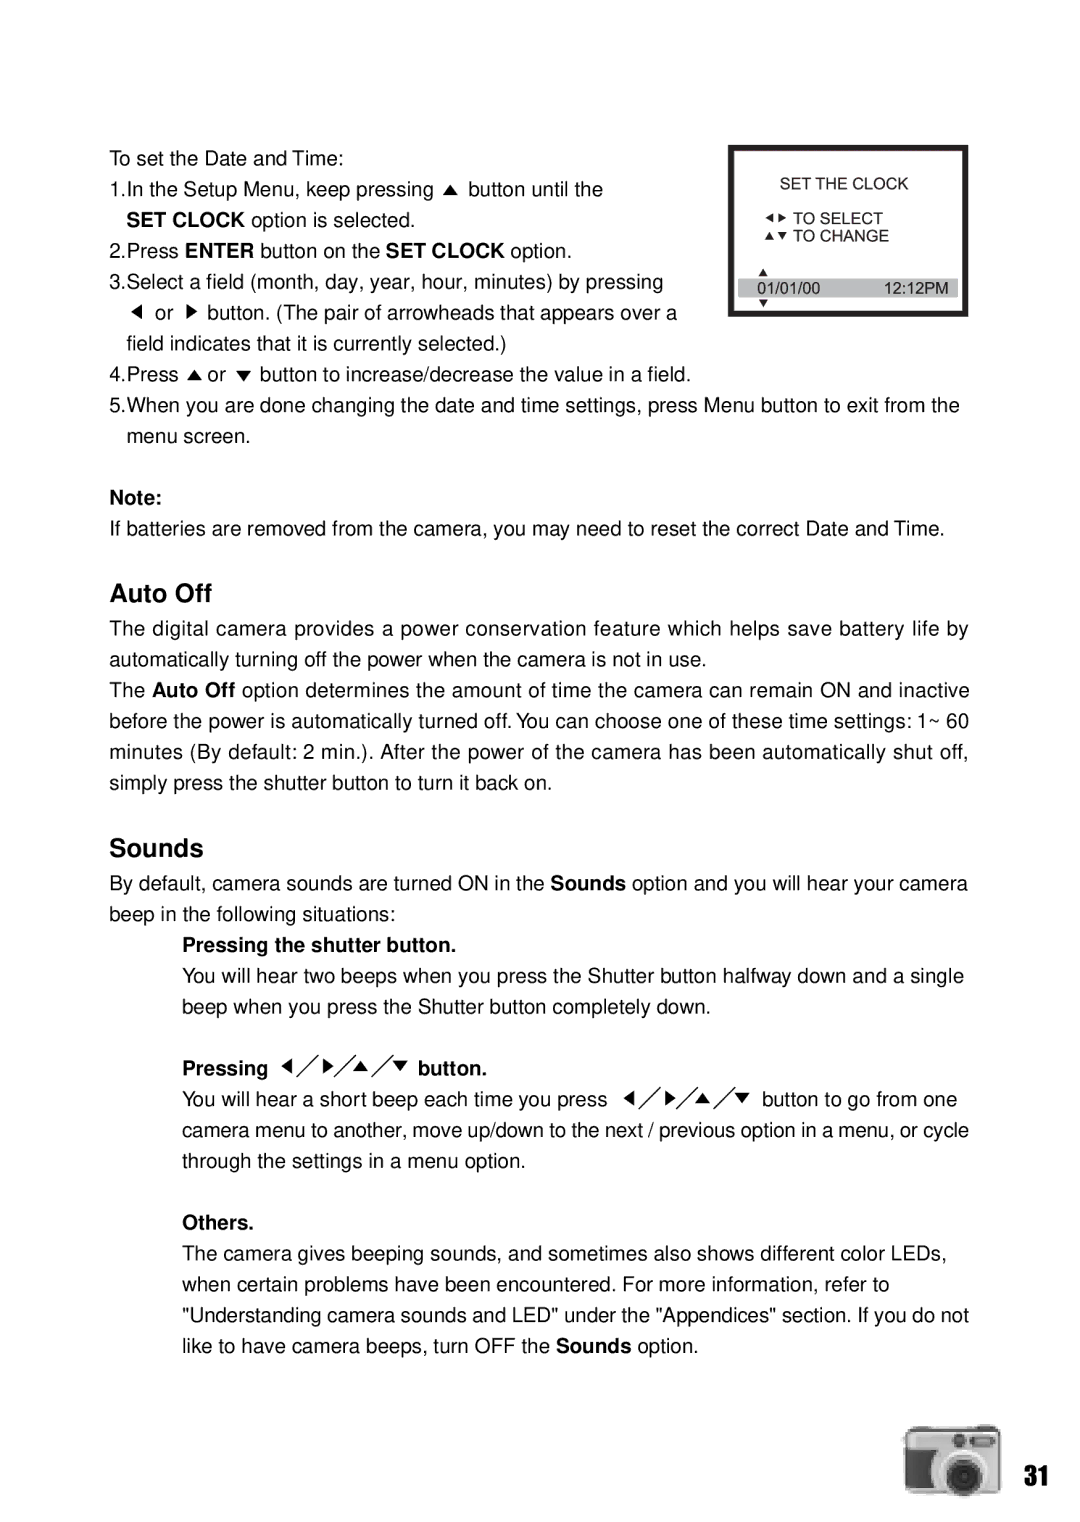
To set the Date and Time: |
|
1.In the Setup Menu, keep pressing | button until the |
SET CLOCK option is selected.
2.Press ENTER button on the SET CLOCK option.
3.Select a field (month, day, year, hour, minutes) by pressing
or | button. (The pair of arrowheads that appears over a | |
field indicates that it is currently selected.) | ||
4.Press | or | button to increase/decrease the value in a field. |
5.When you are done changing the date and time settings, press Menu button to exit from the menu screen.
Note:
If batteries are removed from the camera, you may need to reset the correct Date and Time.
Auto Off
The digital camera provides a power conservation feature which helps save battery life by automatically turning off the power when the camera is not in use.
The Auto Off option determines the amount of time the camera can remain ON and inactive before the power is automatically turned off. You can choose one of these time settings: 1~ 60 minutes (By default: 2 min.). After the power of the camera has been automatically shut off, simply press the shutter button to turn it back on.
Sounds
By default, camera sounds are turned ON in the Sounds option and you will hear your camera beep in the following situations:
Pressing the shutter button.
You will hear two beeps when you press the Shutter button halfway down and a single beep when you press the Shutter button completely down.
Pressing 
 button.
You will hear a short beep each time you press ![]()
![]() button to go from one camera menu to another, move up/down to the next / previous option in a menu, or cycle through the settings in a menu option.
button to go from one camera menu to another, move up/down to the next / previous option in a menu, or cycle through the settings in a menu option.
Others.
The camera gives beeping sounds, and sometimes also shows different color LEDs, when certain problems have been encountered. For more information, refer to "Understanding camera sounds and LED" under the "Appendices" section. If you do not like to have camera beeps, turn OFF the Sounds option.
31
