|
| DLP Projjecttor – User’s Manuall | |
|
| j t | |
|
|
|
|
ITEM | LABEL | DESCRIPTION |
|
|
|
|
|
10. | Input Video 4 | Connect an RCA component cable the Y/Pb/Pr connectors |
|
|
| Connect an RCA audio connector to L/R audio connectors |
|
|
|
|
|
11. | Input Video 2 | Connect a composite video cable to the Video connector |
|
|
| Connect an RCA audio connector to L/R audio connectors |
|
|
|
|
|
12. | Input Data 3 | Connect a |
|
|
| generator or advanced video converter. |
|
|
| Connect a |
|
|
| Connect an audio cable from a computer to |
|
|
|
|
|
13. | Input Data 2 | Connect the supplied |
|
|
| Connect an audio cable from a computer to |
|
|
|
|
|
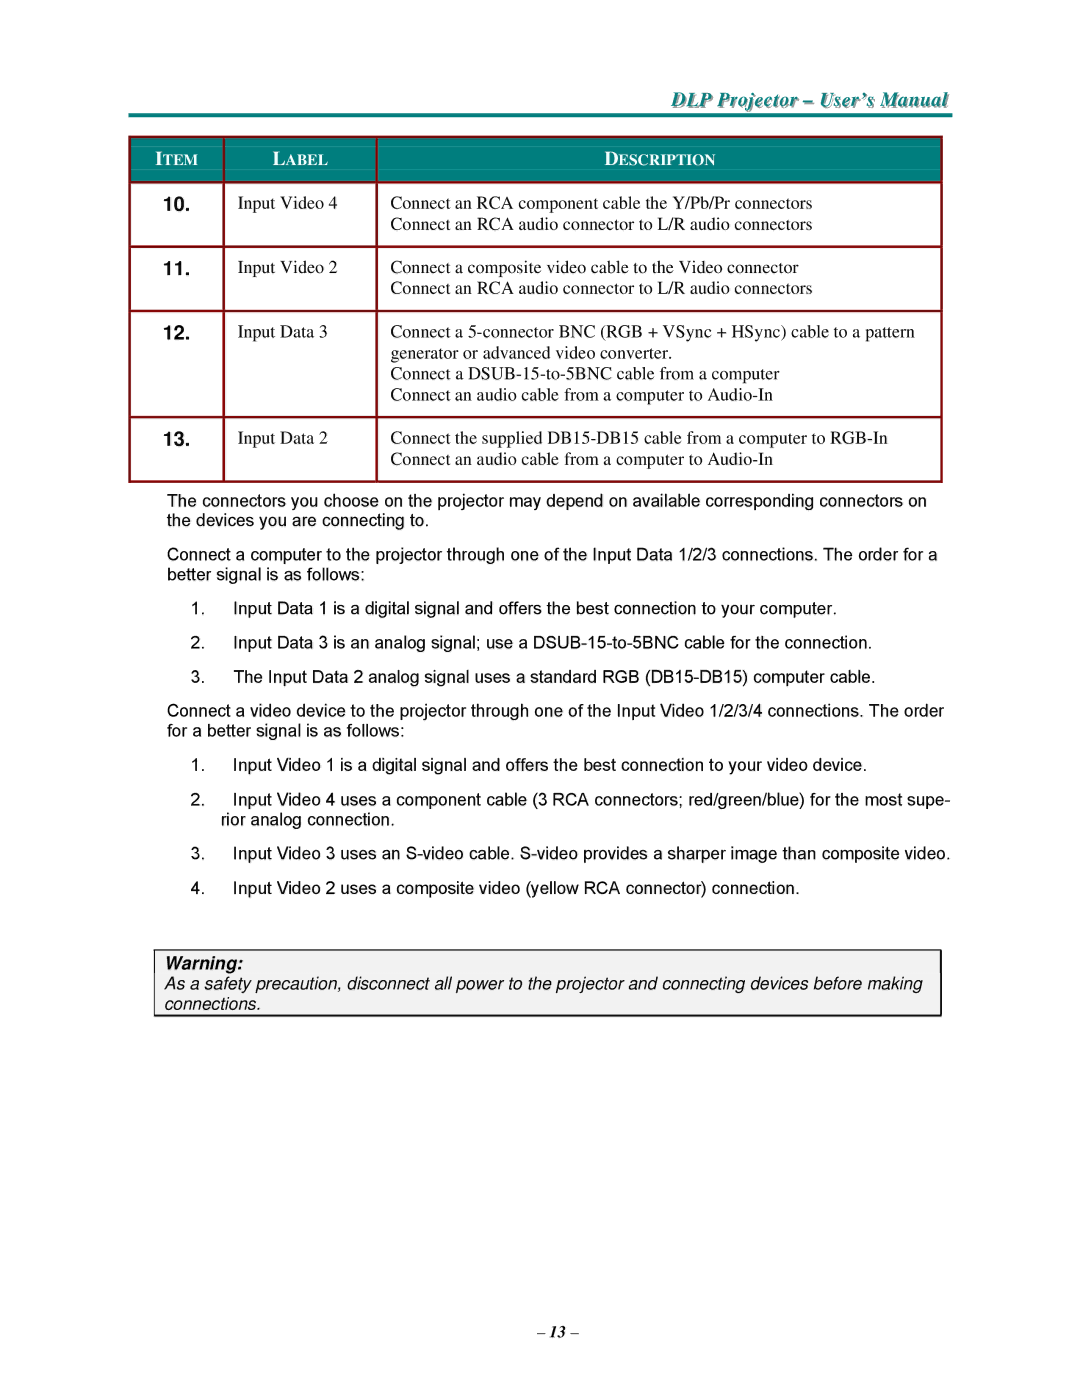
The connectors you choose on the projector may depend on available corresponding connectors on the devices you are connecting to.
Connect a computer to the projector through one of the Input Data 1/2/3 connections. The order for a better signal is as follows:
1.Input Data 1 is a digital signal and offers the best connection to your computer.
2.Input Data 3 is an analog signal; use a
3.The Input Data 2 analog signal uses a standard RGB
Connect a video device to the projector through one of the Input Video 1/2/3/4 connections. The order for a better signal is as follows:
1.Input Video 1 is a digital signal and offers the best connection to your video device.
2.Input Video 4 uses a component cable (3 RCA connectors; red/green/blue) for the most supe- rior analog connection.
3.Input Video 3 uses an
4.Input Video 2 uses a composite video (yellow RCA connector) connection.
Warning:
As a safety precaution, disconnect all power to the projector and connecting devices before making connections.
– 13 –
