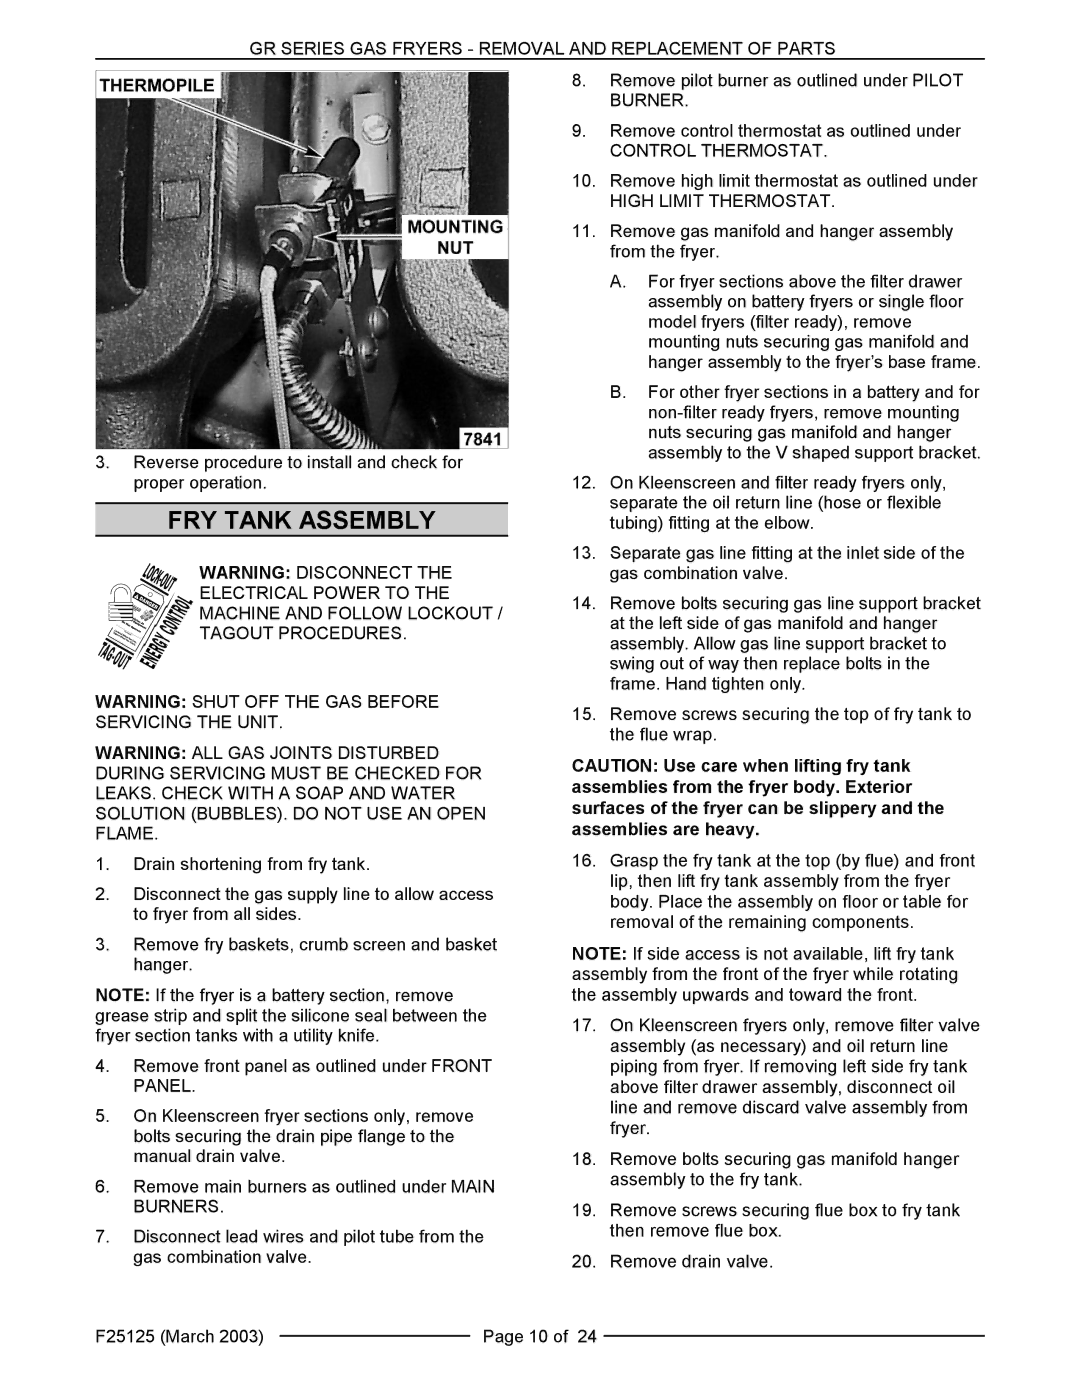
GR85, GR35, GR25, GR45F, GR35F specifications
Vulcan-Hart, a leader in the commercial kitchen equipment industry, offers an impressive lineup of gas griddles that cater to the diverse needs of foodservice operations. Among their most renowned models are the GR45, GR65, GR85F, GR65F, and GR35F, each characterized by its durability, efficiency, and innovative features.The Vulcan-Hart GR45 is a compact yet powerful gas griddle designed for operations with limited space. It features a 45-inch cooking surface, made from polished steel that provides even heat distribution for optimal cooking results. The GR45 comes equipped with a manual control thermostatic feature, which allows for precise temperature adjustments, ensuring perfect cooking for various menu items. Its stainless steel construction not only guarantees durability but also makes cleaning a breeze.
In contrast, the GR65 offers a larger cooking surface, measuring 65 inches. This model is particularly well-suited for establishments with high-volume demands. The GR65 boasts a high-efficiency burner system that maximizes heat output while minimizing gas consumption. Its smooth, durable cooking surface allows chefs to sear meats, cook pancakes, and prepare various dishes simultaneously. Moreover, the GR65F variant includes a front grease drawer, facilitating easy cleanup and maintenance.
The GR85F model takes versatility a step further, featuring an expansive 85-inch cooking area. This griddle is ideal for high-traffic restaurants and catering operations, offering ample space to handle multiple orders at once. The GR85F utilizes a powerful gas burner system that delivers consistent heat across the entire cooking surface. Its built-in grease management system helps maintain a clean cooking area, making it a favorite among busy kitchen staff.
For those in need of a smaller griddle, the GR65F and GR35F models are perfect solutions. The GR65F is similar to the GR65 but with the added convenience of a front grease drawer, while the GR35F is ideal for establishments focusing on smaller menus or limited cooking space. Both models feature reliable performance, energy efficiency, and ease of use, ensuring that operators can increase productivity while reducing operational costs.
In summary, the Vulcan-Hart GR series, including the GR45, GR65, GR85F, GR65F, and GR35F, showcases the brand's commitment to quality and innovation. Each model's main features, such as high-efficiency burners, durable cooking surfaces, and user-friendly grease management systems, cater to the ever-evolving demands of the foodservice industry. Whether for high-volume restaurants or smaller operations, Vulcan-Hart griddles deliver performance, reliability, and versatility.

