ADJUSTING CLOCK AND PHASE (VGA ONLY)
Some computers and video cards may not allow the
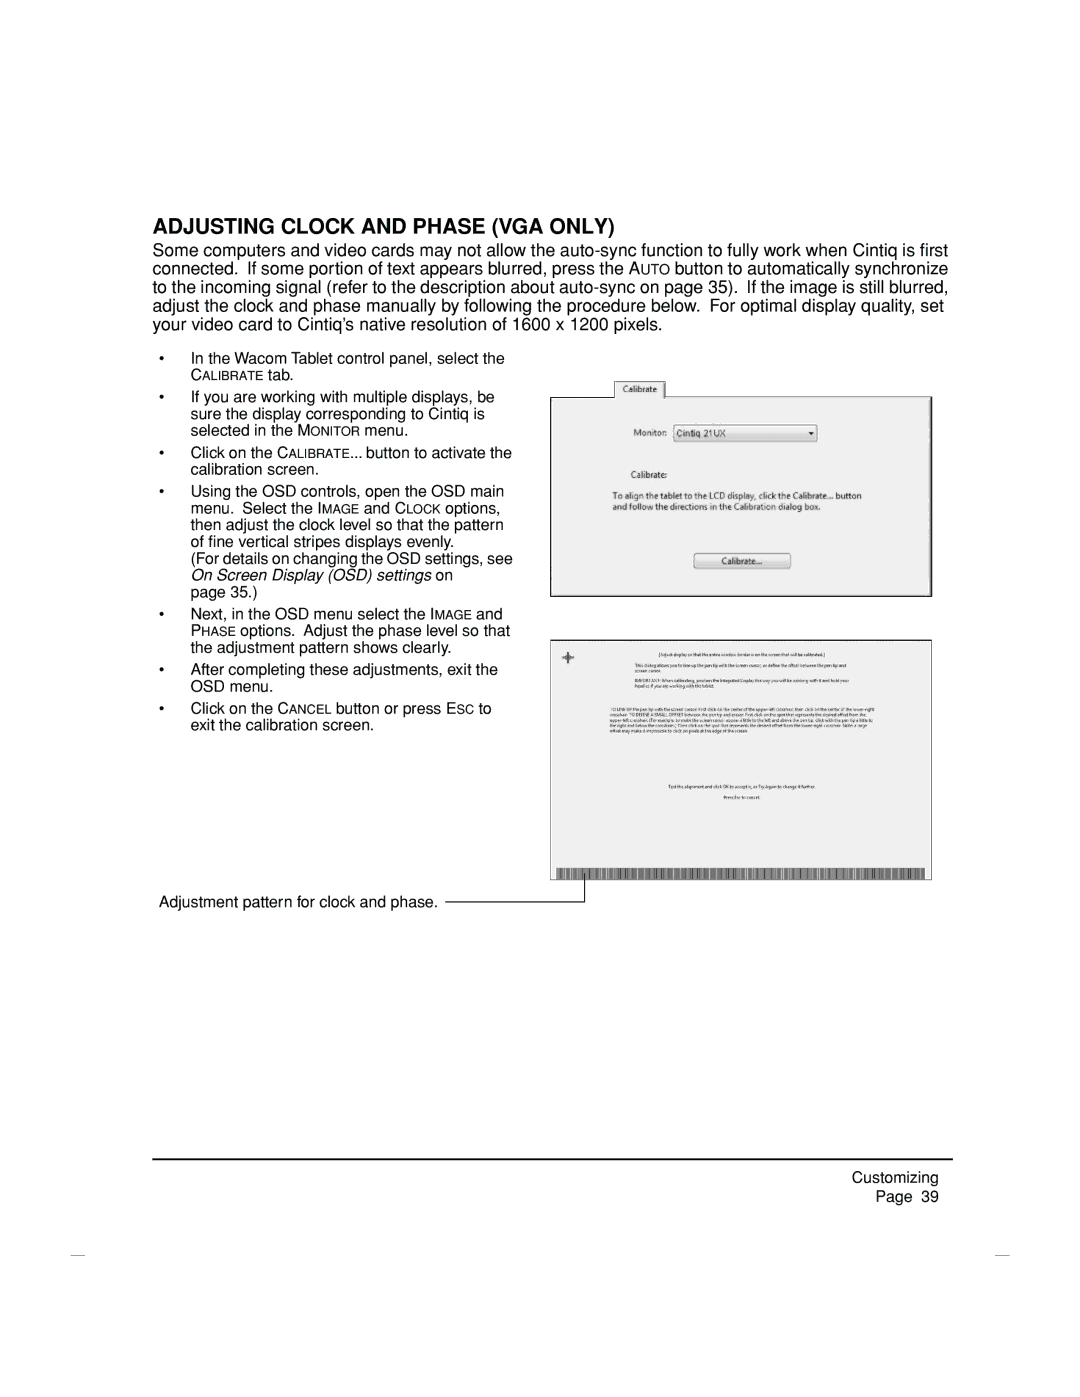
•In the Wacom Tablet control panel, select the CALIBRATE tab.
•If you are working with multiple displays, be sure the display corresponding to Cintiq is selected in the MONITOR menu.
•Click on the CALIBRATE... button to activate the calibration screen.
•Using the OSD controls, open the OSD main menu. Select the IMAGE and CLOCK options, then adjust the clock level so that the pattern of fine vertical stripes displays evenly.
(For details on changing the OSD settings, see On Screen Display (OSD) settings on
page 35.)
•Next, in the OSD menu select the IMAGE and PHASE options. Adjust the phase level so that the adjustment pattern shows clearly.
•After completing these adjustments, exit the OSD menu.
•Click on the CANCEL button or press ESC to exit the calibration screen.
Adjustment pattern for clock and phase. ![]()
Customizing
Page 39