machine. Complete recipe following instructions. The bread maker will automatically turn itself off upon completion of the dough cycle and the red light will go out. Unplug cord from electrical outlet after cycle is complete.

HOW TO USE TIME DELAY: The time delay can be used at all settings except one-hour. Follow steps 1-4 for

making bread or dough in this manual. Use only recipes with the symbol with the time delay, as these recipes do not contain any perishable ingredients that can spoil when left at room temperature for several hours. NEVER use perishable ingredients; such as milk, eggs, cheese, yogurt, etc., with the time delay as these ingredients can spoil before the bread making process begins.

After completing the above steps, continue with the following:

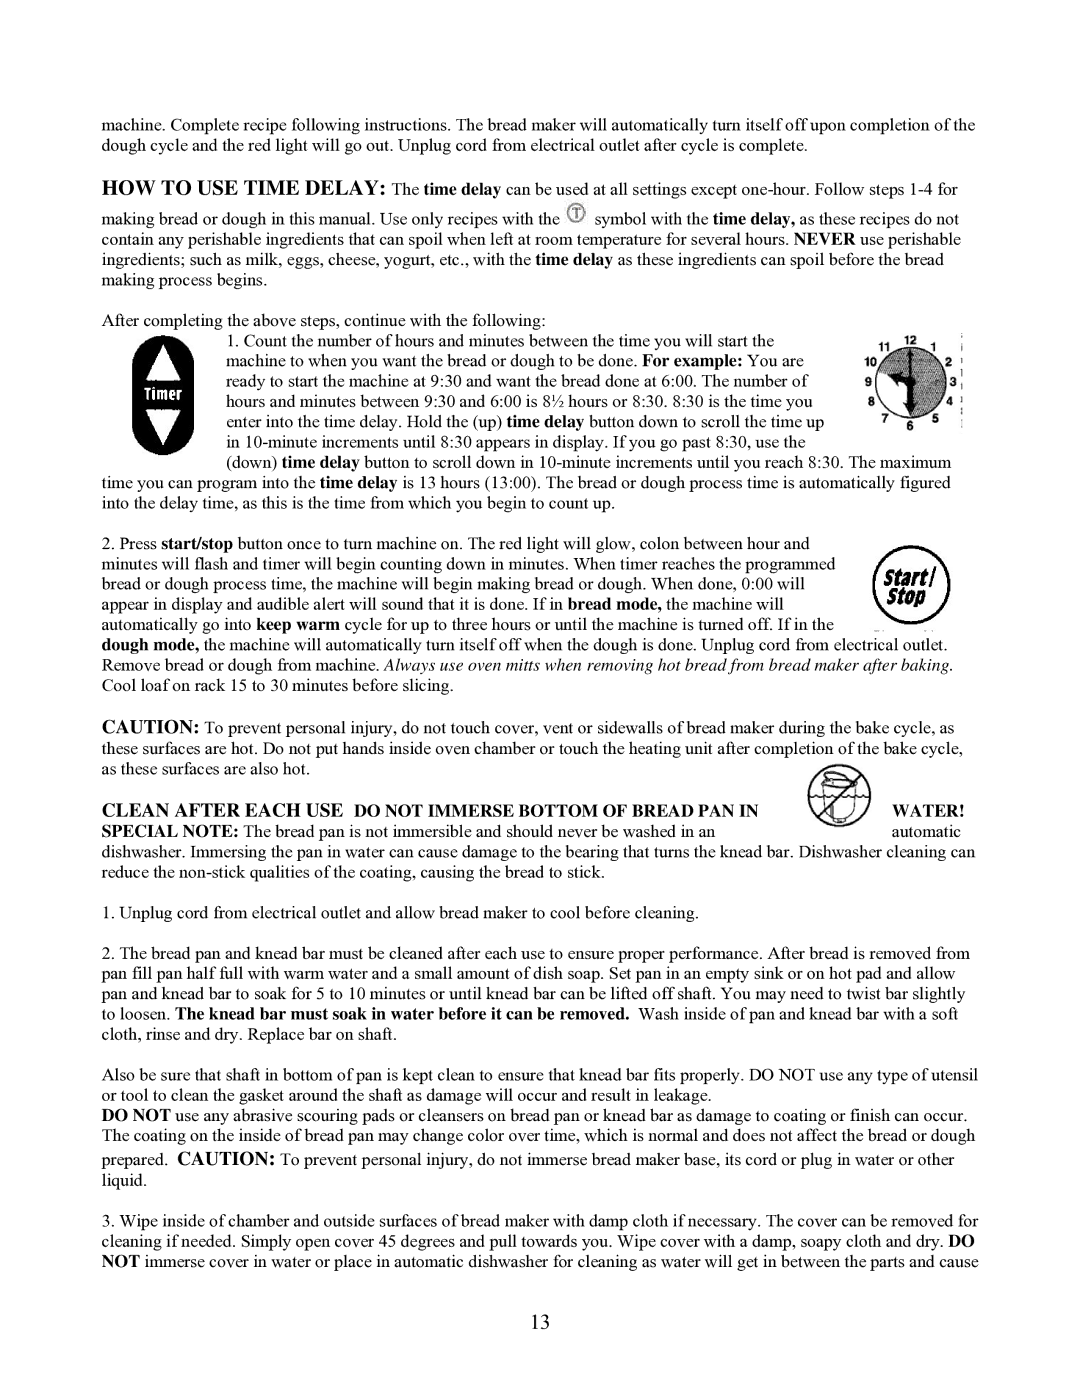
1.Count the number of hours and minutes between the time you will start the machine to when you want the bread or dough to be done. For example: You are ready to start the machine at 9:30 and want the bread done at 6:00. The number of hours and minutes between 9:30 and 6:00 is 8½ hours or 8:30. 8:30 is the time you enter into the time delay. Hold the (up) time delay button down to scroll the time up in 10-minute increments until 8:30 appears in display. If you go past 8:30, use the

(down) time delay button to scroll down in 10-minute increments until you reach 8:30. The maximum

time you can program into the time delay is 13 hours (13:00). The bread or dough process time is automatically figured into the delay time, as this is the time from which you begin to count up.

2.Press start/stop button once to turn machine on. The red light will glow, colon between hour and minutes will flash and timer will begin counting down in minutes. When timer reaches the programmed bread or dough process time, the machine will begin making bread or dough. When done, 0:00 will appear in display and audible alert will sound that it is done. If in bread mode, the machine will automatically go into keep warm cycle for up to three hours or until the machine is turned off. If in the

dough mode, the machine will automatically turn itself off when the dough is done. Unplug cord from electrical outlet. Remove bread or dough from machine. Always use oven mitts when removing hot bread from bread maker after baking. Cool loaf on rack 15 to 30 minutes before slicing.

CAUTION: To prevent personal injury, do not touch cover, vent or sidewalls of bread maker during the bake cycle, as these surfaces are hot. Do not put hands inside oven chamber or touch the heating unit after completion of the bake cycle, as these surfaces are also hot.

CLEAN AFTER EACH USE DO NOT IMMERSE BOTTOM OF BREAD PAN IN

WATER!

SPECIAL NOTE: The bread pan is not immersible and should never be washed in an

automatic

dishwasher. Immersing the pan in water can cause damage to the bearing that turns the knead bar. Dishwasher cleaning can reduce the non-stick qualities of the coating, causing the bread to stick.

1.Unplug cord from electrical outlet and allow bread maker to cool before cleaning.

2.The bread pan and knead bar must be cleaned after each use to ensure proper performance. After bread is removed from pan fill pan half full with warm water and a small amount of dish soap. Set pan in an empty sink or on hot pad and allow pan and knead bar to soak for 5 to 10 minutes or until knead bar can be lifted off shaft. You may need to twist bar slightly to loosen. The knead bar must soak in water before it can be removed. Wash inside of pan and knead bar with a soft cloth, rinse and dry. Replace bar on shaft.

Also be sure that shaft in bottom of pan is kept clean to ensure that knead bar fits properly. DO NOT use any type of utensil or tool to clean the gasket around the shaft as damage will occur and result in leakage.

DO NOT use any abrasive scouring pads or cleansers on bread pan or knead bar as damage to coating or finish can occur. The coating on the inside of bread pan may change color over time, which is normal and does not affect the bread or dough prepared. CAUTION: To prevent personal injury, do not immerse bread maker base, its cord or plug in water or other liquid.

3.Wipe inside of chamber and outside surfaces of bread maker with damp cloth if necessary. The cover can be removed for cleaning if needed. Simply open cover 45 degrees and pull towards you. Wipe cover with a damp, soapy cloth and dry. DO NOT immerse cover in water or place in automatic dishwasher for cleaning as water will get in between the parts and cause

13

Page 13
Image 13
West Bend L5141 manual

L5141 specifications

The West Bend L5141 is a highly regarded electric griddle designed for both home and commercial use, known for its impressive features and versatility in cooking. With an expansive cooking surface, the L5141 allows for the preparation of multiple food items simultaneously, making it an ideal choice for large families or eateries seeking efficiency in meal preparation.

One of the standout features of the West Bend L5141 is its generous cooking area, typically around 20 inches by 10 inches, offering ample space to prepare pancakes, eggs, sandwiches, and more. The flat cooking surface heats evenly, ensuring that food is cooked uniformly without hot spots. This feature is particularly valuable for professional settings where consistency in cooking is paramount.

The L5141 is equipped with an adjustable temperature control, allowing users to set the ideal heat level for a wide range of dishes. Whether searing meats or keeping cooked food warm, the precise control makes it easy to achieve desired results. The built-in indicator lights also add a level of convenience by signaling when the griddle has reached the set temperature, helping to avoid overcooking or undercooking.

In terms of construction, the West Bend L5141 is designed to withstand frequent use. The non-stick cooking surface is not only easy to clean but also reduces the amount of oil or grease needed during cooking, promoting healthier meal preparation. The design includes a drip tray that conveniently collects excess grease, further facilitating clean-up.

Moreover, the L5141's compact design allows for easy storage while maintaining a sleek aesthetic that complements any kitchen decor. The sturdy base provides stability, preventing tipping during use, while the easy-grip handles enhance user control during cooking and serving.

The L5141 is also noted for its safety features, including cool-touch handles and base that prevent accidental burns, making it suitable for families with children. With its reliable performance, versatility, and user-friendly design, the West Bend L5141 electric griddle has become a favorite among cooking enthusiasts and professionals alike.

In summary, the West Bend L5141 electric griddle offers an ideal combination of functionality, safety, and efficiency, making it a valuable addition to any kitchen. Its durability and thoughtful design cater to various cooking needs, solidifying its reputation as a standout appliance in the griddle category.