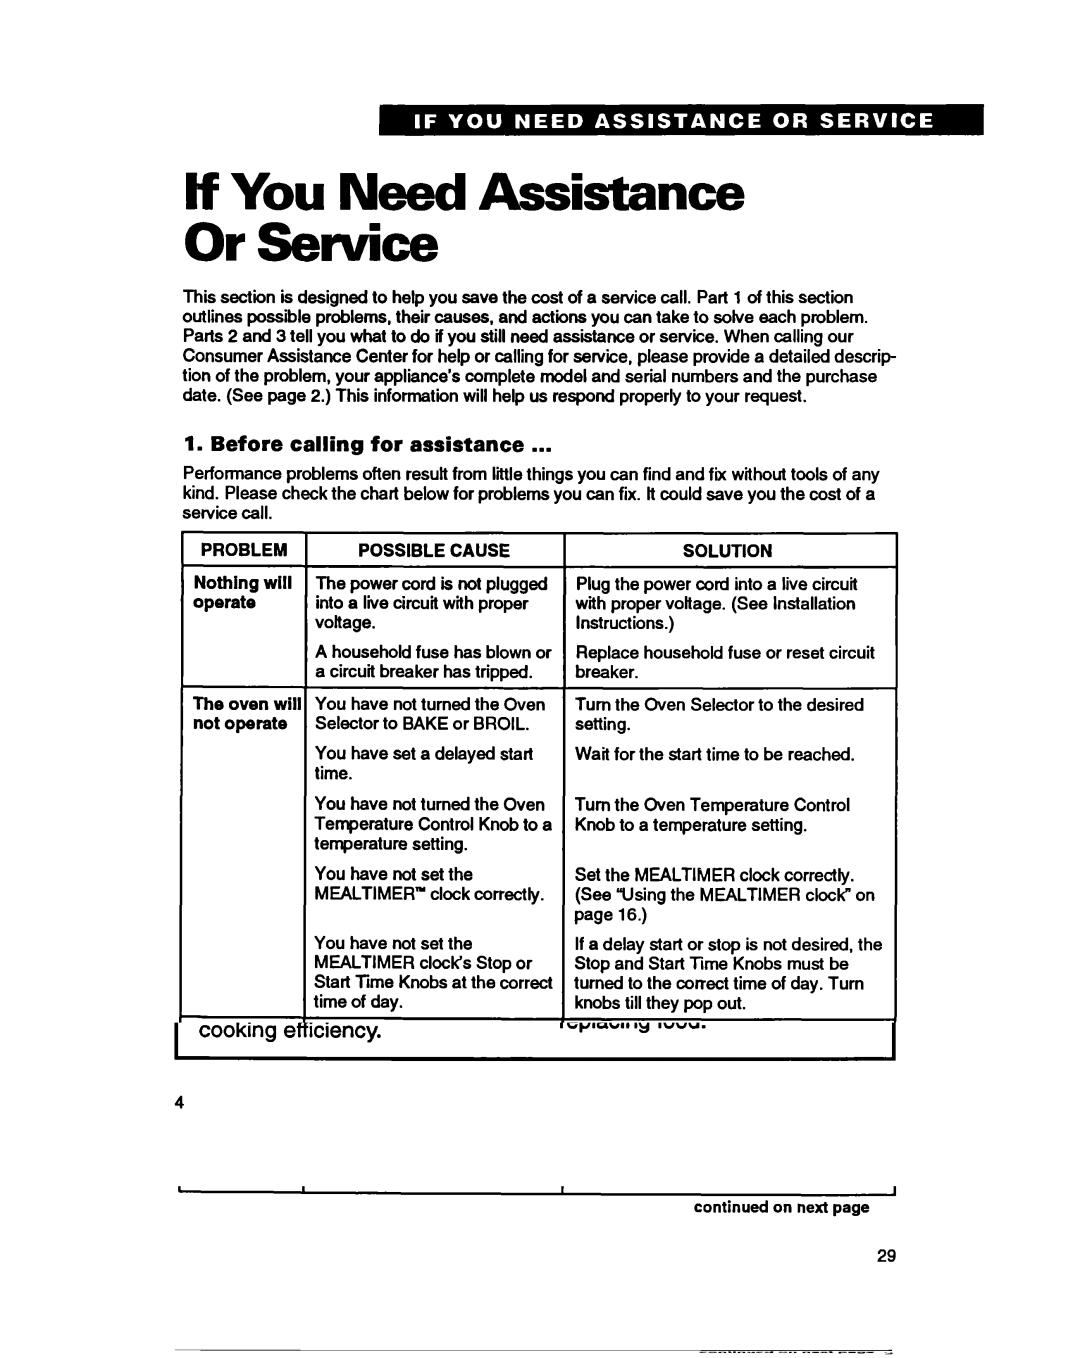
If You Need Assistance
Or Sewice
This section is designed to help you save the cost of a service call. Part 1 of this section outlines possible problems, their causes, and actions you can take to solve each problem. Parts 2 and 3 tell you what to do if you still need assistance or service. When calling our Consumer Assistance Center for help or calling for service, please provide a detailed descrip- tion of the problem, your appliance’s complete model and serial numbers and the purchase date. (See page 2.) This information will help us respond properly to your request.
1. Before calling for assistance . . .
Performance problems often result from liile things you can find and fix without tools of any kind. Please check the chart below for problems you can fix. lt could save you the cost of a service call.
PROBLEM POSSIBLE CAUSE
Nothing will The power cord ls not plugged
operate into a live circuit with proper voltage.
A household fuse has blown or a circuit breaker has tripped.
The oven will You have not turned the Oven not operate Selector to BAKE or BROIL.
You have set a delayed start time.
You have not turned the Oven Temperature Control Knob to a temperature setting.
You have not set the
MEALTIMER’” clock correctly.
You have not set the MEALTIMER clocks Stop or Start Time Knobs at the correct time of day.
The surface A household fuse has blown or unita will not a circuit breaker has tripped.
SOLUTION
Plug the power cord into a live circuit with proper voltage. (See Installation Instructions.)
Replace household fuse or reset circuit breaker.
Turn the Oven Selector to the desired setting.
Waft for the start time to be reached.
Turn the Oven Temperature Control Knob to a temperature setting.
Set the MEALTIMER clock correctly. (See “Using the MEALTIMER clock” on page 16.)
If a delay start or stop is not desired, the Stop and Start Time Knobs must be turned to the correct time of day. Turn knobs till they pop out.
Replace household fuse or reset circuit breaker.
operate
You have not plugged in surface units all the way.
You are not setting the control knobs correctly.
Turn control knobs to OFF and plug surface units in all the way. (See ‘Re- placing” on page 24.)
Push control knobs in before turning to a setting.
continued on next page
29
