PROGRAMMING
Setting the Clock and Day
Set Current Time and Day
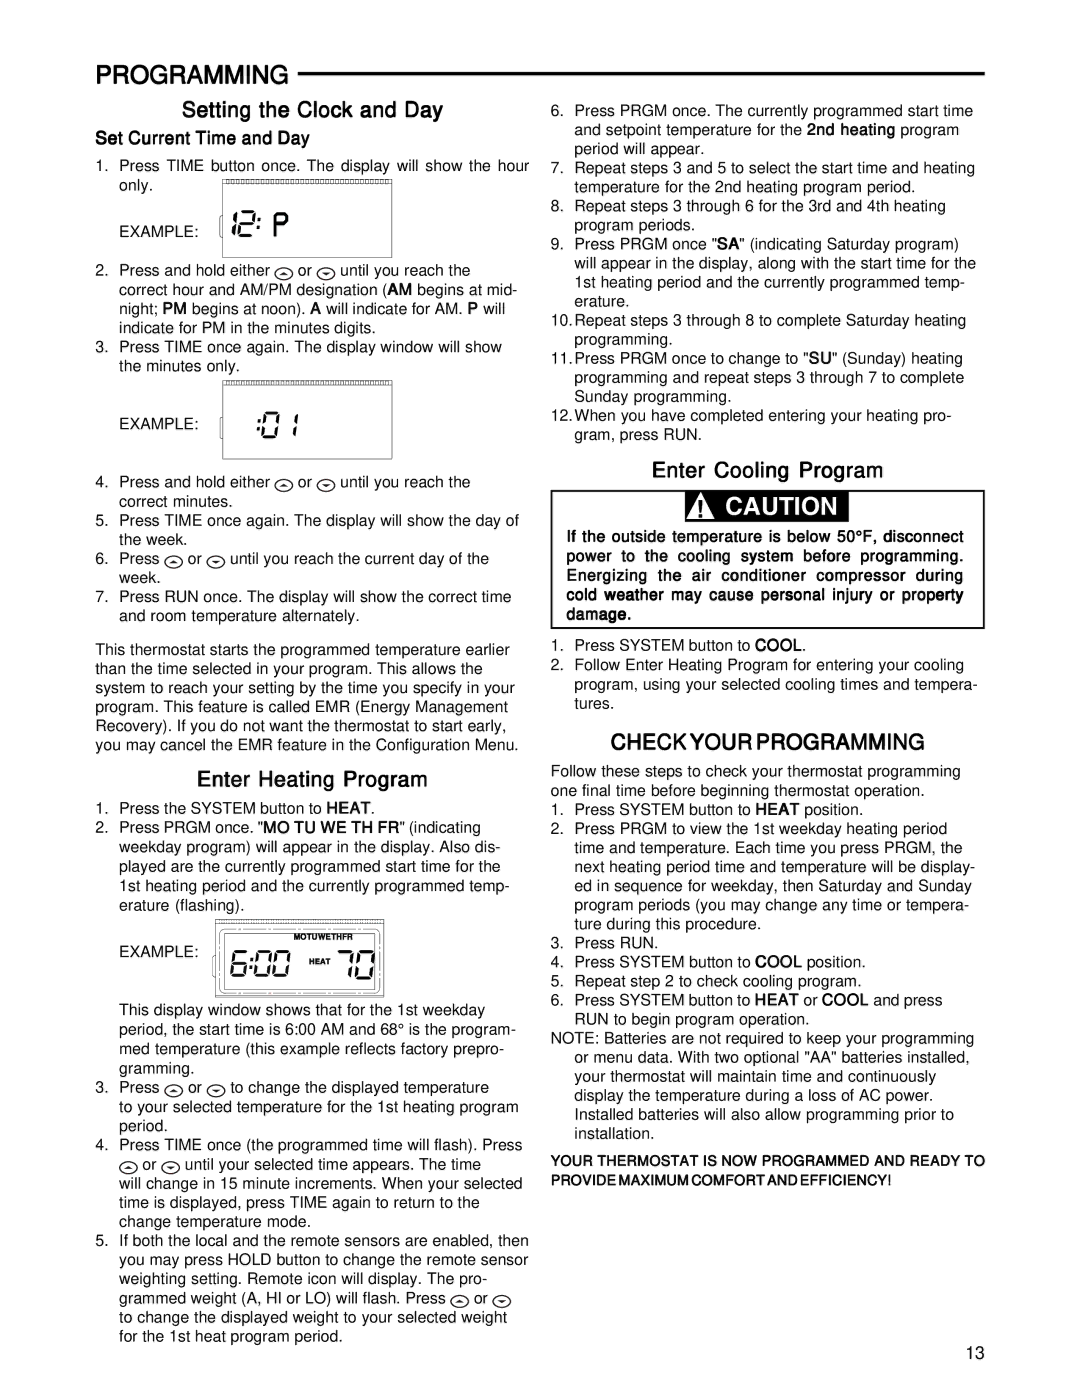
1.Press TIME button once. The display will show the hour only. ![]()
EXAMPLE:
2.Press and hold either ![]() or
or ![]() until you reach the correct hour and AM/PM designation (AM begins at mid- night; PM begins at noon). A will indicate for AM. P will indicate for PM in the minutes digits.
until you reach the correct hour and AM/PM designation (AM begins at mid- night; PM begins at noon). A will indicate for AM. P will indicate for PM in the minutes digits.
3.Press TIME once again. The display window will show the minutes only.
EXAMPLE:
4.Press and hold either ![]() or
or ![]() until you reach the correct minutes.
until you reach the correct minutes.
5.Press TIME once again. The display will show the day of the week.
6.Press ![]() or
or ![]() until you reach the current day of the week.
until you reach the current day of the week.
7.Press RUN once. The display will show the correct time and room temperature alternately.
This thermostat starts the programmed temperature earlier than the time selected in your program. This allows the system to reach your setting by the time you specify in your program. This feature is called EMR (Energy Management Recovery). If you do not want the thermostat to start early, you may cancel the EMR feature in the Configuration Menu.
Enter Heating Program
1.Press the SYSTEM button to HEAT.
2.Press PRGM once. "MO TU WE TH FR" (indicating weekday program) will appear in the display. Also dis- played are the currently programmed start time for the 1st heating period and the currently programmed temp- erature (flashing).
EXAMPLE:
This display window shows that for the 1st weekday period, the start time is 6:00 AM and 68° is the program- med temperature (this example reflects factory prepro- gramming.
3.Press ![]() or
or ![]() to change the displayed temperature
to change the displayed temperature
to your selected temperature for the 1st heating program period.
4.Press TIME once (the programmed time will flash). Press
![]() or
or ![]() until your selected time appears. The time
until your selected time appears. The time
will change in 15 minute increments. When your selected time is displayed, press TIME again to return to the change temperature mode.
5.If both the local and the remote sensors are enabled, then you may press HOLD button to change the remote sensor weighting setting. Remote icon will display. The pro-
grammed weight (A, HI or LO) will flash. Press ![]() or
or ![]() to change the displayed weight to your selected weight for the 1st heat program period.
to change the displayed weight to your selected weight for the 1st heat program period.
6.Press PRGM once. The currently programmed start time and setpoint temperature for the 2nd heating program period will appear.
7.Repeat steps 3 and 5 to select the start time and heating temperature for the 2nd heating program period.
8.Repeat steps 3 through 6 for the 3rd and 4th heating program periods.
9.Press PRGM once "SA" (indicating Saturday program) will appear in the display, along with the start time for the 1st heating period and the currently programmed temp- erature.
10.Repeat steps 3 through 8 to complete Saturday heating programming.
11.Press PRGM once to change to "SU" (Sunday) heating programming and repeat steps 3 through 7 to complete Sunday programming.
12.When you have completed entering your heating pro- gram, press RUN.
Enter Cooling Program
!CAUTION
If the outside temperature is below 50°F, disconnect power to the cooling system before programming. Energizing the air conditioner compressor during cold weather may cause personal injury or property damage.
1.Press SYSTEM button to COOL.
2.Follow Enter Heating Program for entering your cooling program, using your selected cooling times and tempera- tures.
CHECK YOUR PROGRAMMING
Follow these steps to check your thermostat programming one final time before beginning thermostat operation.
1.Press SYSTEM button to HEAT position.
2.Press PRGM to view the 1st weekday heating period time and temperature. Each time you press PRGM, the next heating period time and temperature will be display- ed in sequence for weekday, then Saturday and Sunday program periods (you may change any time or tempera- ture during this procedure.
3.Press RUN.
4.Press SYSTEM button to COOL position.
5.Repeat step 2 to check cooling program.
6.Press SYSTEM button to HEAT or COOL and press RUN to begin program operation.
NOTE: Batteries are not required to keep your programming or menu data. With two optional "AA" batteries installed, your thermostat will maintain time and continuously display the temperature during a loss of AC power. Installed batteries will also allow programming prior to installation.
YOUR THERMOSTAT IS NOW PROGRAMMED AND READY TO PROVIDE MAXIMUM COMFORT AND EFFICIENCY!
13