I N S TA L L AT I O N I N S T R U C T I O N S
I N T E R N A L B L O W E R S
IMPORTANT NOTE: Refer to the specific installation instructions provided with each internal blower for additional mounting and wiring instructions.
IMPORTANT NOTE: Use wire connectors or wire nuts approved by UL or C/UL.
IMPORTANT NOTE: Wolf recommends installing the internal blower to the
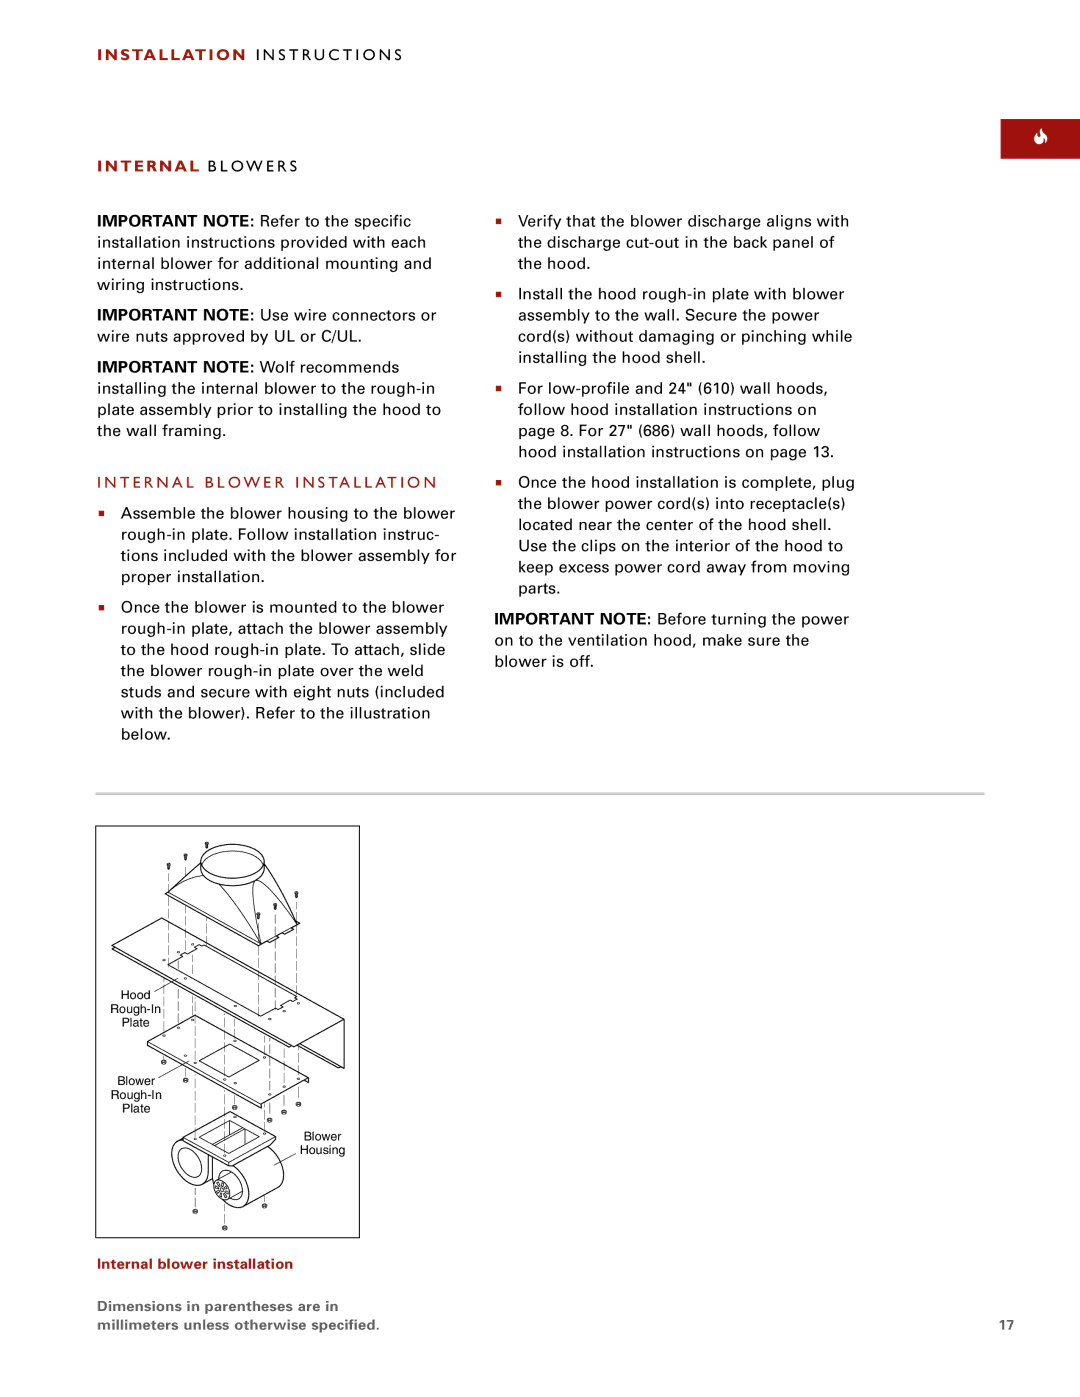
I N T E R N A L B L O W E R I N S TA L L AT I O N
Assemble the blower housing to the blower
Once the blower is mounted to the blower
Verify that the blower discharge aligns with the discharge
Install the hood
For
Once the hood installation is complete, plug the blower power cord(s) into receptacle(s) located near the center of the hood shell. Use the clips on the interior of the hood to keep excess power cord away from moving parts.
IMPORTANT NOTE: Before turning the power on to the ventilation hood, make sure the blower is off.
Hood |
Plate |
Blower |
Plate |
Blower |
Housing |
Internal blower installation
Dimensions in parentheses are in |
|
millimeters unless otherwise specified. | 17 |