W1730 Oscillating Edge Sander
Miter Gauge
OPERATIONS
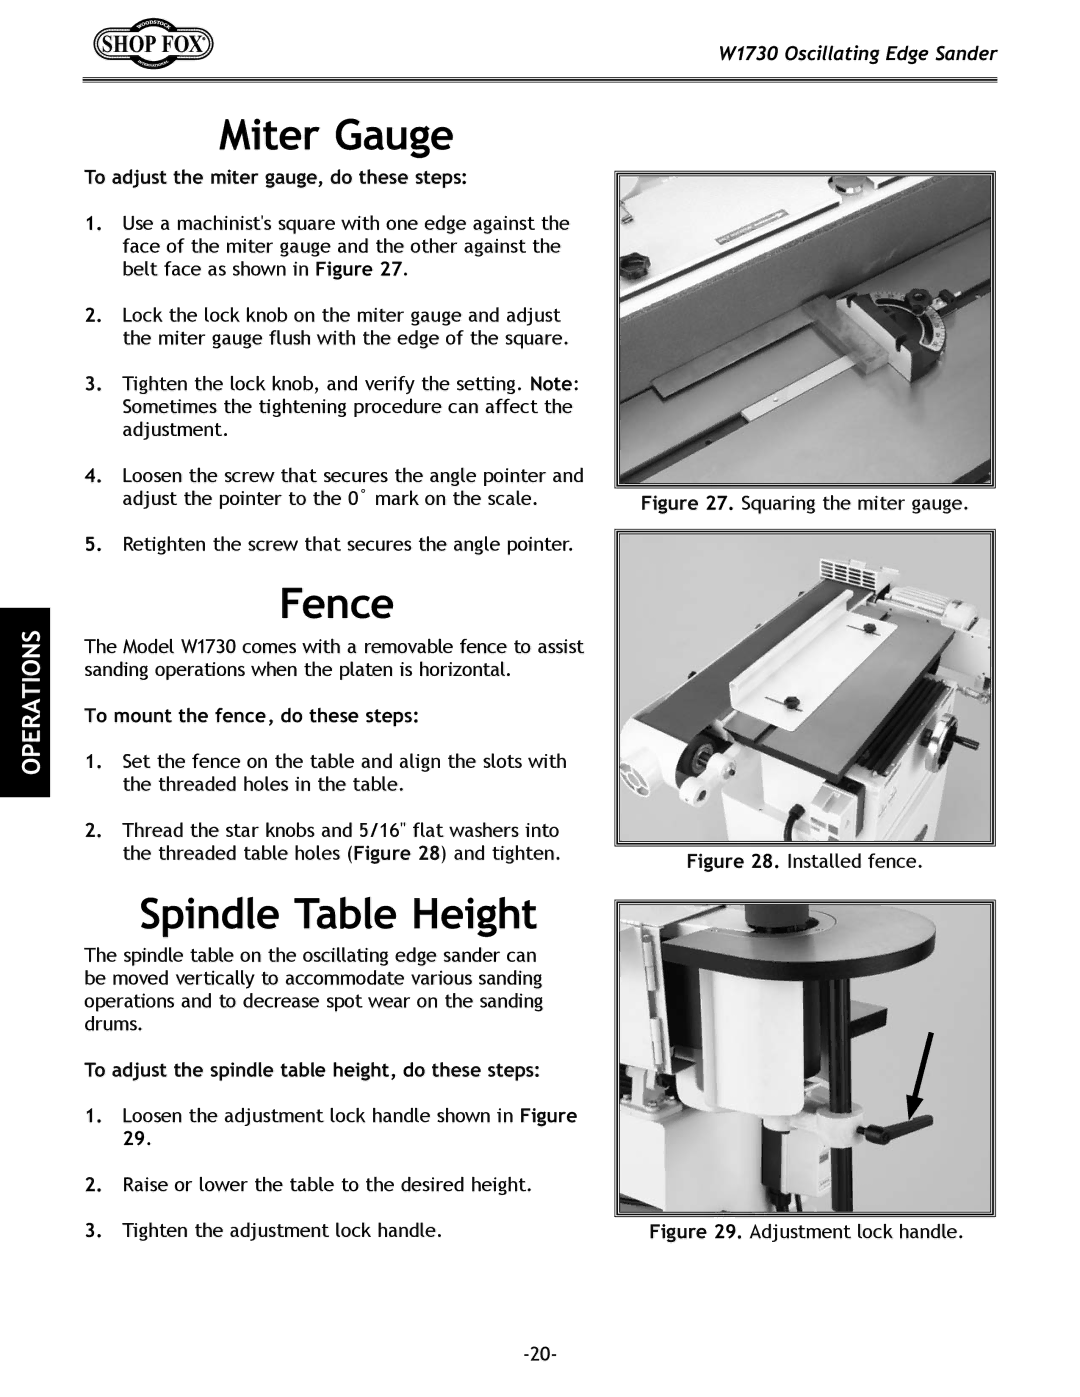
To adjust the miter gauge, do these steps:
1.Use a machinist's square with one edge against the face of the miter gauge and the other against the belt face as shown in Figure 27.
2.Lock the lock knob on the miter gauge and adjust the miter gauge flush with the edge of the square.
3.Tighten the lock knob, and verify the setting. Note: Sometimes the tightening procedure can affect the adjustment.
4.Loosen the screw that secures the angle pointer and adjust the pointer to the 0˚ mark on the scale.
5.Retighten the screw that secures the angle pointer.
Fence
The Model W1730 comes with a removable fence to assist sanding operations when the platen is horizontal.
To mount the fence, do these steps:
1.Set the fence on the table and align the slots with the threaded holes in the table.
2.Thread the star knobs and 5/16" flat washers into the threaded table holes (Figure 28) and tighten.
Figure 27. Squaring the miter gauge.
Figure 28. Installed fence.
Spindle Table Height
The spindle table on the oscillating edge sander can be moved vertically to accommodate various sanding operations and to decrease spot wear on the sanding drums.
To adjust the spindle table height, do these steps:
1.Loosen the adjustment lock handle shown in Figure 29.
2.Raise or lower the table to the desired height.
3.Tighten the adjustment lock handle.