PRINTING FROM MAC OS X | 29 |
|
|
Using presets
Saving print option settings to your hard disk enables you to load specifically configured settings for a particular job as a preset.
TO CREATE A PRESET
1Open a file and choose Print from the application’s File menu.
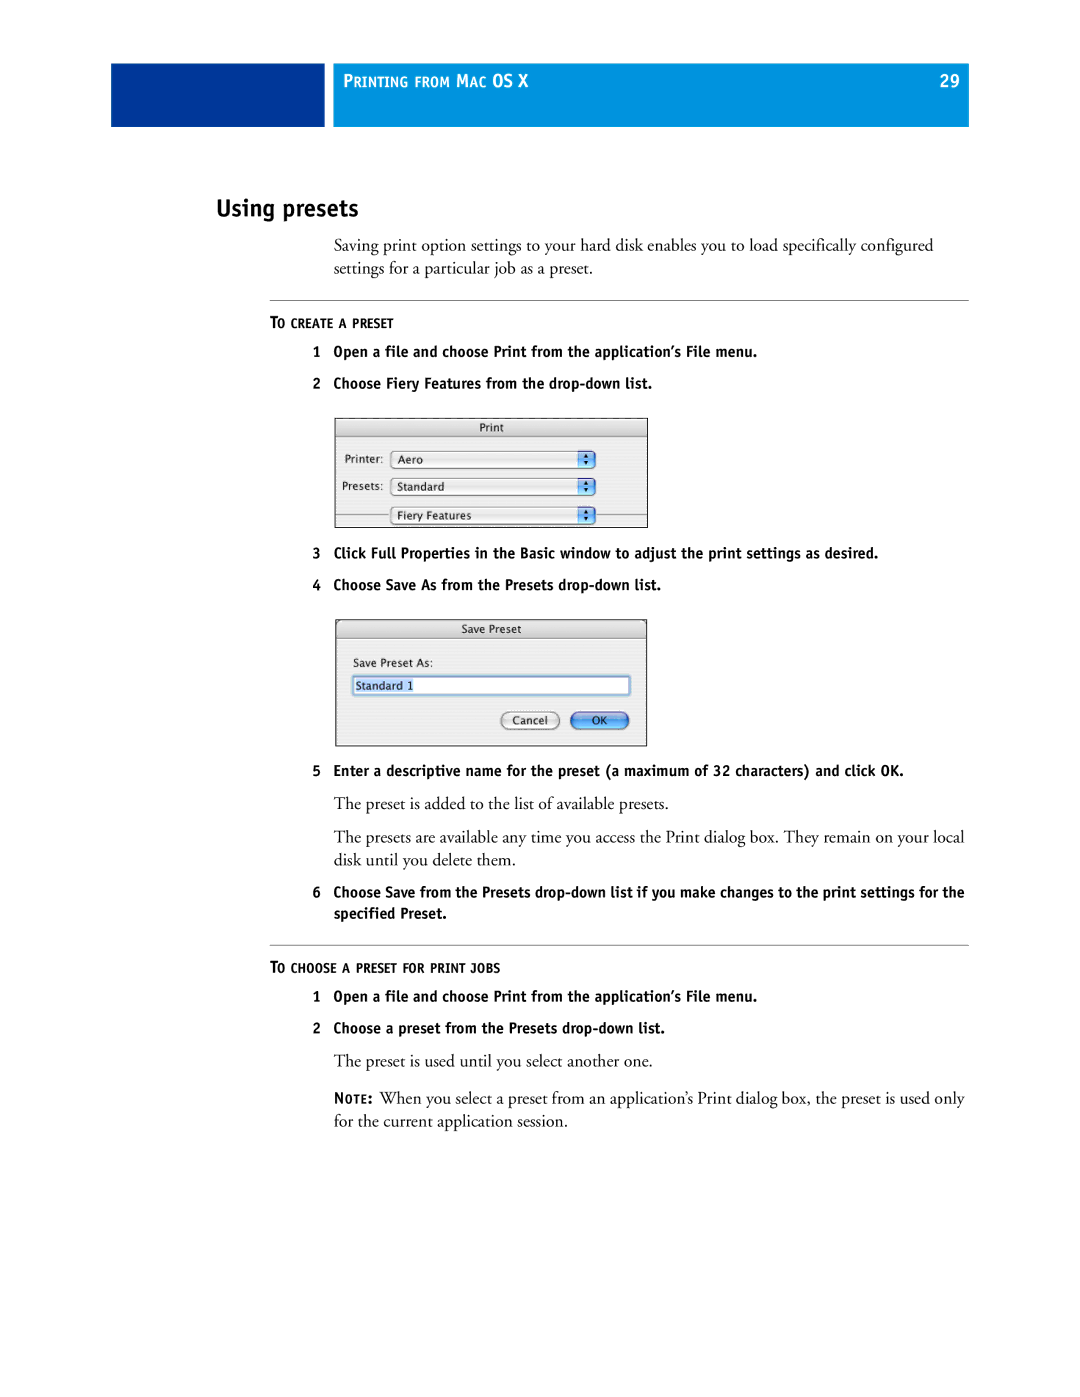
2Choose Fiery Features from the
3Click Full Properties in the Basic window to adjust the print settings as desired.
4Choose Save As from the Presets
5Enter a descriptive name for the preset (a maximum of 32 characters) and click OK.
The preset is added to the list of available presets.
The presets are available any time you access the Print dialog box. They remain on your local disk until you delete them.
6Choose Save from the Presets
TO CHOOSE A PRESET FOR PRINT JOBS
1Open a file and choose Print from the application’s File menu.
2Choose a preset from the Presets
The preset is used until you select another one.
NOTE: When you select a preset from an application’s Print dialog box, the preset is used only for the current application session.
