■Multi channel input setup
E)MULTI CH SET
2 INPUT MENU
E)MULTI CH SET
BGV;;;;;;;;;LAST
INPUT CH;;;;;6CH
[p]/[[]:Select
Background Video BGV
Use this feature to select the video source played in the background of the sources input at the MULTI CH INPUT jacks.
Choices: DVD, DTV/CBL,
y
Select “LAST” to set this unit to automatically select the last selected video source as the background video source.
Input channels INPUT CH
Use this setting to select the number of channels input from an external decoder (see page 19).
Choices: 6CH, 8CH
2 INPUT MENU
E)MULTI CH SET
BGV;;;;;;;;;LAST
INPUT CH;;;;;8CH
FRONT;;;;;;;;DVD
[p]/[[]:Select
If the connected component outputs discrete
Select “6CH”.
If the connected component outputs discrete
Select “8CH”. Also set “FRONT” (see below) to the analog audio jacks at which the front left and right channel signals output from the connected component are input.
Front left and right channels input jack FRONT
If you selected “8CH” in “INPUT CH”, you can select the analog audio jacks at which the front left and right channel signals output from the connected external decoder is input.
Choices: DVD, DTV/CBL, DVR,
Note
“FRONT” parameter appears only when you set “INPUT CH” to “8CH”.
SET MENU
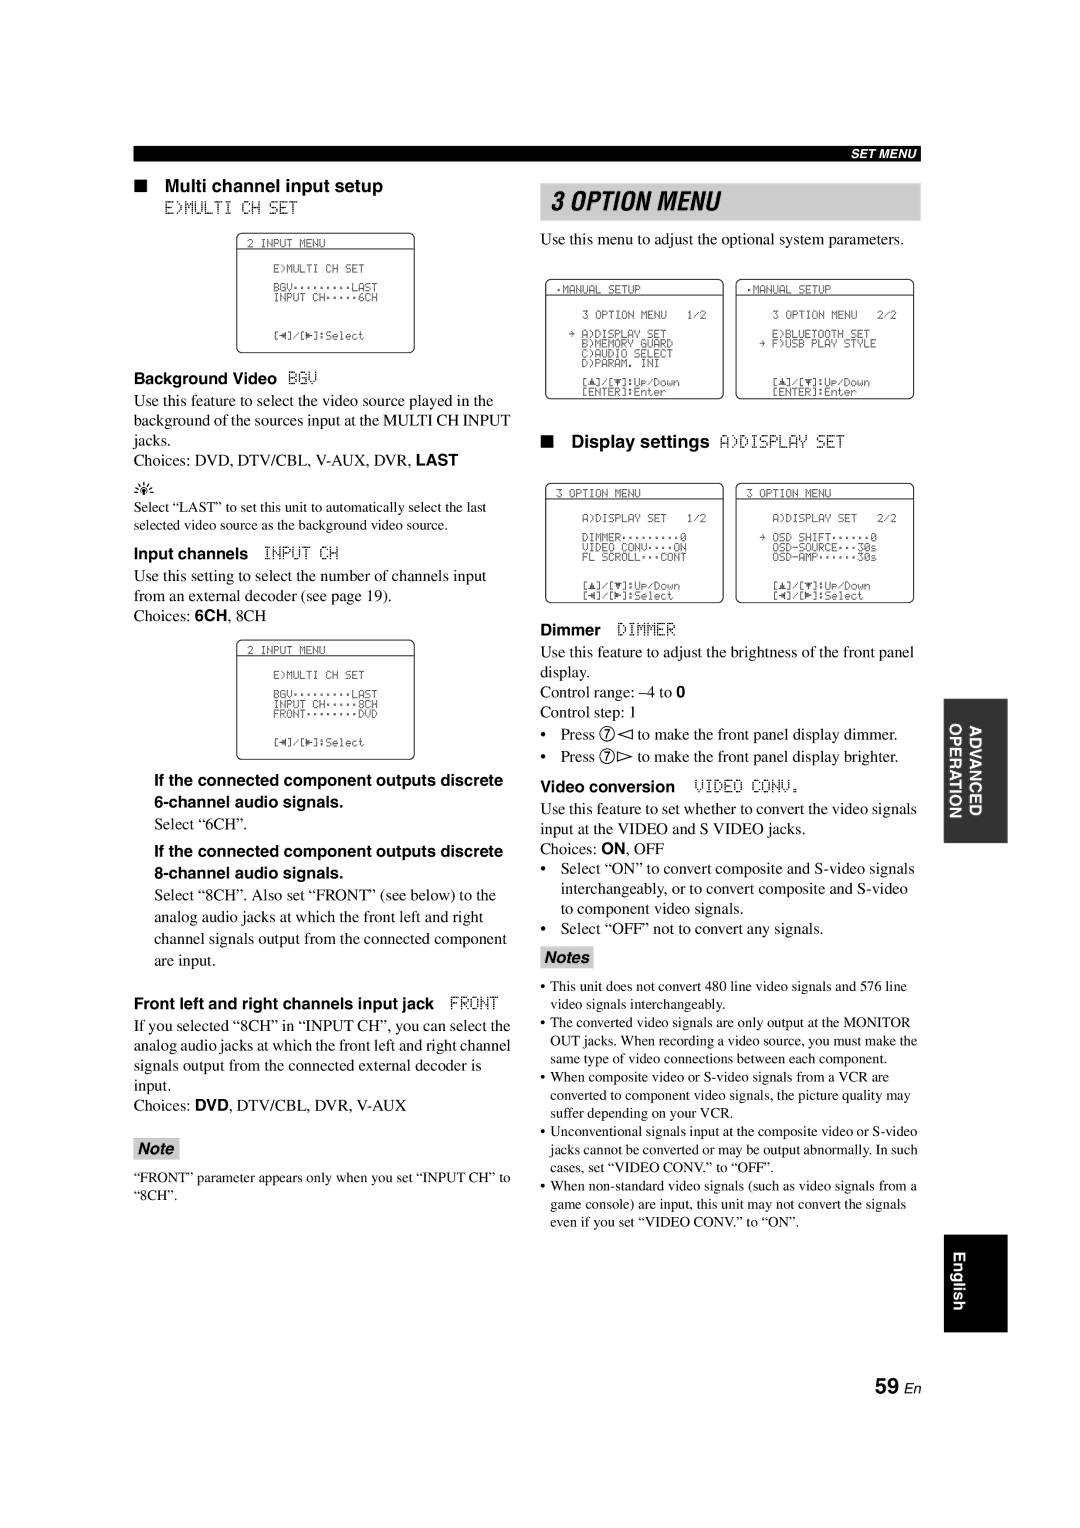
3 OPTION MENU
Use this menu to adjust the optional system parameters.
;MANUAL SETUP | ;MANUAL SETUP |
3 OPTION MENU 1/2 | 3 OPTION MENU 2/2 |
. A)DISPLAY SET | E)BLUETOOTH SET |
B)MEMORY GUARD | . F)USB PLAY STYLE |
C)AUDIO SELECT |
|
D)PARAM. INI |
|
p | p |
[ ]/[p]:Up/Down | [ ]/[p]:Up/Down |
[ENTER]:Enter | [ENTER]:Enter |
■Display settings A)DISPLAY SET
3 OPTION MENU | 3 OPTION MENU |
A)DISPLAY SET 1/2 | A)DISPLAY SET 2/2 |
DIMMER;;;;;;;;;0 | . OSD SHIFT;;;;;;0 |
VIDEO CONV;;;;ON | |
FL SCROLL;;;CONT | |
[p]/[p]:Up/Down | [p]/[p]:Up/Down |
[p]/[[]:Select | [p]/[[]:Select |
Dimmer DIMMER
Use this feature to adjust the brightness of the front panel display.
Control range:
Control step: 1
•Press 7lto make the front panel display dimmer.
•Press 7hto make the front panel display brighter.
Video conversion VIDEO CONV.
Use this feature to set whether to convert the video signals input at the VIDEO and S VIDEO jacks.
Choices: ON, OFF
•Select “ON” to convert composite and
•Select “OFF” not to convert any signals.
Notes
•This unit does not convert 480 line video signals and 576 line video signals interchangeably.
•The converted video signals are only output at the MONITOR OUT jacks. When recording a video source, you must make the same type of video connections between each component.
•When composite video or
•Unconventional signals input at the composite video or
•When
OPERATION | ADVANCED |
|
|
English