MANUAL SETUP
■THX set D)THX SET
Use to manually adjust the THX settings.
D)THX SET
SB DIST.
[<]/[>]:Adjust
Using SOUND MENU
Use to manually adjust speaker settings or compensate for video signal processing delays when using LCD monitors or projectors. Most of the SOUND MENU parameters are set automatically when you run AUTO SETUP (see page 32).
Surround back speaker distance SB DIST.
Use this feature to optimize the surround sound field when you have to place the surround back L/R speakers apart. Choices: under 0.3m, 0.3 – 1.2m, over 1.2m
(under 1ft, 1 – 4ft, over 4ft)
•Select under 0.3m (under 1ft) if the distance between the surround back L/R speakers is less than 0.3 m (1 ft).
•Select 0.3 – 1.2m (1 – 4ft) if the distance between the surround back L/R speakers is between 0.3 and 1.2 m (between 1 and 4 ft).
•Select over 1.2m (over 4ft) if the distance between the surround back L/R speakers is more than 1.2 m (4 ft).
■Test tone E)TEST TONE
Turns the test tone output on or off for the SPEAKER SET, SP LEVEL and SP DISTANCE settings. Choices: ON, OFF
E)TEST TONE
TEST TONE;;;;OFF
[<]/[>]:Select
y
If you use a handheld SPL meter, hold at arm’s length and point upwards so that the meter is in the listening position. With the meter set to the 70 dB scale and to C SLOW, calibrate each speaker to 75 dB.
Notes
•This function is automatically turned off if you exit BASIC MENU.
•If you select ON and enter the SPEAKER SET, SP LEVEL or SP DISTANCE menu, the test tone is output from the selected speakers.
2 SOUND MENU 1/2 | 2 SOUND MENU 2/2 | ||
. A)EQUALIZER | . E)HDMI SET | ||
B)LFE LEVEL |
|
| |
C)DYNAMIC RANGE |
|
| |
D)AUDIO SET |
|
| |
p | p | p | p |
■Graphic equalizer A)EQUALIZER
Use this feature to select parametric (PEQ) or graphic equalizer (GEQ).
Equalizer select SELECT
Choices: AUTO PEQ, GEQ, EQ OFF
A)EQUALIZER
. SELECT....GEQ
•Select AUTO PEQ to use the equalizer adjusted in AUTO SETUP (see page 32).
•Select GEQ to adjust the
•Select EQ OFF to completely deactivate both PEQ and GEQ.
Notes
•If GEQ is selected, the OSD automatically changes to the graphic equalizer screen as shown below.
•AUTO PEQ is automatically selected if you run AUTO SETUP (see page 32).
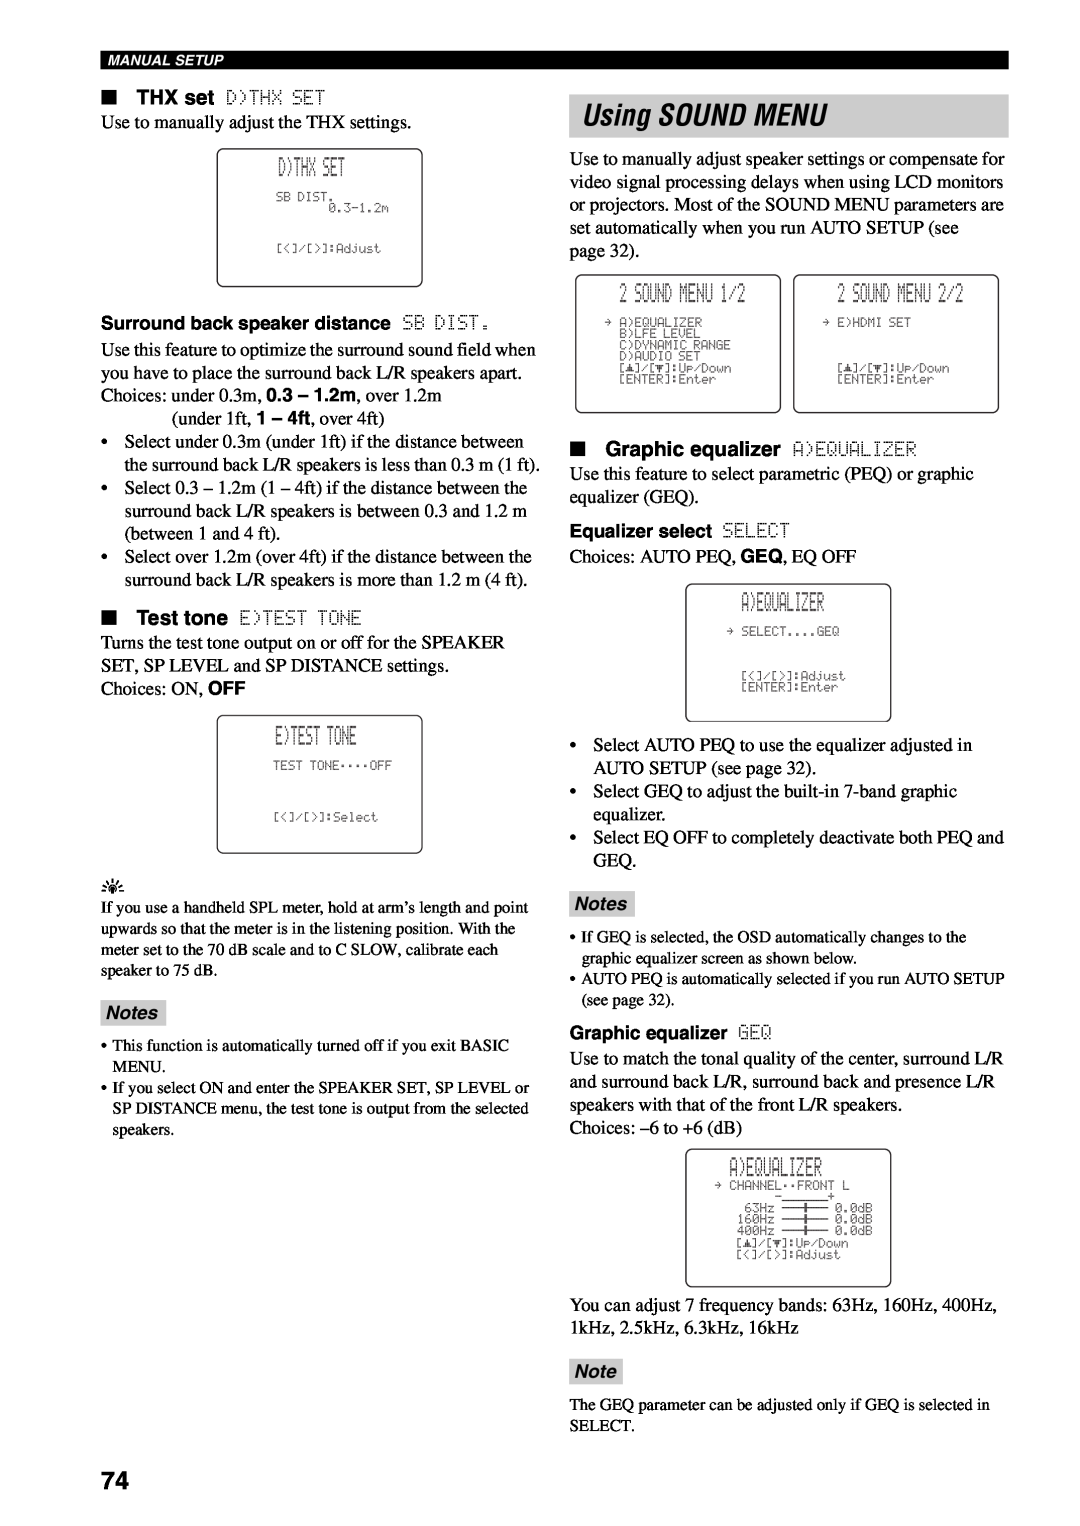
Graphic equalizer GEQ
Use to match the tonal quality of the center, surround L/R and surround back L/R, surround back and presence L/R speakers with that of the front L/R speakers.
Choices:
A)EQUALIZER
. CHANNEL;;FRONT L
-+
63Hz ![]()
![]()
![]()
![]()
![]()
![]()
![]() 0.0dB
0.0dB
160Hz ![]()
![]()
![]()
![]()
![]()
![]()
![]() 0.0dB
0.0dB
400Hz ![]()
![]()
![]()
![]()
![]()
![]()
![]() 0.0dB
0.0dB
p | p |
You can adjust 7 frequency bands: 63Hz, 160Hz, 400Hz, 1kHz, 2.5kHz, 6.3kHz, 16kHz
Note
The GEQ parameter can be adjusted only if GEQ is selected in
SELECT.
74