
RX-V1600 specifications
The Yamaha RX-V1600 is a powerful and versatile A/V receiver that has gained acclaim for its robust features and exceptional audio performance. Launched in the mid-2000s, this receiver remains a popular choice among home theater enthusiasts looking to enhance their audio and video experience.One of the standout features of the RX-V1600 is its capability to deliver a whopping 7.1-channel surround sound output, which immerses listeners in a rich audio environment. This is achieved through its rated power output of 130 watts per channel, providing ample power to drive both small and large speakers effectively. The receiver is compatible with various surround sound formats, including Dolby Digital and DTS, ensuring that users enjoy a fully immersive cinematic experience.
Incorporating advanced digital processing technologies, the RX-V1600 enhances audio clarity and fidelity. Yamaha's proprietary CINEMA DSP technology allows users to simulate a range of acoustic environments, making it feel as if they are in a concert hall or a movie theater. Additionally, the receiver features a comprehensive suite of equalization options, enabling users to tailor the sound to their preferences and room acoustics.
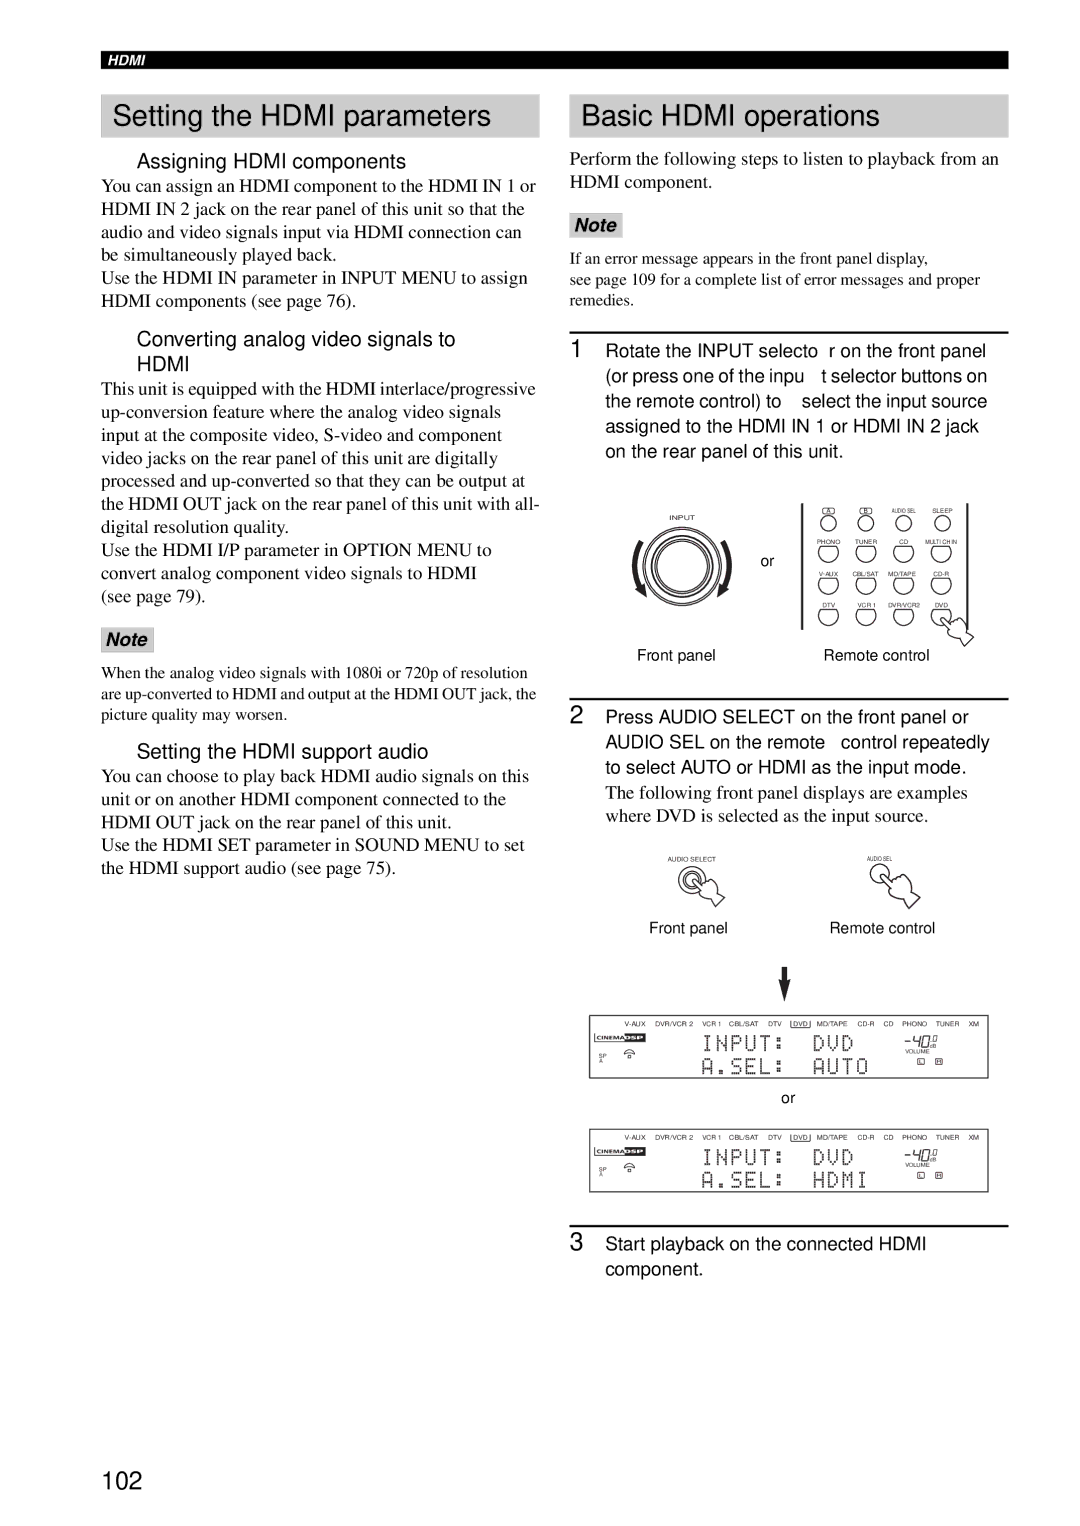
The RX-V1600 also comes equipped with a range of connectivity options, making it versatile for different audio and video sources. It includes multiple HDMI inputs, which allow seamless integration with high-definition devices such as Blu-ray players, gaming consoles, and streaming devices. The receiver also supports upscaling video signals to 1080p, enhancing the viewing experience for non-HD content.
Furthermore, the RX-V1600 boasts Yamaha’s YPAO (Yamaha Parametric Room Acoustic Optimizer) technology, which automatically measures the acoustics of the room and calibrates the audio output accordingly. This ensures that users receive the best possible sound quality tailored to their specific environment.
With its blend of advanced technology, impressive power output, and comprehensive connectivity options, the Yamaha RX-V1600 remains a valuable choice for anyone seeking a high-performance audio-video receiver to help create an outstanding home theater experience. Its durable build, user-friendly interface, and flexible functionality make it a lasting investment for sound enthusiasts. Whether for movies, music, or gaming, the RX-V1600 delivers an engaging auditory experience that continues to impress users even years after its release.