TV Broadcast | Selected Audio | Broadcast Audio | Monitor | |
|
| L Ch | R Ch | Audio |
MONO | MONO | MONO | MONO | MONO |
STEREO | STEREO | L | R | STEREO |
| Left | L | L | Left |
| Right | R | R | Right |
| MONO | MONO | MONO | MONO |
MONO+SAP | MONO | MONO | MONO | MONO |
| SAP | SAP | SAP | SAP |
STEREO+SAP | STEREO | L | R | STEREO |
| SAP | SAP | SAP | SAP |
| MONO | MONO | MONO | MONO |
|
|
|
|
|
5Recording will start. (The REC indicator lights in the display window.)
•Recording continues until you press STOP (x) or the disc (or tape) is full.
•To record for a fixed length of time, see Instant Timer Recording on right.Press REC (z) once.
6Press STOP (x) to stop recording.
Notes :
•The available recording DVD title number is 99.
•If the VCR/DVD Recorder is powered off during DVD recording, the recording will not be saved.
Instant Timer Recording
Instant Timer Recording allows you to make a recording easily of a preset length without using the program timer.
1 | Follow steps | |
from a TV). |
|
2ing time length.
Recording starts after the first press.
DVD: Each subsequent press increases the recording time by 10 minutes (maximum 360 minutes).
VCR: Each subsequent press increases the recording time by 30 minutes (maximum 540 minutes). Please con-
firm the VHS tape has enough remaining time to be recorded before recording.Press REC (z) repeatedly to select the record-
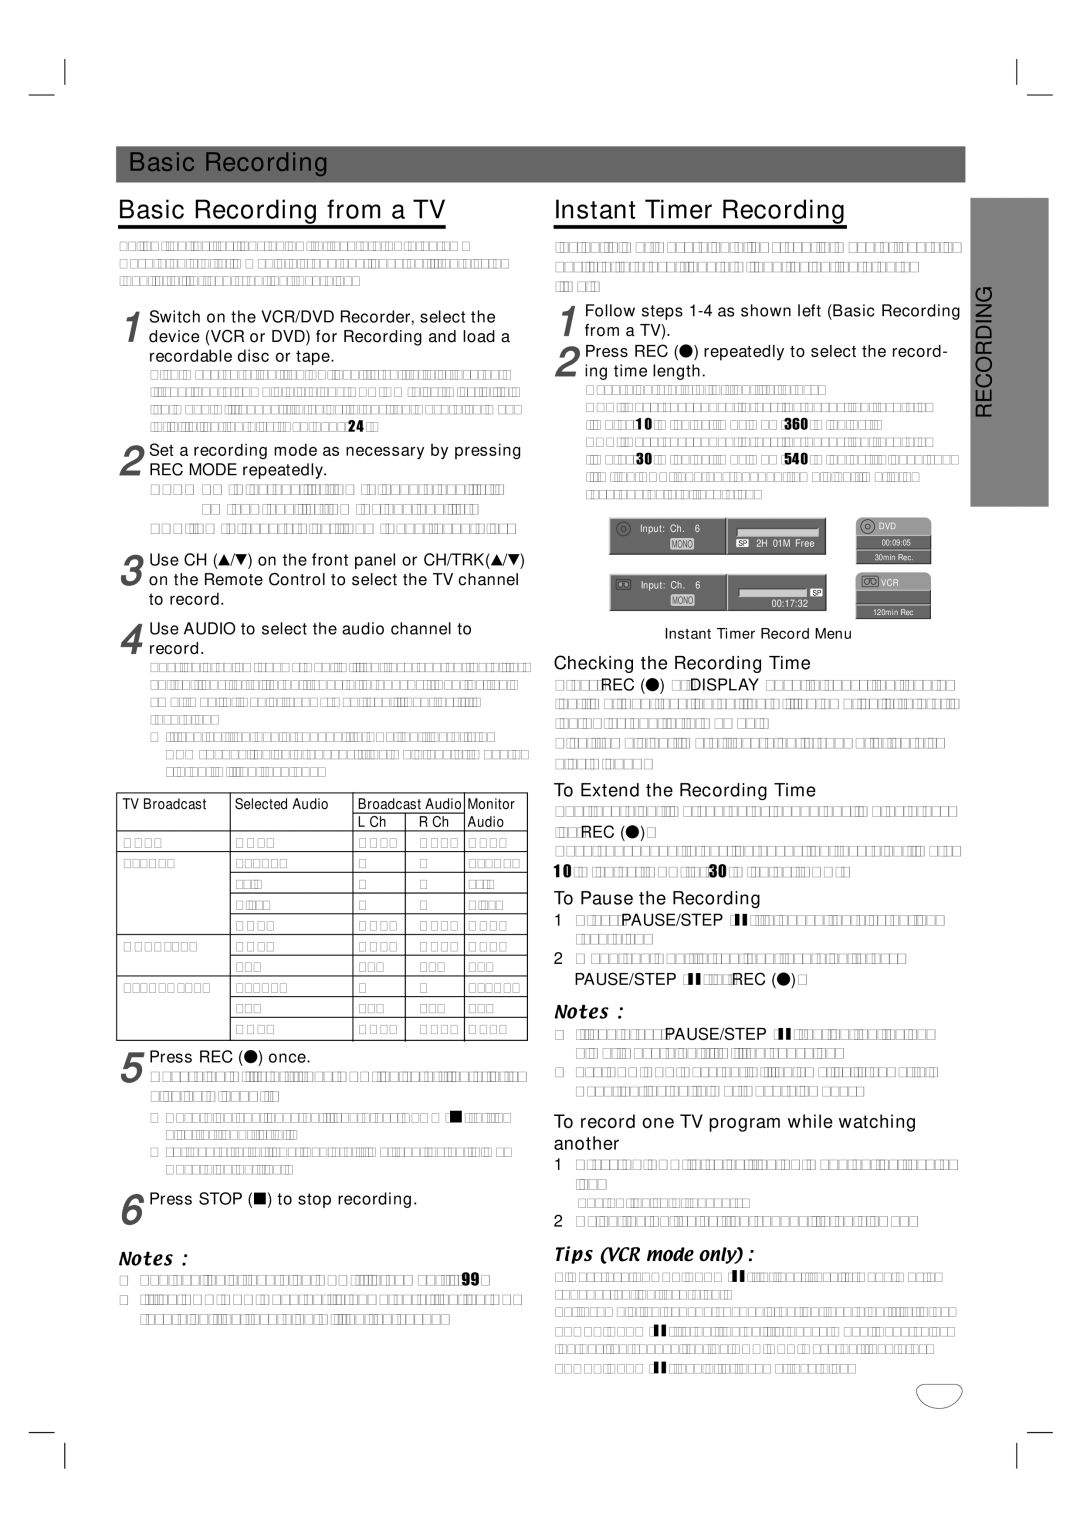
Input: Ch. | 6 | DVD |
MONO | SP 2H 01M Free | 00:09:05 |
|
| 30min Rec. |
Input: Ch. | 6 | VCR |
| SP |
|
MONO | 00:17:32 |
| 120min Rec |
Instant Timer Record Menu
Checking the Recording Time
Press REC (z) or DISPLAY once to check the record- ing time. The recalled setting will automatically return to the TV screen for a moment.
Also, remaining time of recording is shown in the dis- play window.
To Extend the Recording Time
The recording time can be extended anytime by press- ing REC (z).
Each subsequent press increases the recording time by 10 minutes (DVD) or 30 minutes (VCR).
To Pause the Recording
1Press PAUSE/STEP (X) to pause the disc during recording.
2When you want to continue recording, press PAUSE/STEP (X) or REC (z).
Notes :
•If you press PAUSE/STEP (X) during the Instant Timer Recording, it will be canceled.
•The VCR/DVD Recorder will automatically power off when the Instant Timer Recording ends.
To record one TV program while watching another
1Press TV/VCR to select the TV mode during record- ing.
The TV indicator appears.
2Using the TV, select the channel to be viewed.
Tips (VCR mode only) :
Always use PAUSE/STEP (X) for best results when making changes during recording .
For example: To change channels during recording, first press PAUSE/STEP (X) to put the unit in pause mode. Then select the desired channel on the VCR/DVD Recorder, and press
PAUSE/STEP (X) again to resume recording.
41