Eiki EIP-1500T owner manual Introduction

Page 4
U.S.A. ONLY

Before using the projector, please read this owner’s manual carefully.

Introduction

ENGLISH

1.WARRANTY

This is to assure that you immediately receive the full benefit of the parts, service and labor warranty applicable to your purchase.

2.CONSUMER PRODUCT SAFETY ACT

To ensure that you will promptly receive any safety notification of inspection, modification, or

recall that EIKI may be required to give under the 1972 Consumer Product Safety Act, PLEASE READ CAREFULLY THE IMPORTANT “LIMITED WARRANTY” CLAUSE.

WARNING: High brightness light source. Do not stare into the beam of light, or view directly. Be especially careful that children do not stare directly into the beam of light.

WARNING: To reduce the risk of fire or electric shock, do not expose this product to rain or moisture.

See bottom of projector.

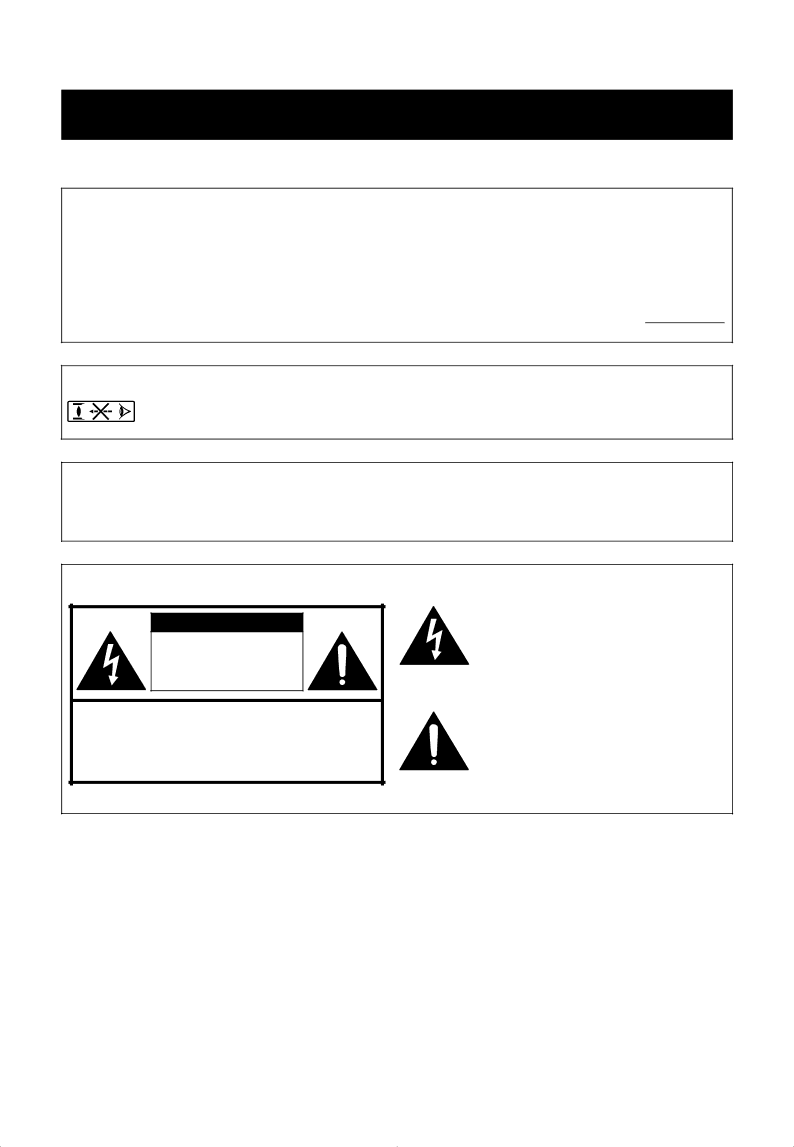
CAUTION

RISK OF ELECTRIC SHOCK.

DO NOT REMOVE SCREWS

EXCEPT SPECIFIED USER

SERVICE SCREW.

CAUTION: TO REDUCE THE RISK OF ELECTRIC SHOCK,

DO NOT REMOVE COVER.

NO USER-SERVICEABLE PARTS EXCEPT LAMP UNIT.

REFER SERVICING TO QUALIFIED SERVICE

PERSONNEL.

The lightning flash with arrowhead symbol, within an equilateral triangle, is intended to alert the user to the presence of uninsulated “dangerous voltage” within the product’s enclosure that may be of sufficient magnitude to constitute a risk or electric shock to persons.

The exclamation point within a triangle is intended to alert the user to the presence of important operating and maintenance (servicing) instructions in the literature accompanying the product.

1

Image 4
Contents EIP-1500T Model No. EIP-1500T Serial No Special Note for Users in the U.K Introduction Information Page Contents Supplied accessories AccessoriesOptional accessory Important Safeguards Avoid locations with extremes of tem- perature Rest your eyes occasionallyDo not block the exhaust and intake vents Temperature monitor function Using the projector in other countriesOther connected equipment Part Names and Functions ProjectorAbout the Indicators on the Projector Lamp indicatorProjector Rear View Refer to Input Terminals and Connectable Main Equipment onRemote Control Using the Remote Control When using the remote controlUsable Range Inserting the BatteriesSetup and Projection Quick StartSelect the Input mode Setting Up the Projector Setting Up the ProjectorWhen using a wide screen Screen Size and Projection DistanceProjecting a Reversed Image Projection from behind the ScreenConnections Input Terminals and Connectable Main EquipmentYou may need other cables or connectors not listed below Samples of Cables for ConnectionConnecting to Video Equipment Connecting to Video Equipment DVI output terminal Supplied Connecting to a Computer ComputerConnecting to a Computer Controlling the Projector by a Computer Connecting the Power Cord Turning the Power Off PutPlug the supplied power cord into the AC socket Turning the Projector On/OffSwitching the Input Mode Image ProjectionAdjusting the Focus Adjusting the Projected Image SizeUsing the Adjustment Feet Press Keystone CorrectionHorizontal Keystone Correction Vertical Keystone Correction Align Selecting the Picture Mode Switching the High Bright- ness / High Contrast ModeAdjusting the Picture Aspect Ratio Press on the remote controlStretch Side BAR Smart Stretch Cinema Zoom Menu Items Following shows the items that can be set in the projectorOptions menu Using the Menu Screen Menu Selections AdjustmentsExample Picture menu screen for Input 1 mode Menu icons Press or \ to display the other menu screensTo adjust the projected image while viewing it Press or to select the item you want to adjustPress or \ to adjust the item se- lected Single adjustment itemMenu Selections Settings Input 1 modeExample Picture menu screen for Example Options menu screenSub menu Picture Adjustment Picture menu Adjusting the ImageAdjusting the Color Temperature Press or to fine adjust the color temperatureGamma Correction Function Press or to fine adjust the gamma correctionEmphasizing the Contrast Switching the High Bright- ness/High Contrast Mode Picture Mode FunctionExample Picture menu screen for Input 1 mode Computer Image Adjustment Fine Sync menu Adjusting the Computer ImageSpecial Modes Setting Example Fine Sync menu screen for Input 5 Component modeChecking the Input Signal Auto Sync AdjustmentExample Fine Sync menu screen for Input 5 RGB mode Setting On-screen Display Using the Options MenuChecking the Lamp Life Status Setting the Video System Signal Type SettingEco Mode Selecting a Background ImageAuto Power Off Function Selecting the Menu Screen PositionSelecting the Menu Color Setting the Projection Mode Selecting the On-screen Display LanguagePress \ or to select the Lan- guage menu icon Press or to select the desired Language, and then pressMaintenance Cleaning the projectorCleaning the lens Cleaning the exhaust and intake ventsAbout the temperature warning indicator Maintenance IndicatorsAbout the lamp indicator Abnormal Lamp Regarding the LampReplacing the Lamp Removing and Installing the Lamp Unit Disconnect the power cordRemove the lamp unit cover AC socketResetting the Lamp Timer Connecting Pin Assignments DVI-I Input 5 port 29-pin connectorDVI Digital Input DVI Analog RGB Input DVI Analog Component InputRS-232C Specifications and Command Settings CommandsPC control Communication conditionsComputer Compatibility Chart ComputerTroubleshooting InputSpecifications PAL/PAL 60/PAL-M/PAL-N/SECAM/NTSC 3.58/NTSCDimensions Units inches mmGlossary Index 34,44Memo Canada Eastern EuropeDeutschland & Österreich Japan & Worldwide