Dacor OBS36 Lighting the Side Burners OB52, OBS52 and OBSB162 Only, Burner Lighting Notes

Page 40

Operating Your Outdoor Grill

Lighting the Side Burners (OB52, OBS52 and OBSB162 Only)

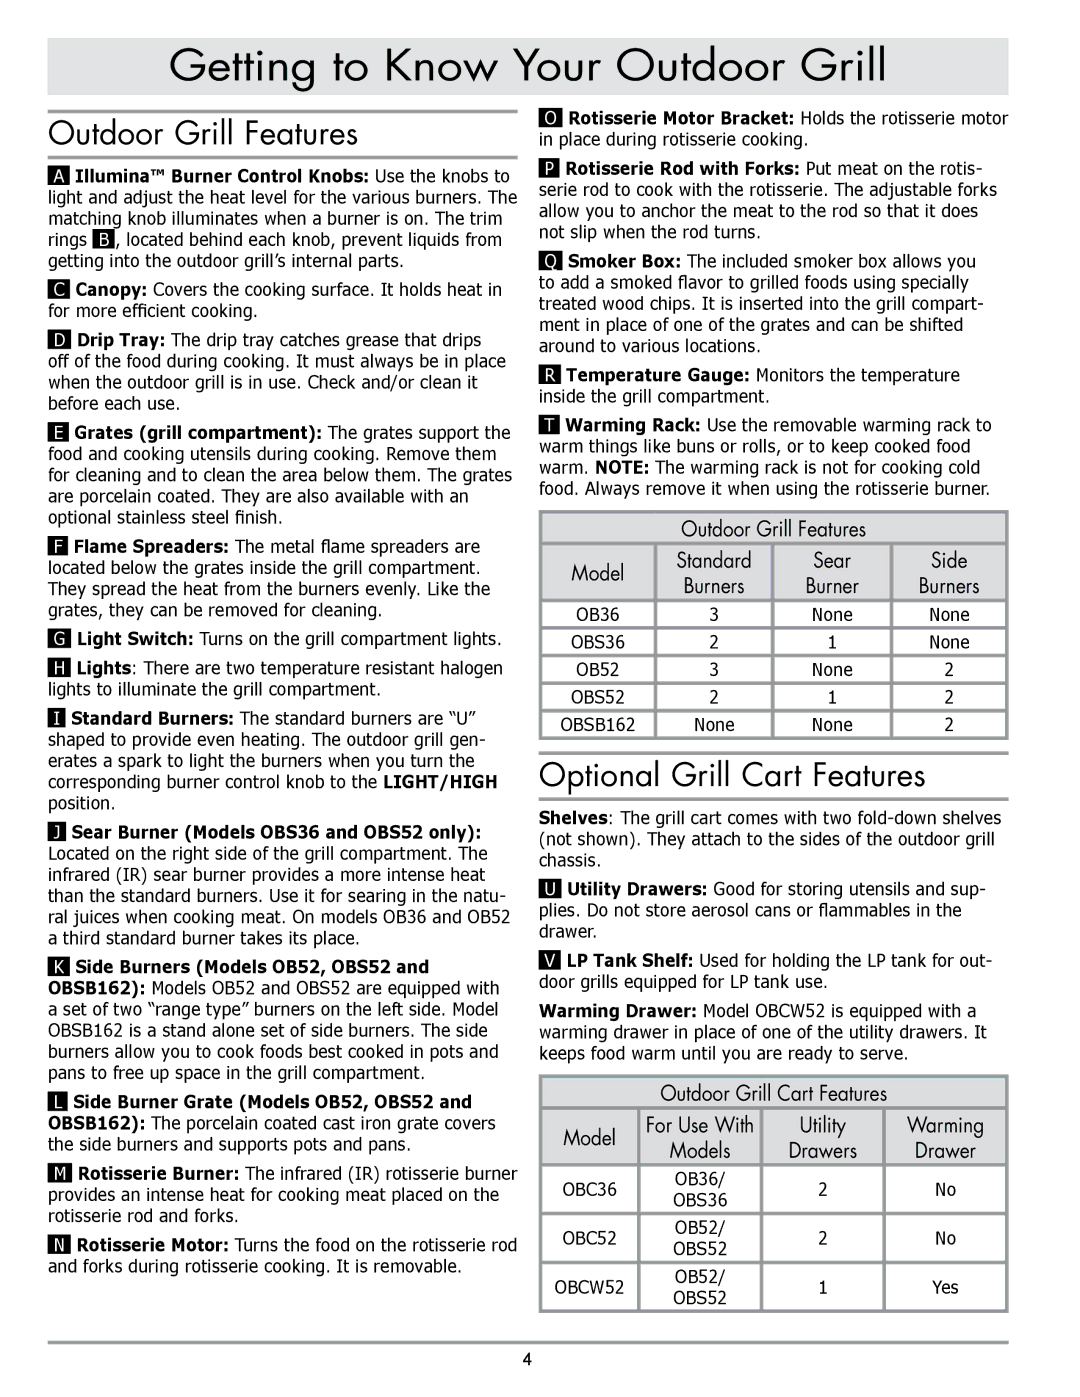
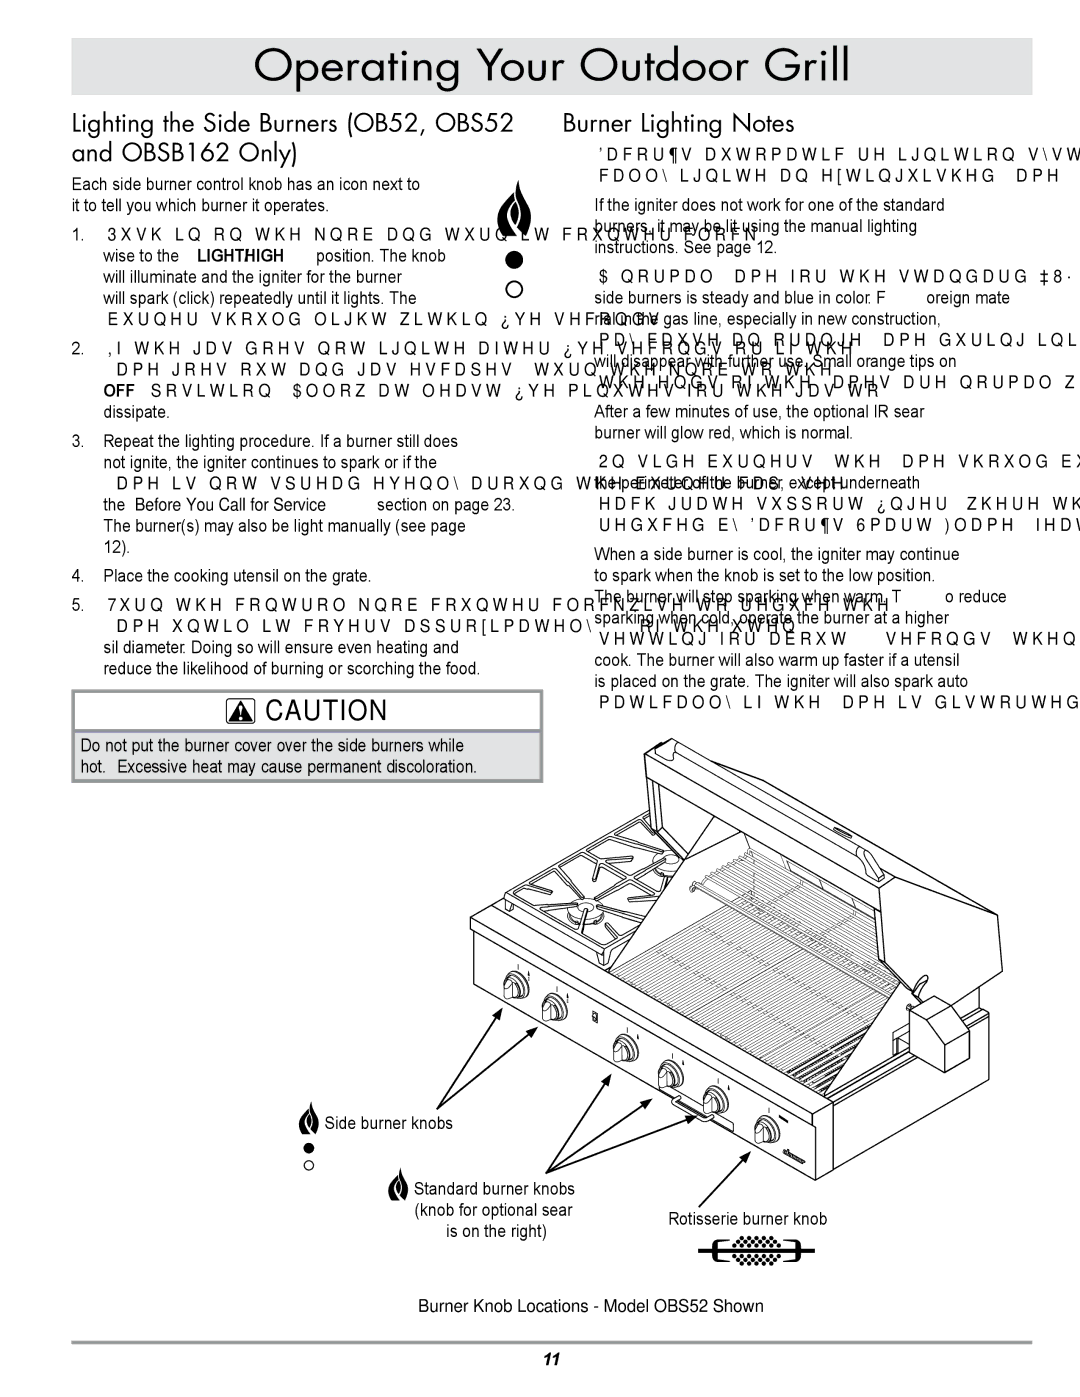
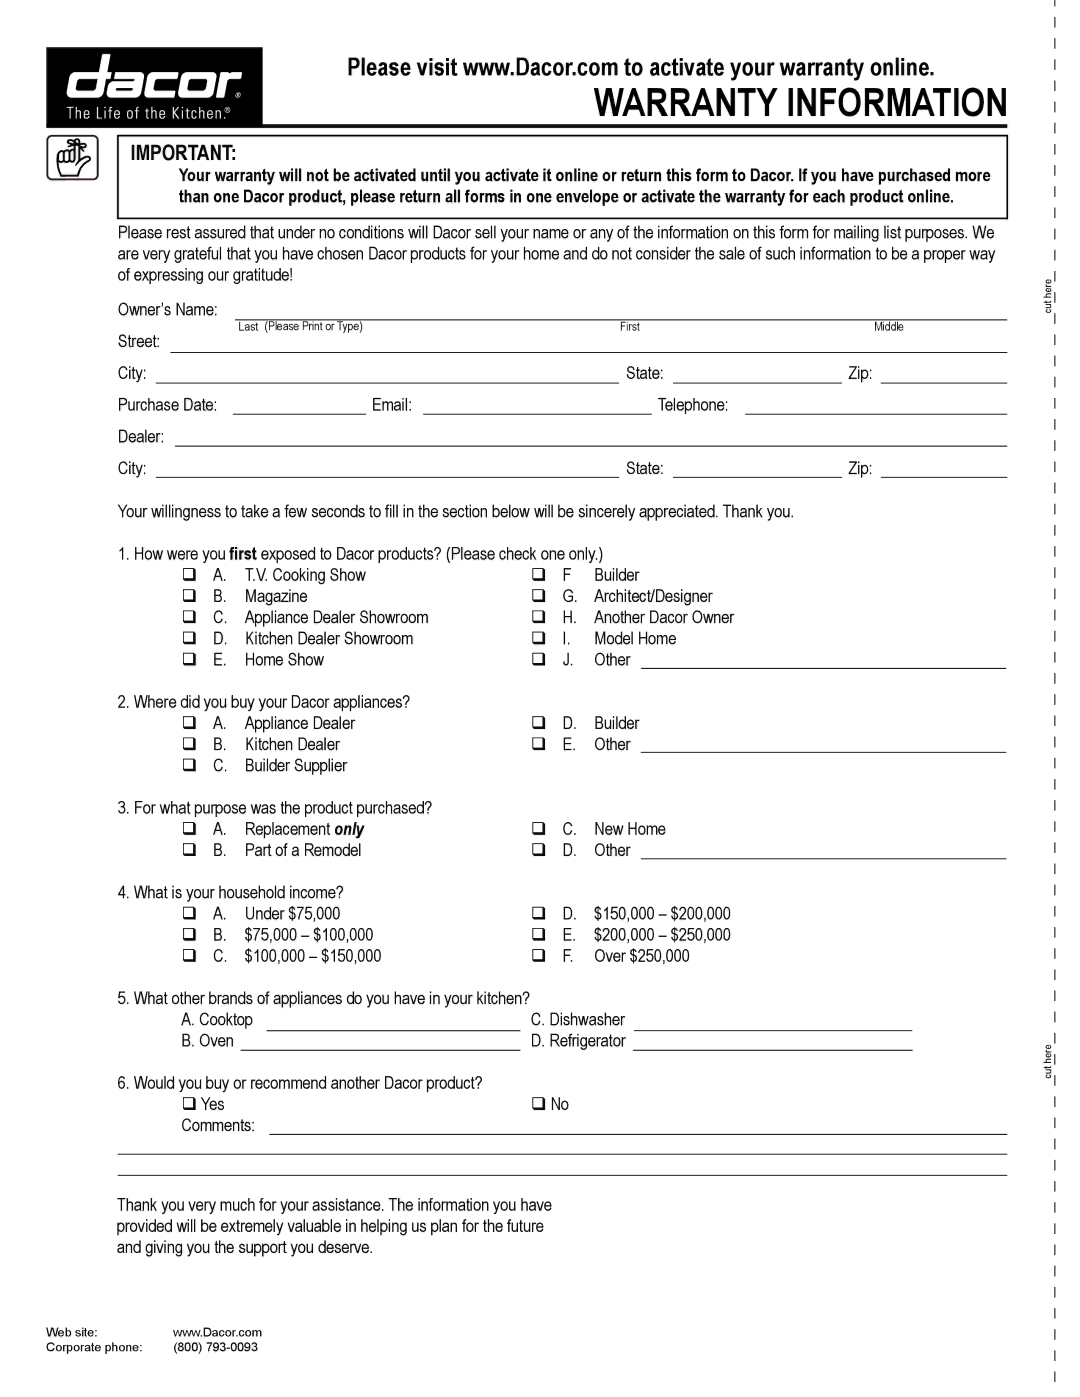
Each side burner control knob has an icon next to it to tell you which burner it operates.

1.Push in on the knob and turn it counter-clock- wise to the LIGHT/HIGH position. The knob will illuminate and the igniter for the burner will spark (click) repeatedly until it lights. The burner should light within five seconds.

2.If the gas does not ignite after five seconds or if the flame goes out and gas escapes, turn the knob to the OFF position. Allow at least five minutes for the gas to dissipate.

3.Repeat the lighting procedure. If a burner still does not ignite, the igniter continues to spark or if the flame is not spread evenly around the burner cap, see the Before You Call for Service section on page 23. The burner(s) may also be light manually (see page 12).

4.Place the cooking utensil on the grate.

5.Turn the control knob counter-clockwise to reduce the flame until it covers approximately 1/3 of the uten- sil diameter. Doing so will ensure even heating and reduce the likelihood of burning or scorching the food.

caution

Do not put the burner cover over the side burners while hot. Excessive heat may cause permanent discoloration.

Burner Lighting Notes

Dacor’s automatic re-ignition system will automati- cally ignite an extinguished flame.

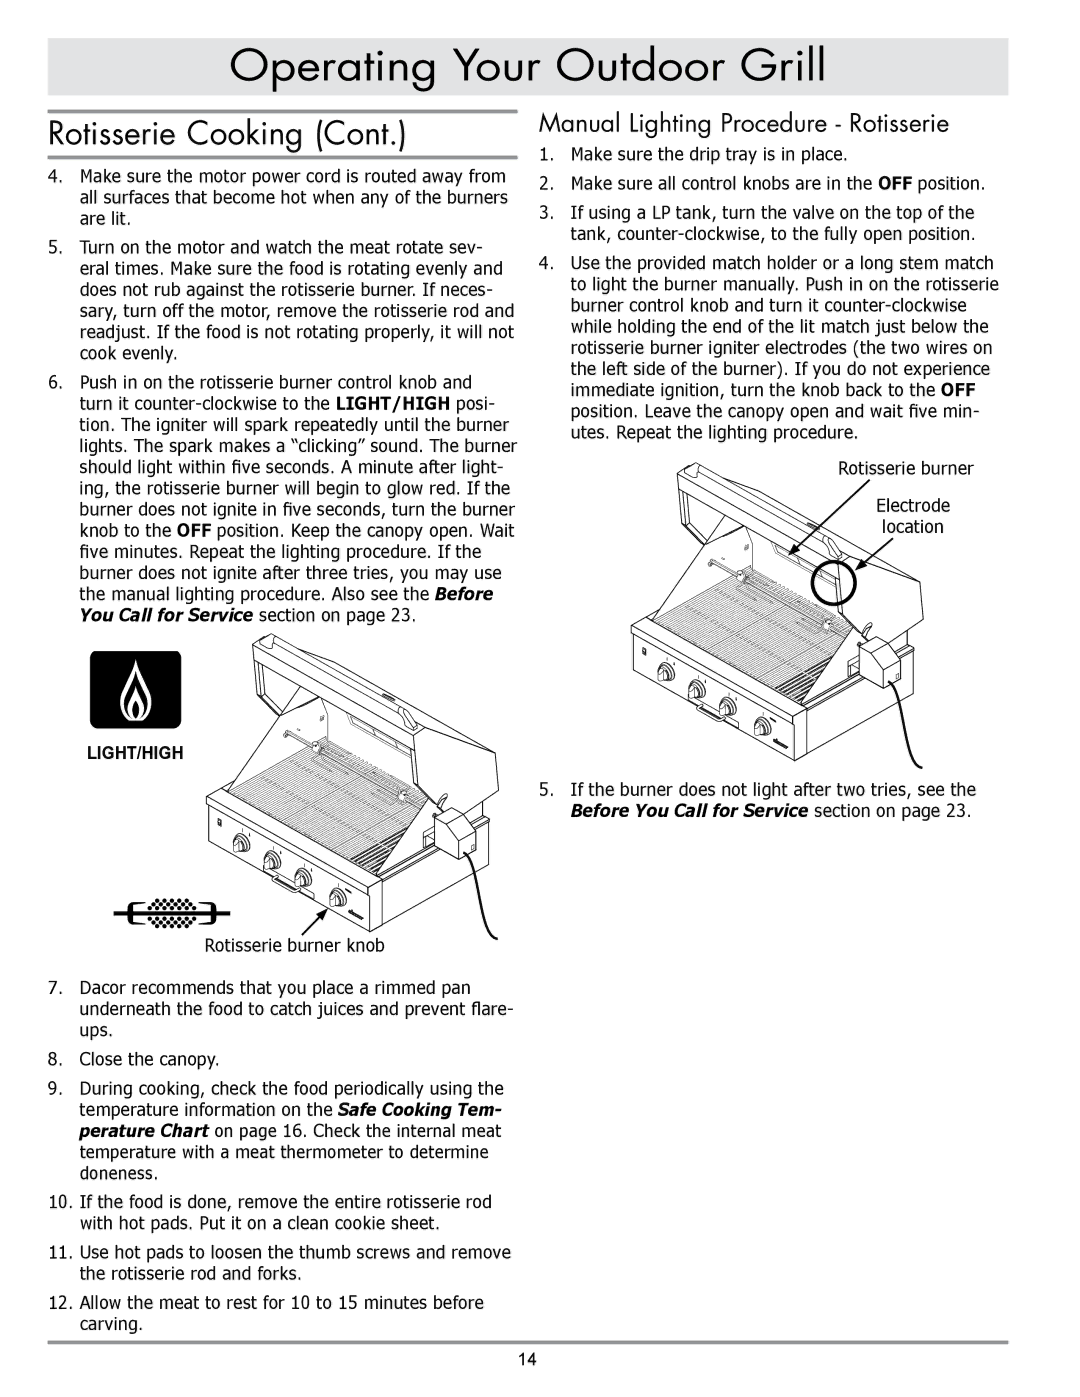
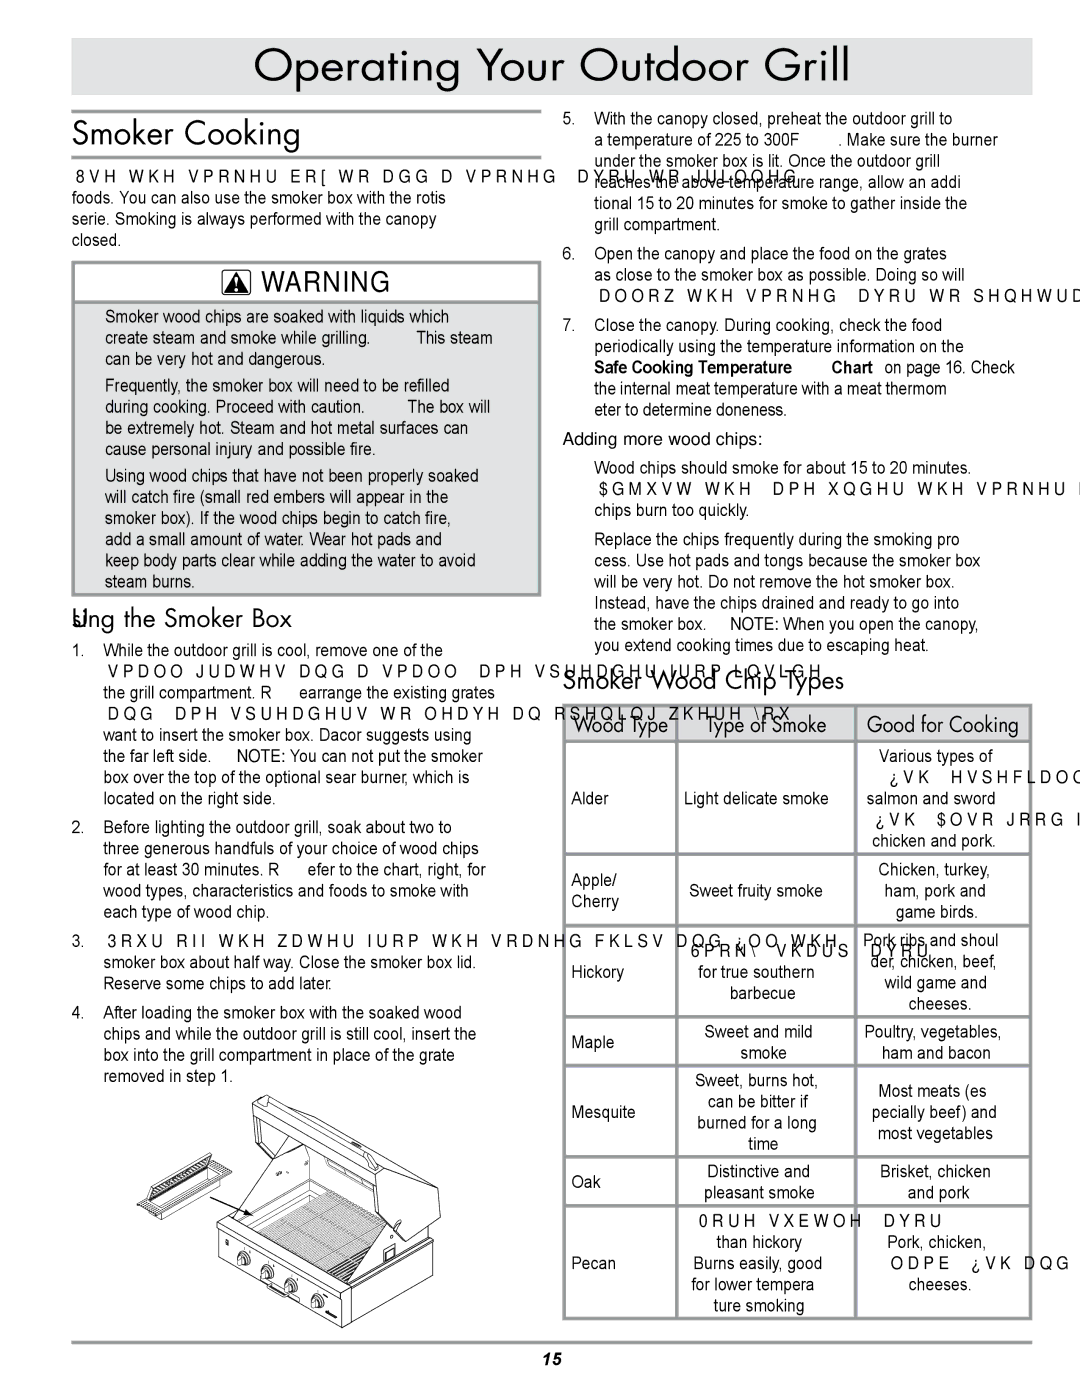
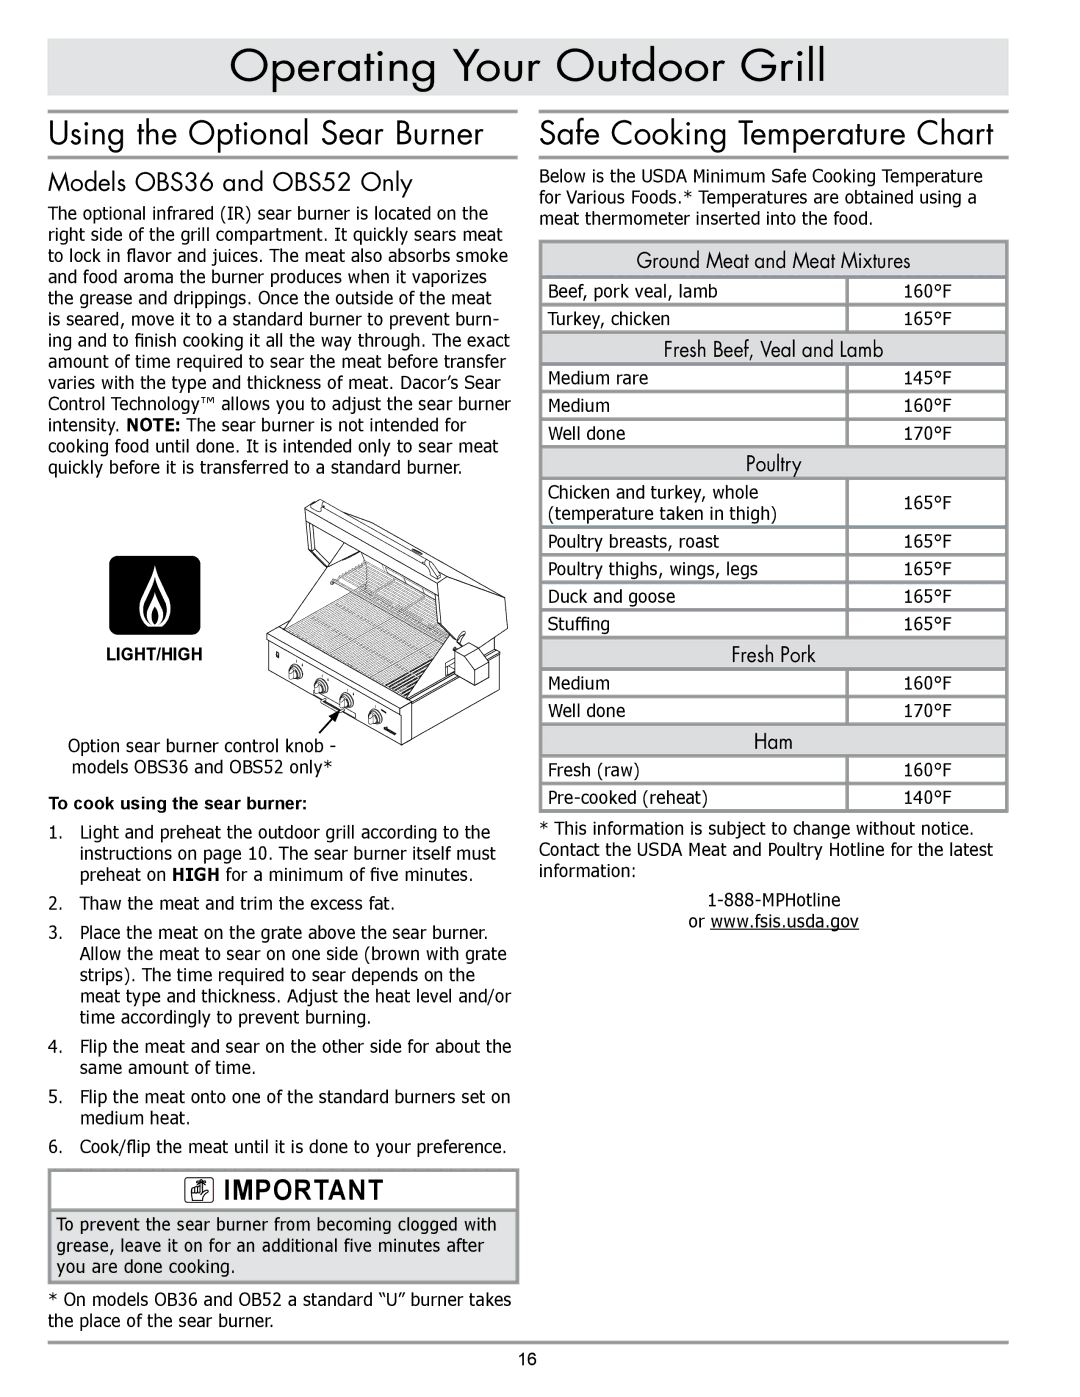
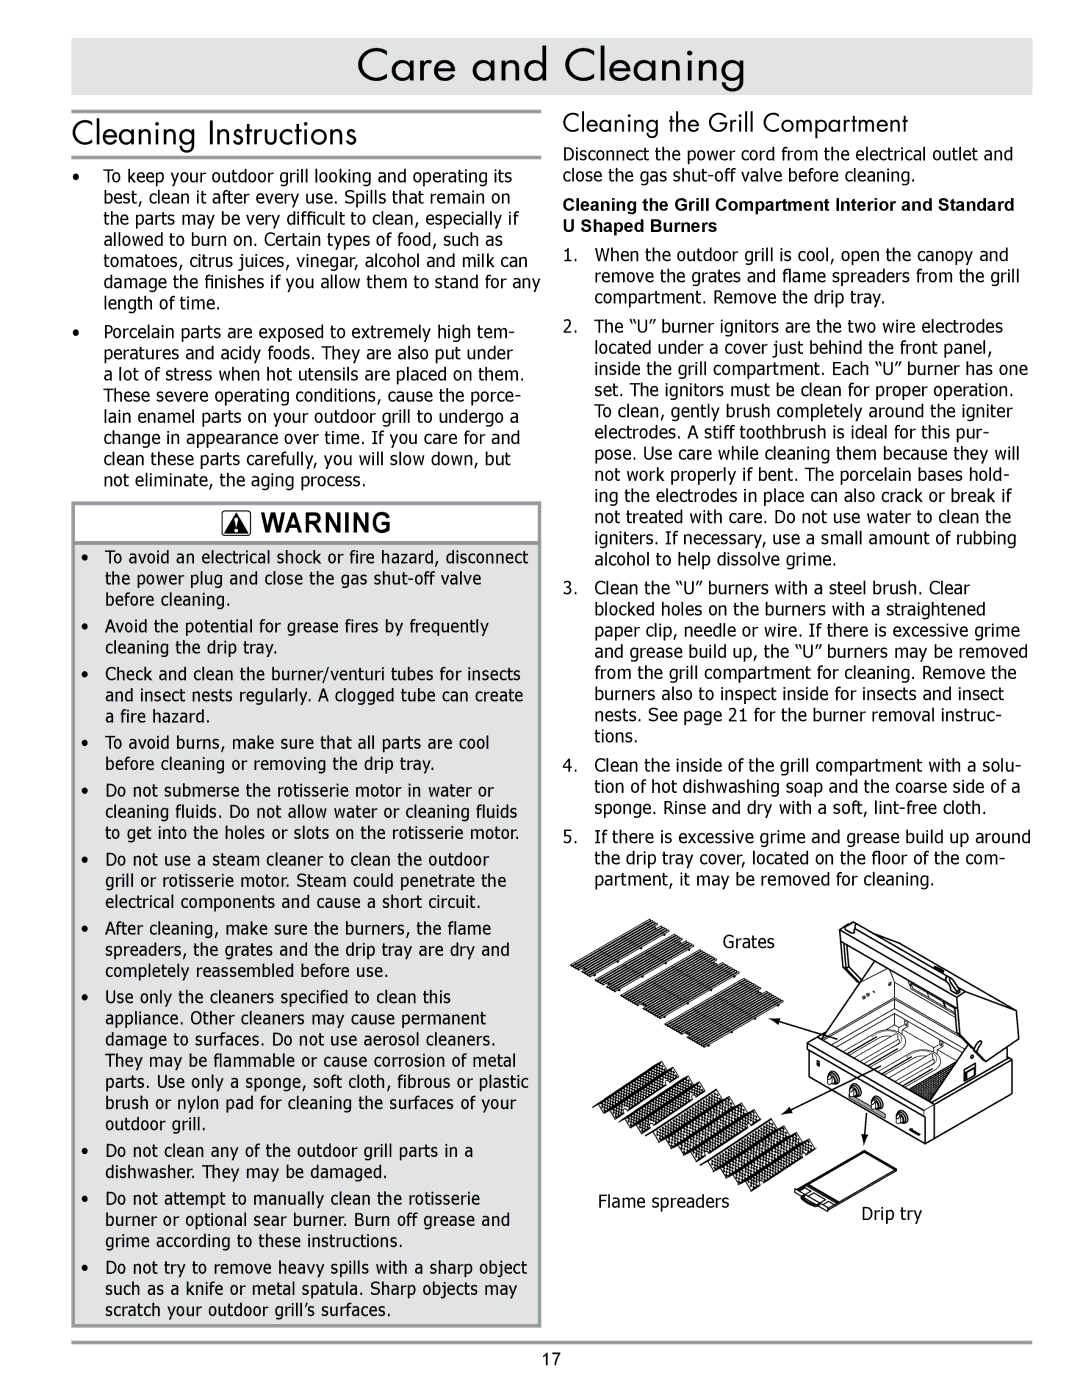
If the igniter does not work for one of the standard burners, it may be lit using the manual lighting instructions. See page 12.

A normal flame for the standard “U” burners and the side burners is steady and blue in color. Foreign mate- rial in the gas line, especially in new construction, may cause an orange flame during initial operation. It will disappear with further use. Small orange tips on the ends of the flames are normal when using LP gas.

After a few minutes of use, the optional IR sear burner will glow red, which is normal.

On side burners, the flame should burn evenly around the perimeter of the burner, except underneath each grate support finger, where the flame height is reduced by Dacor’s Smart-Flame™ feature.

When a side burner is cool, the igniter may continue to spark when the knob is set to the low position. The burner will stop sparking when warm. To reduce sparking when cold, operate the burner at a higher setting for about 60 seconds, then lower the flame to cook. The burner will also warm up faster if a utensil is placed on the grate. The igniter will also spark auto- matically if the flame is distorted by the wind.

Side burner knobs

Standard burner knobs

(knob for optional sear Rotisserie burner knob is on the right)

Burner Knob Locations - Model OBS52 Shown

11
Image 40
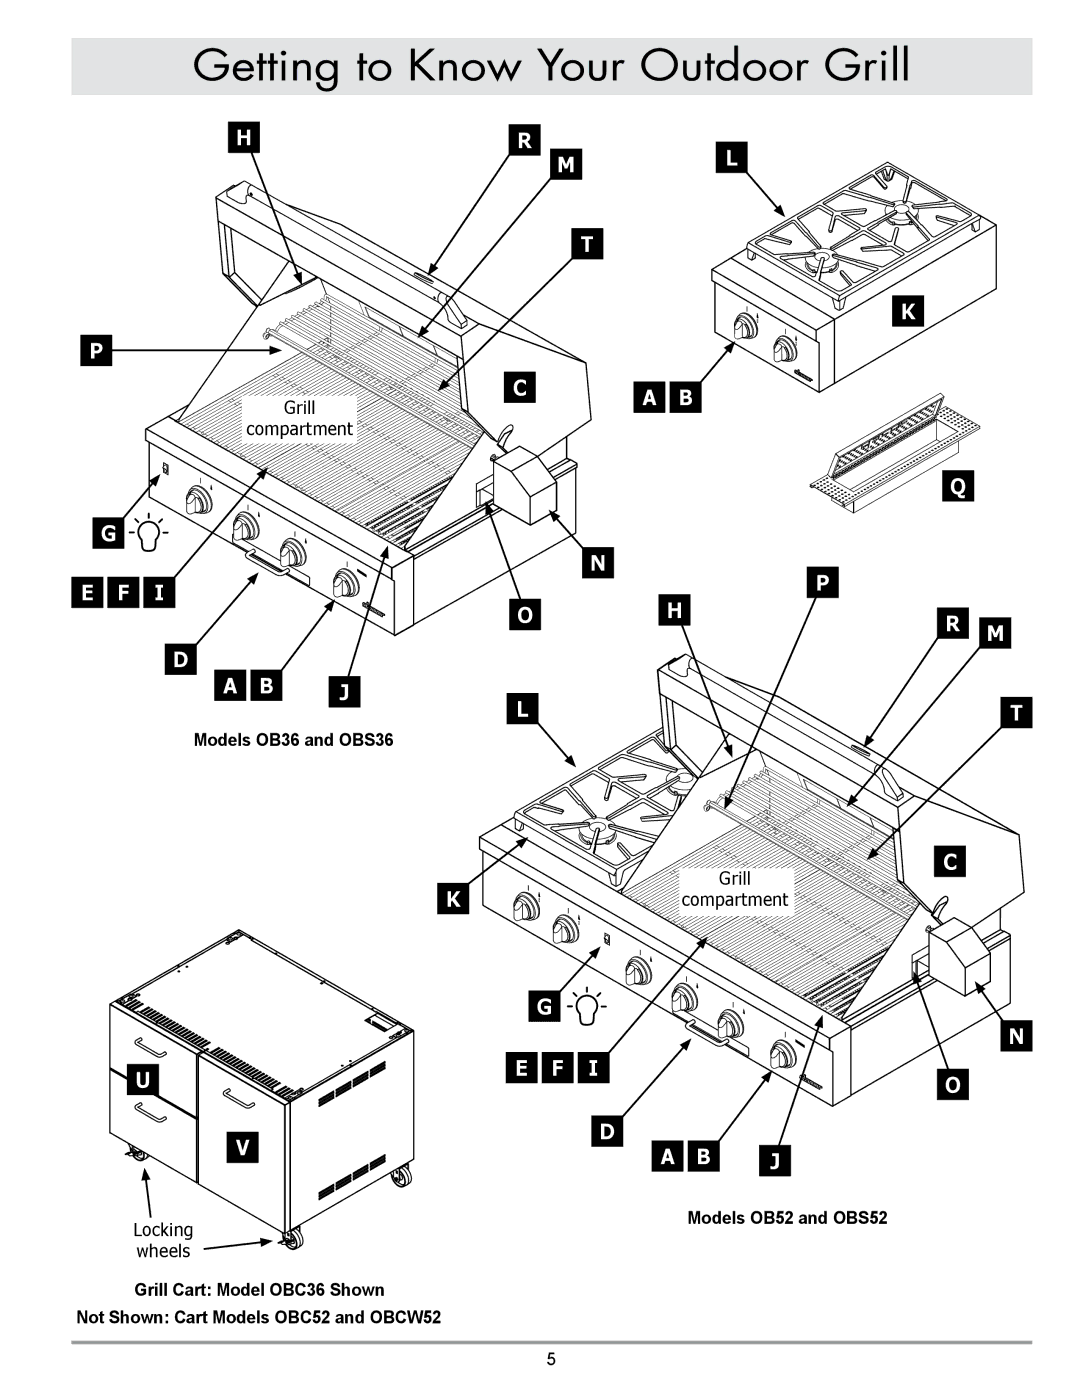
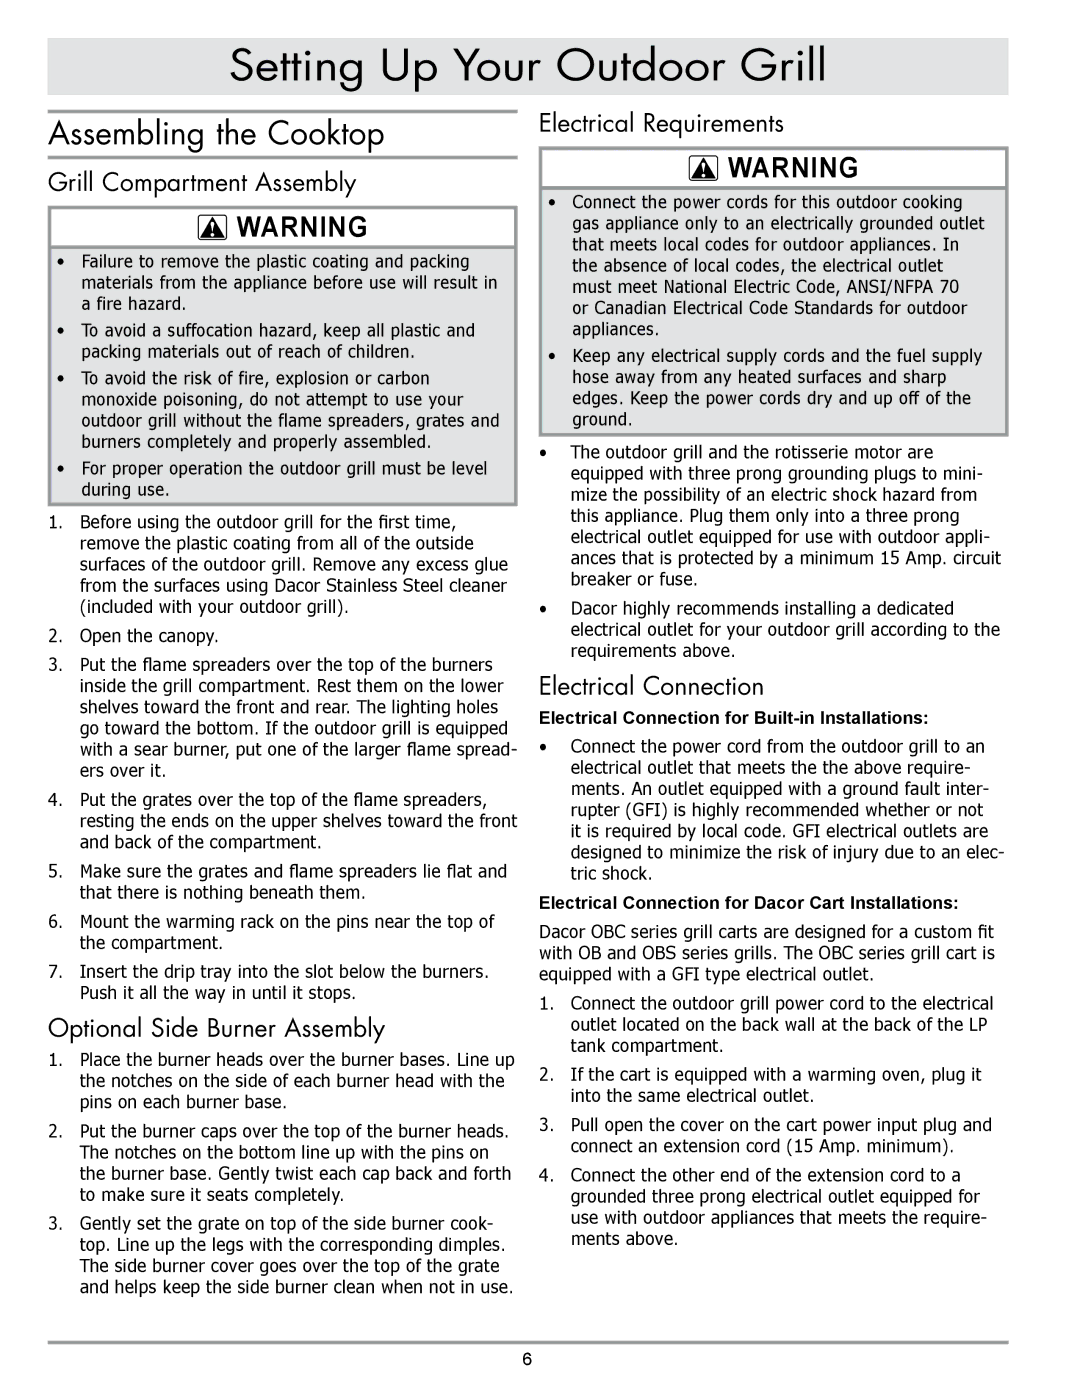
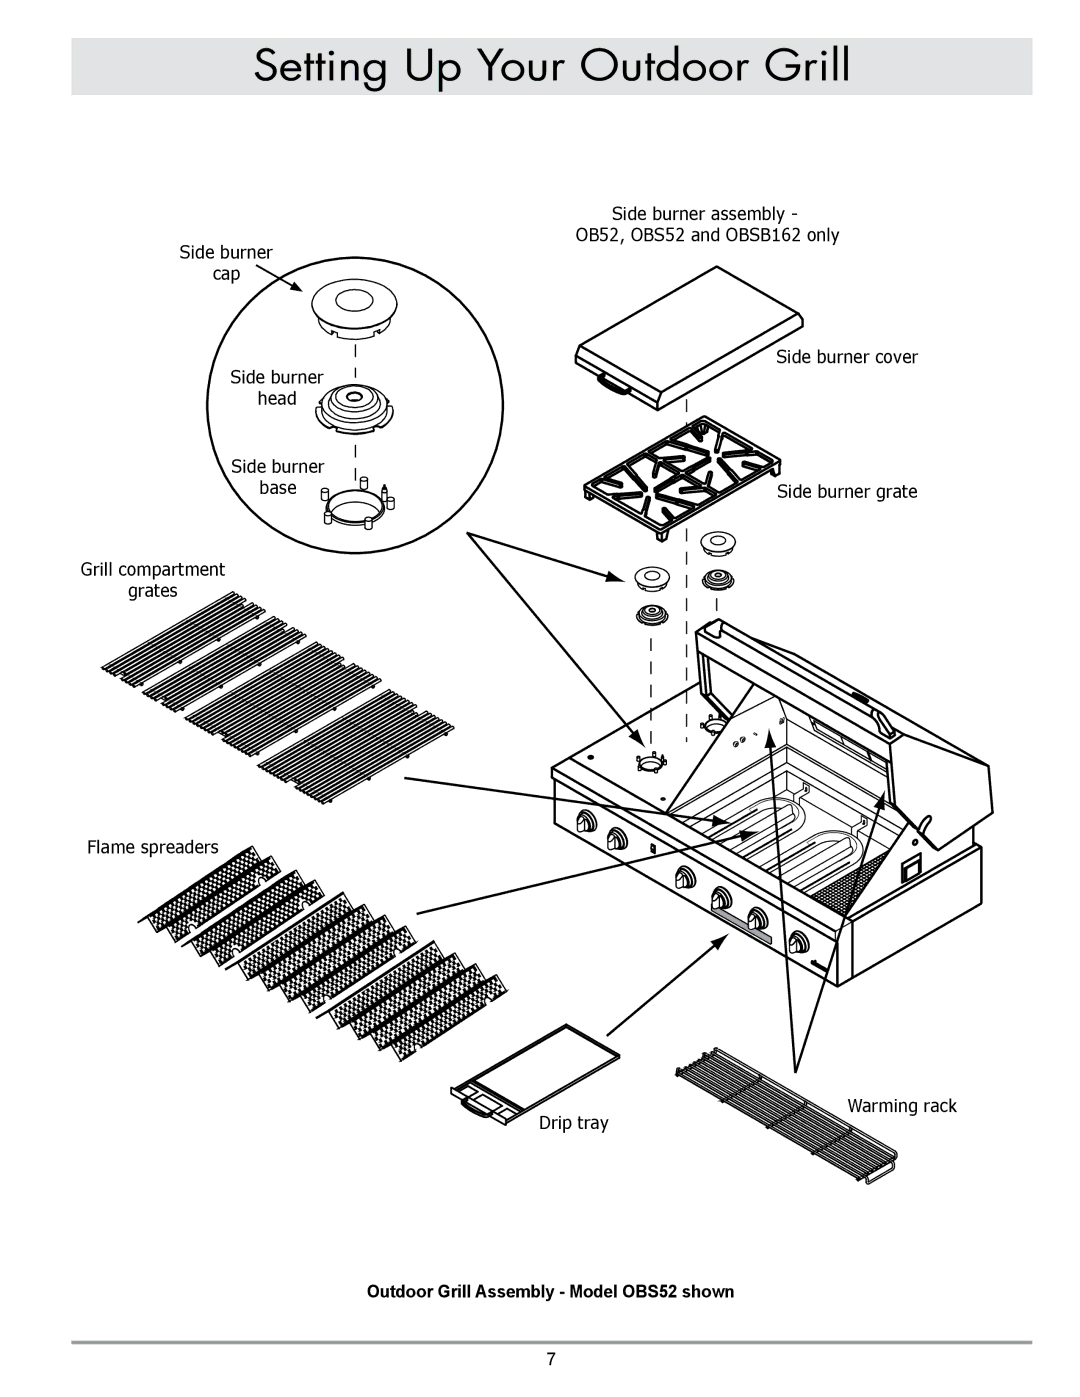
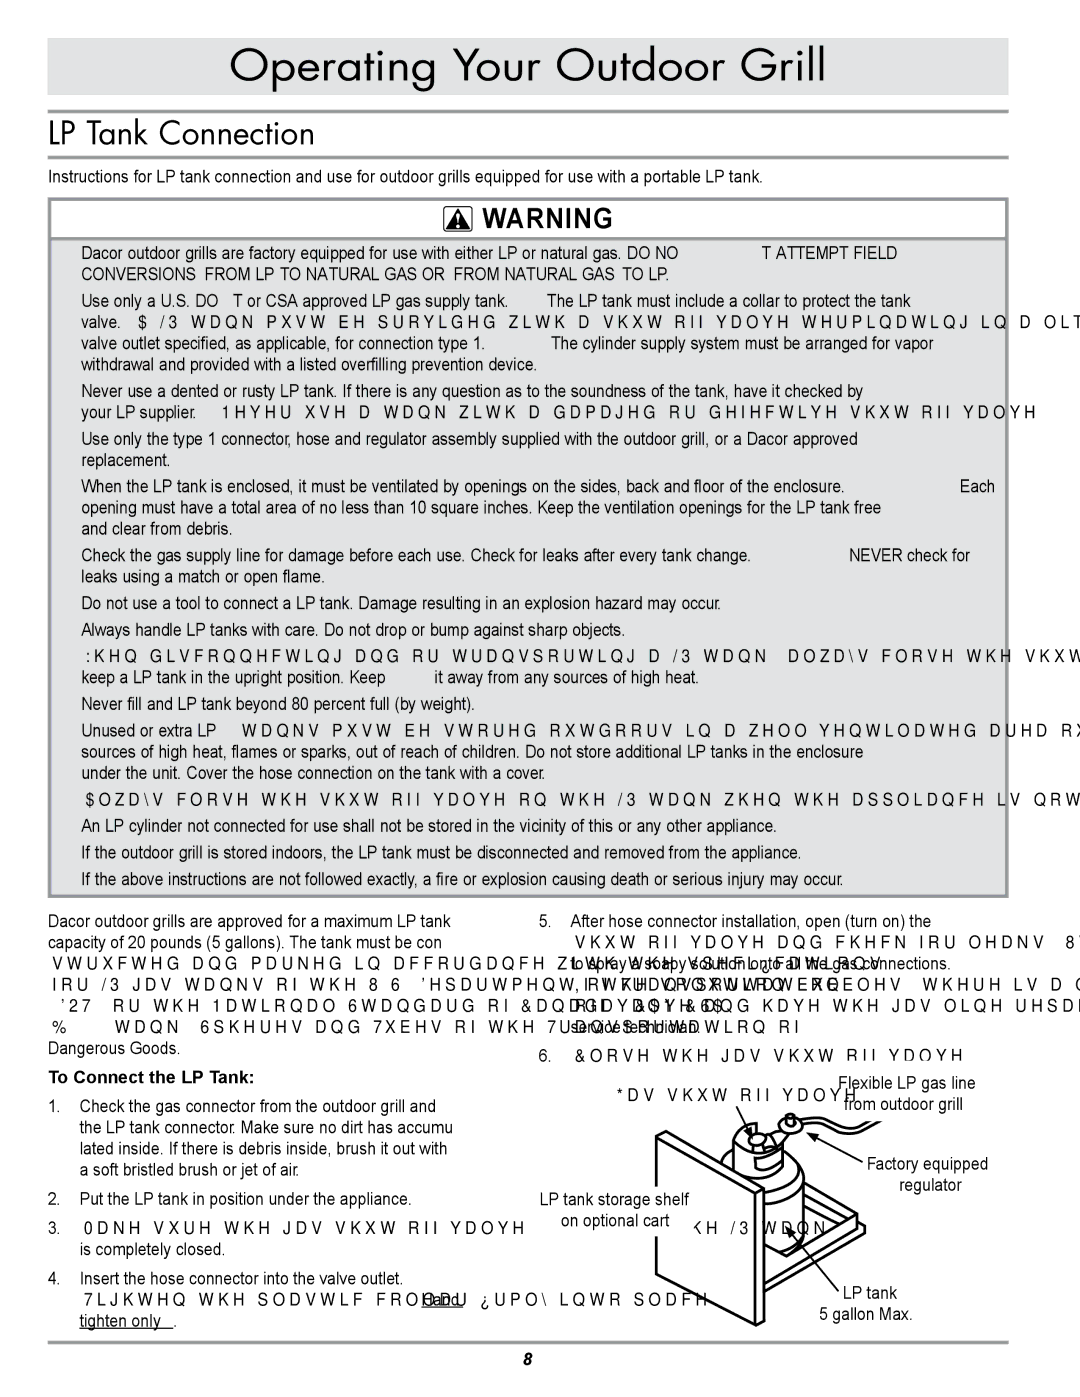
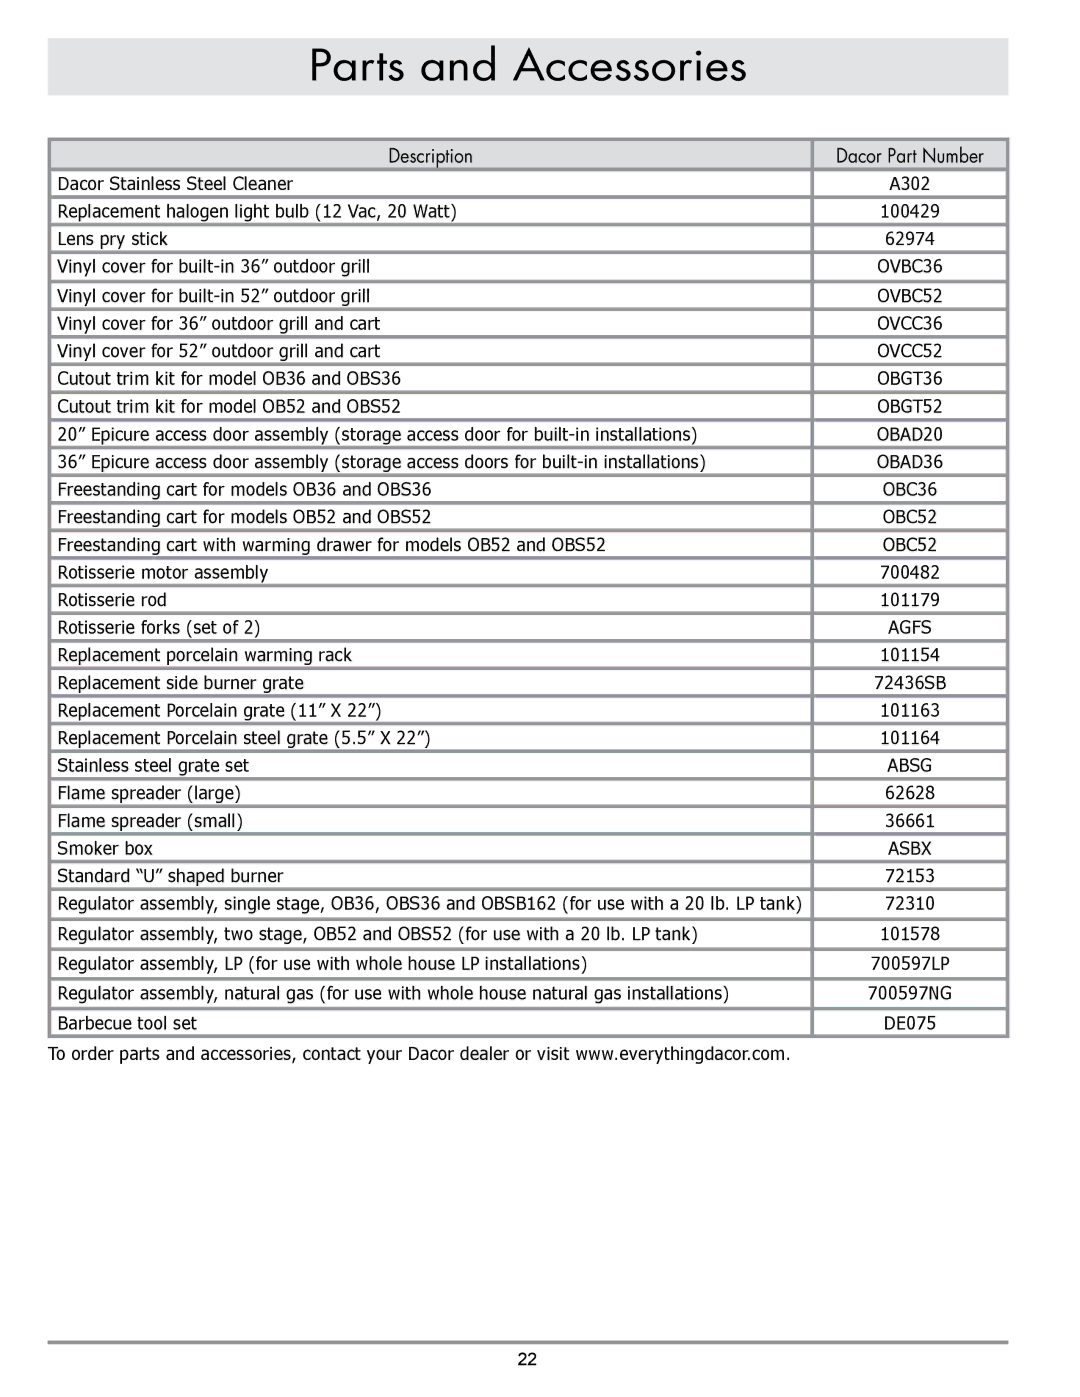
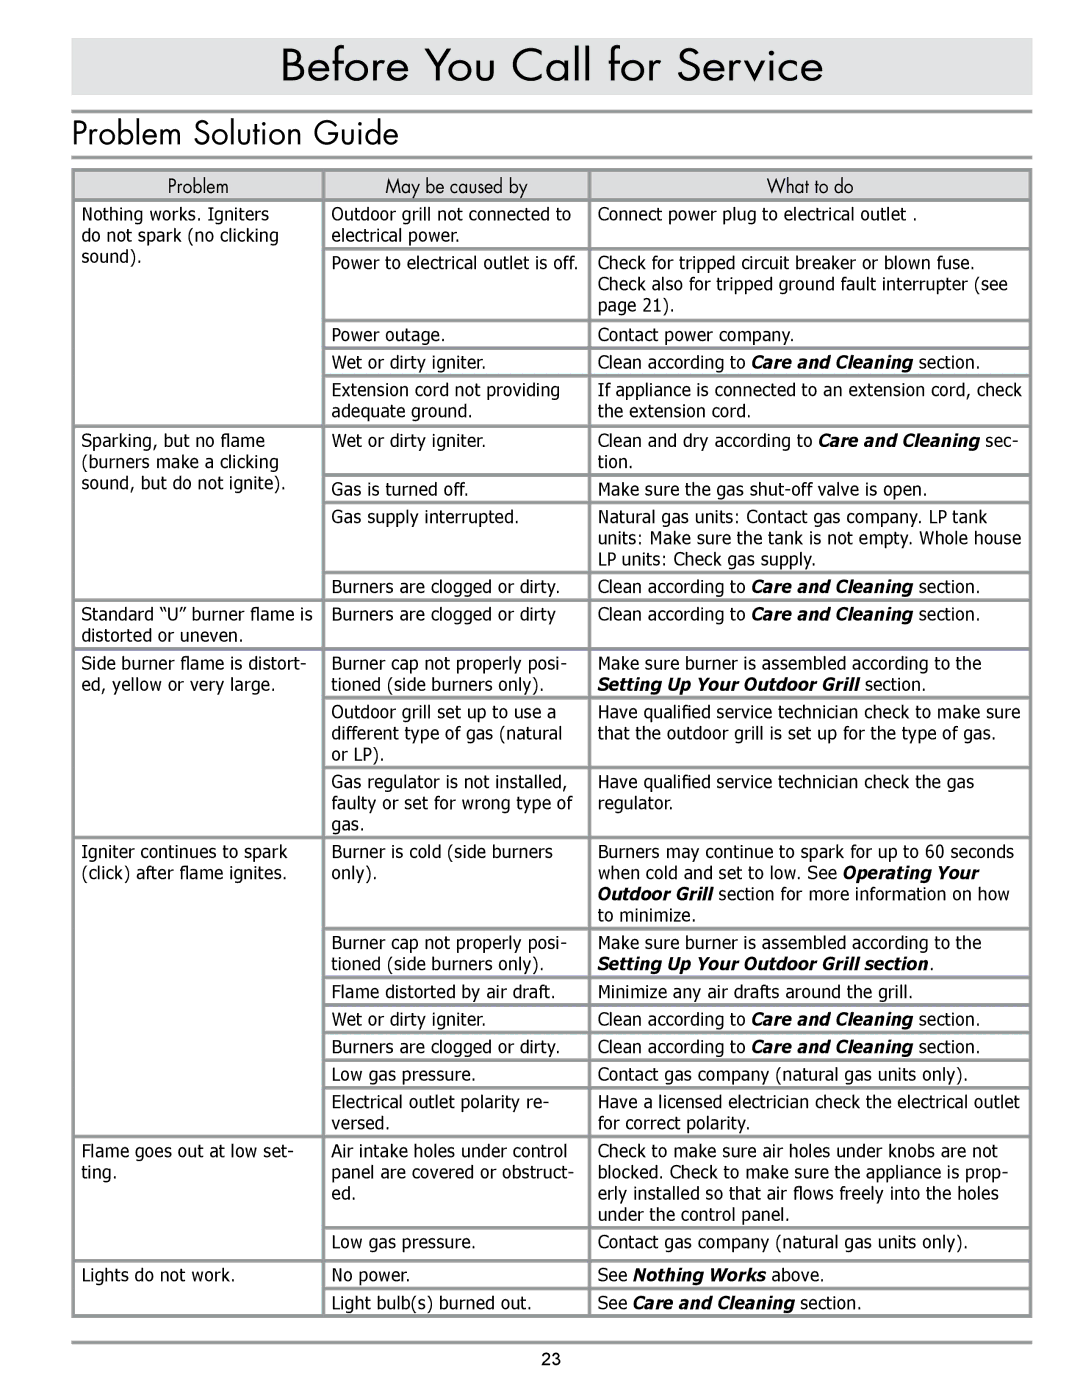
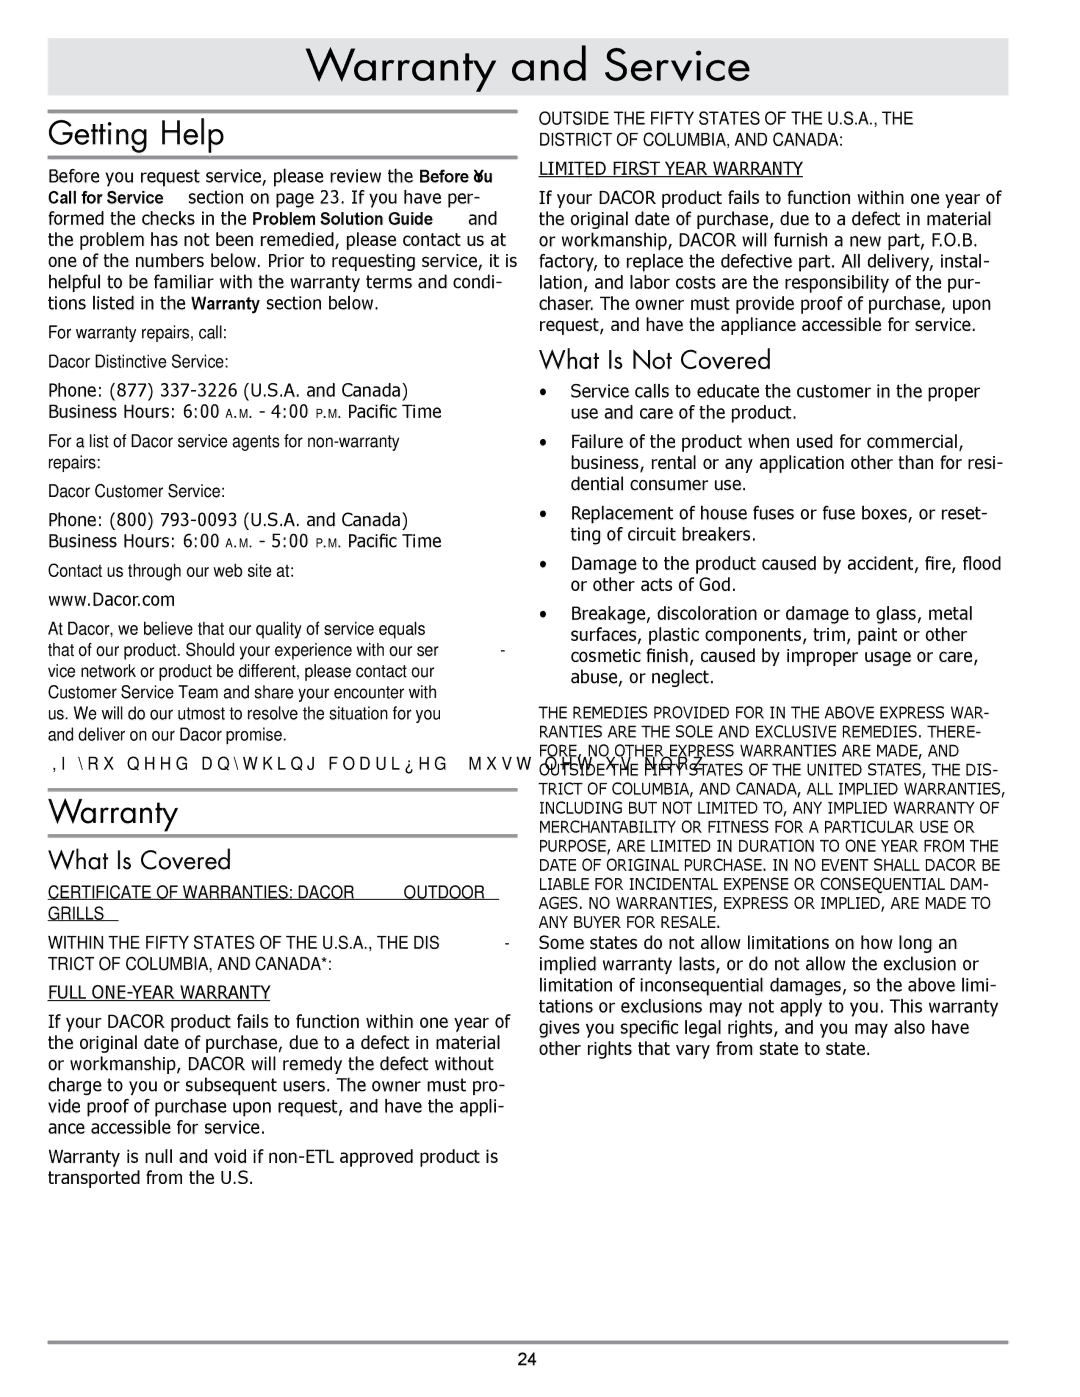
Contents OB36, OB52, OBS36, OBS52, OBSB162 13.2 13.3 Installation Instructions Epicure Outdoor Grill Table of Contents Important Information About Safety Instructions Safety Symbols and LabelsGeneral Safety Precautions Important Safety Instructions OB36 Product DimensionsOB52 Overall Number Width HeightLocation Planning General Gas and Electric Power RequirementsElectrical Requirements Enclosed Cabinet Installations with a LP Cylinder OB36, OBS36, OB52 and OBS52 Cutout Dimensions Side ViewOBSB162 Cutout Dimensions Side View Location Planning Enclosed CabinetsCutout Dimensions Top View OBSB162Location Planning Cart Installations Example of Grill Cart LocationPreparing for Installation Parts ListModels OB36, OBS36, OB52 and OBS52 Models OB52, OBS52 and OBSB162Installation Instructions Cabinet Installation Cart InstallationOB36 or OB52 orOptional Side Shelf Installation Connecting the Gas Gas Connection Natural GasGas Connection LP Gas Cylinder Hose Gas Connection Whole House LP GasAssemble the Grill Final Assembly and TestAssemble the Side Burner Some Models Leak Testing LP Cylinder Installation Some ModelsPower Connection Cart Models Power Connection Cabinet Installations Installation ChecklistVerifying Proper Operation Lighting InstructionsWiring Diagrams Wiring Diagram OBS52 Page Page Page Ta b l e o f C o n t e n t s Back CoverDacor. all rights reserved Important Safety Instructions Model Number Serial NumberUse an adapter plug Important Safety Instructions Optional Grill Cart Features Outdoor Grill FeaturesGetting to Know Your Outdoor Grill Models OB36 and OBS36 Grill compartmentGrill compartment Locking wheels Setting Up Your Outdoor Grill Assembling the CooktopOutdoor Grill Assembly Model OBS52 shown Side burner cover Side burner grate Drip tray Warming rack LP Tank Connection Operating Your Outdoor Grill To Connect the LP Tank Selecting and Using Cookware for the Optional Side Burner Tank-less Gas SupplyImportant Operating Information After CookingLighting the Burners Lighting and Preheating Grill CompartmentNever use the outdoor grill in windy conditions Light one burner at a time. Push in onBurner Lighting Notes Lighting the Side Burners OB52, OBS52 and OBSB162 OnlyBurner Knob Locations Model OBS52 Shown Manual Lighting Procedures Grill Compartment To manually light the standard U shaped burnersTo manually light the optional sear burner To manually light one of the optional sear burnersRotisserie Cooking Things to Know About the RotisseriePreparing to Use the Rotisserie Rotisserie OperationManual Lighting Procedure Rotisserie Rotisserie burner Electrode LocationUsing the Smoker Box Smoker CookingSmoker Wood Chip Types Adding more wood chipsUsing the Optional Sear Burner Safe Cooking Temperature ChartTo cook using the sear burner Models OBS36 and OBS52 OnlyCare and Cleaning Cleaning InstructionsCleaning the Grill Compartment Grates Flame spreadersCleaning the Porcelain Grates and Warming Rack Cleaning the Rotisserie Burner and Optional Sear BurnerCleaning the Smoker Box Cleaning the Rotisserie PartsCleaning the Optional Side Burners Cleaning the ExteriorKnobs and Trim Rings Rubbing alcohol to help dissolve grimeBack of Lens Light Bulb ReplacementLight Fixture Locations Standard U Burner Removal and Replacement Parts and Accessories Before You Call for Service Problem Solution GuideWarranty and Service WarrantyWhat Is Covered What Is Not CoveredBusiness Reply Mail Warranty Information
Related manuals
Manual 12 pages 21.22 Kb