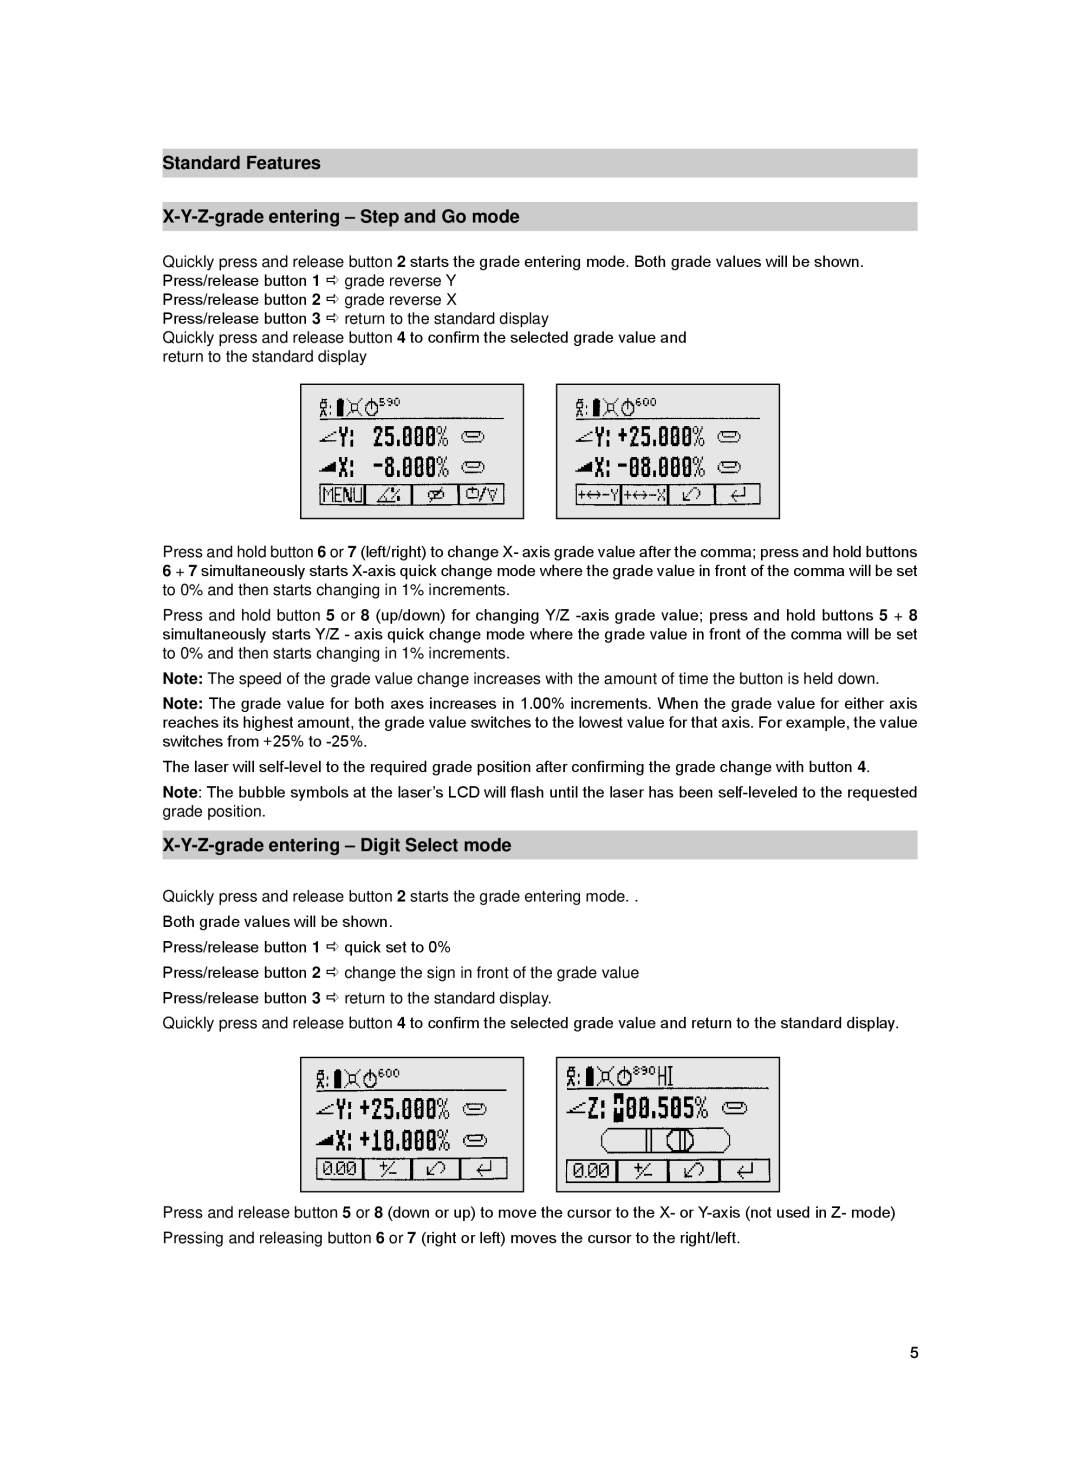
Start Reference Check
Before starting some grade work which is very sensitive an additional Reference Check can be started manually. Press and release the MENU button at the Standard Display and select Reference Check.
Pressing and releasing button 4 starts the Reference Check considering the current temperature inside the housing. While the rotor checks the correct position the rotation will be stopped.
Centering the Rotor
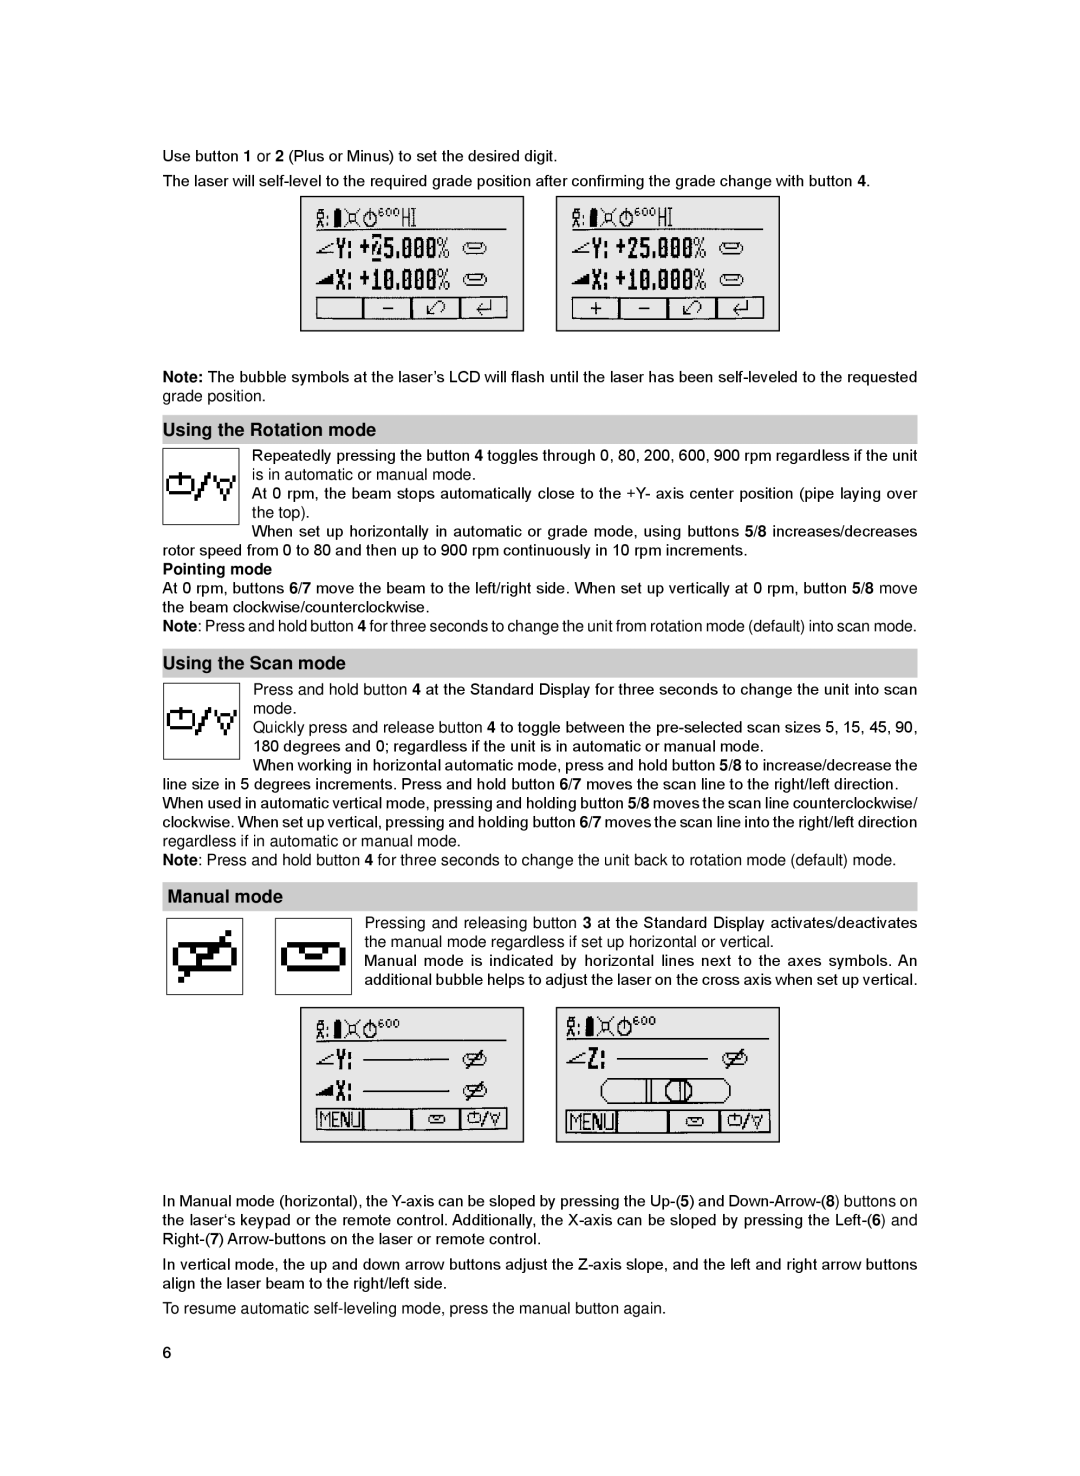
Press and release the MENU button at the Standard Display and select Centering where the rotor will be centered 90° perpendicular to the bottom housing.
Pressing and releasing button 4 starts the rotor centering function while the rotor checks the limits of both axes then it stops at the center position and changes the unit into manual mode.
Setting Menu
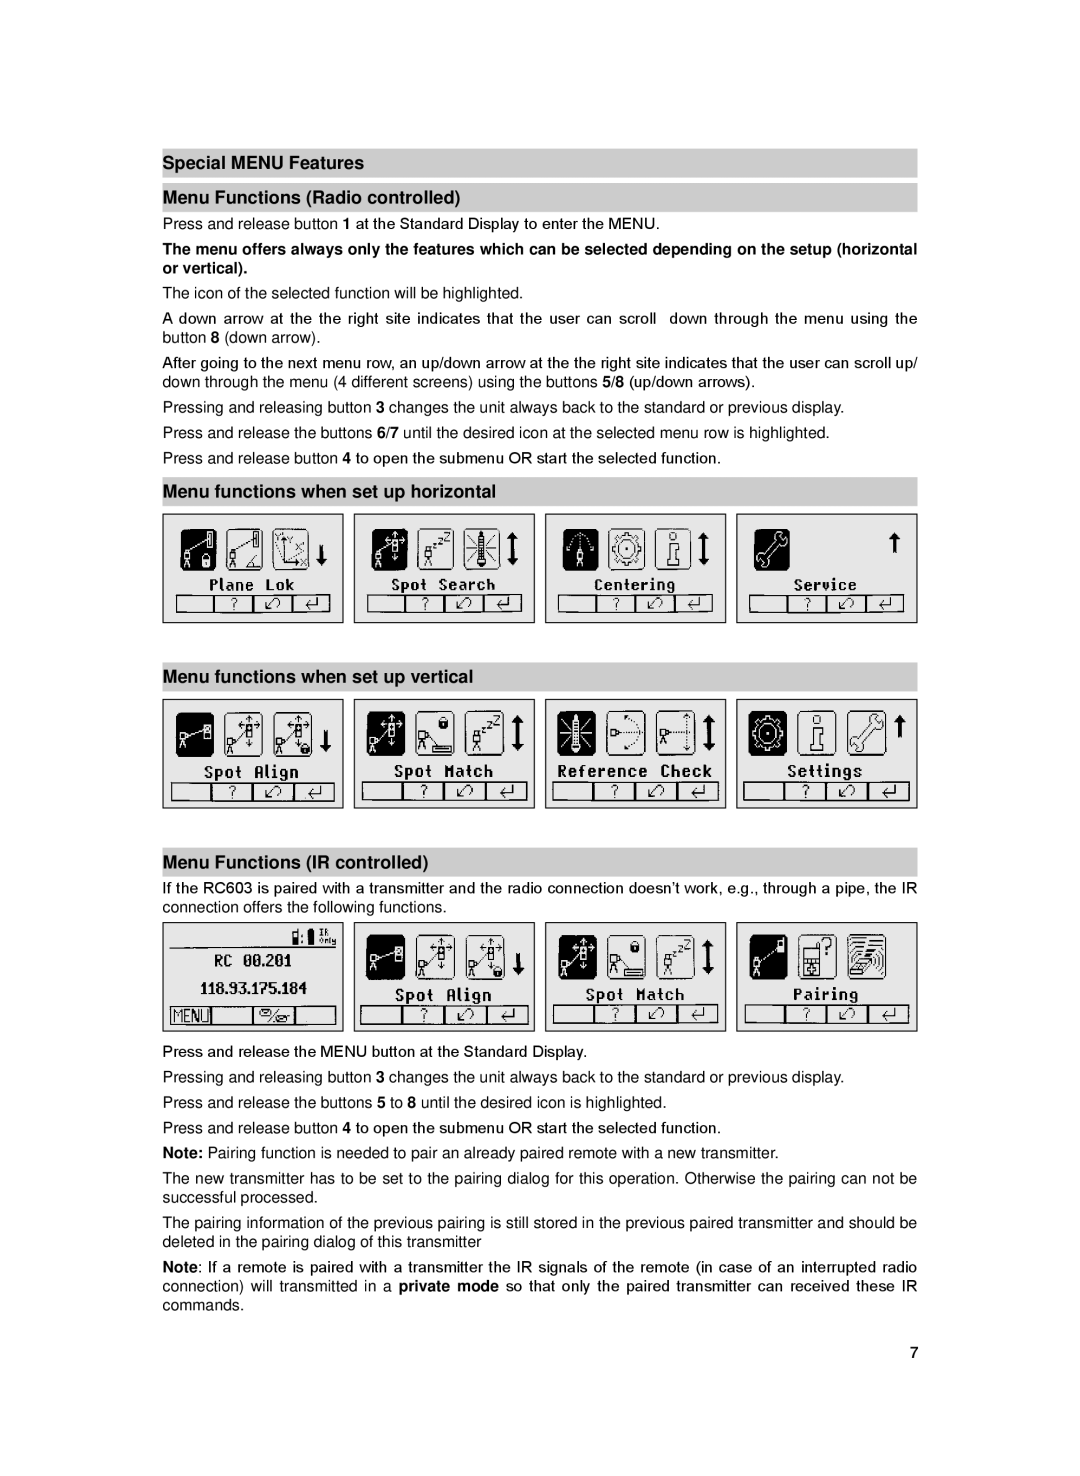
Press and release the MENU button at the Standard Display and select Settings.
Press and release button 4 to open the Setting Menu; select the desired function then press button 4 to open the selected submenu function OR start the selected function.
Please see the Setting Menu details at the end of the user guide.
Info
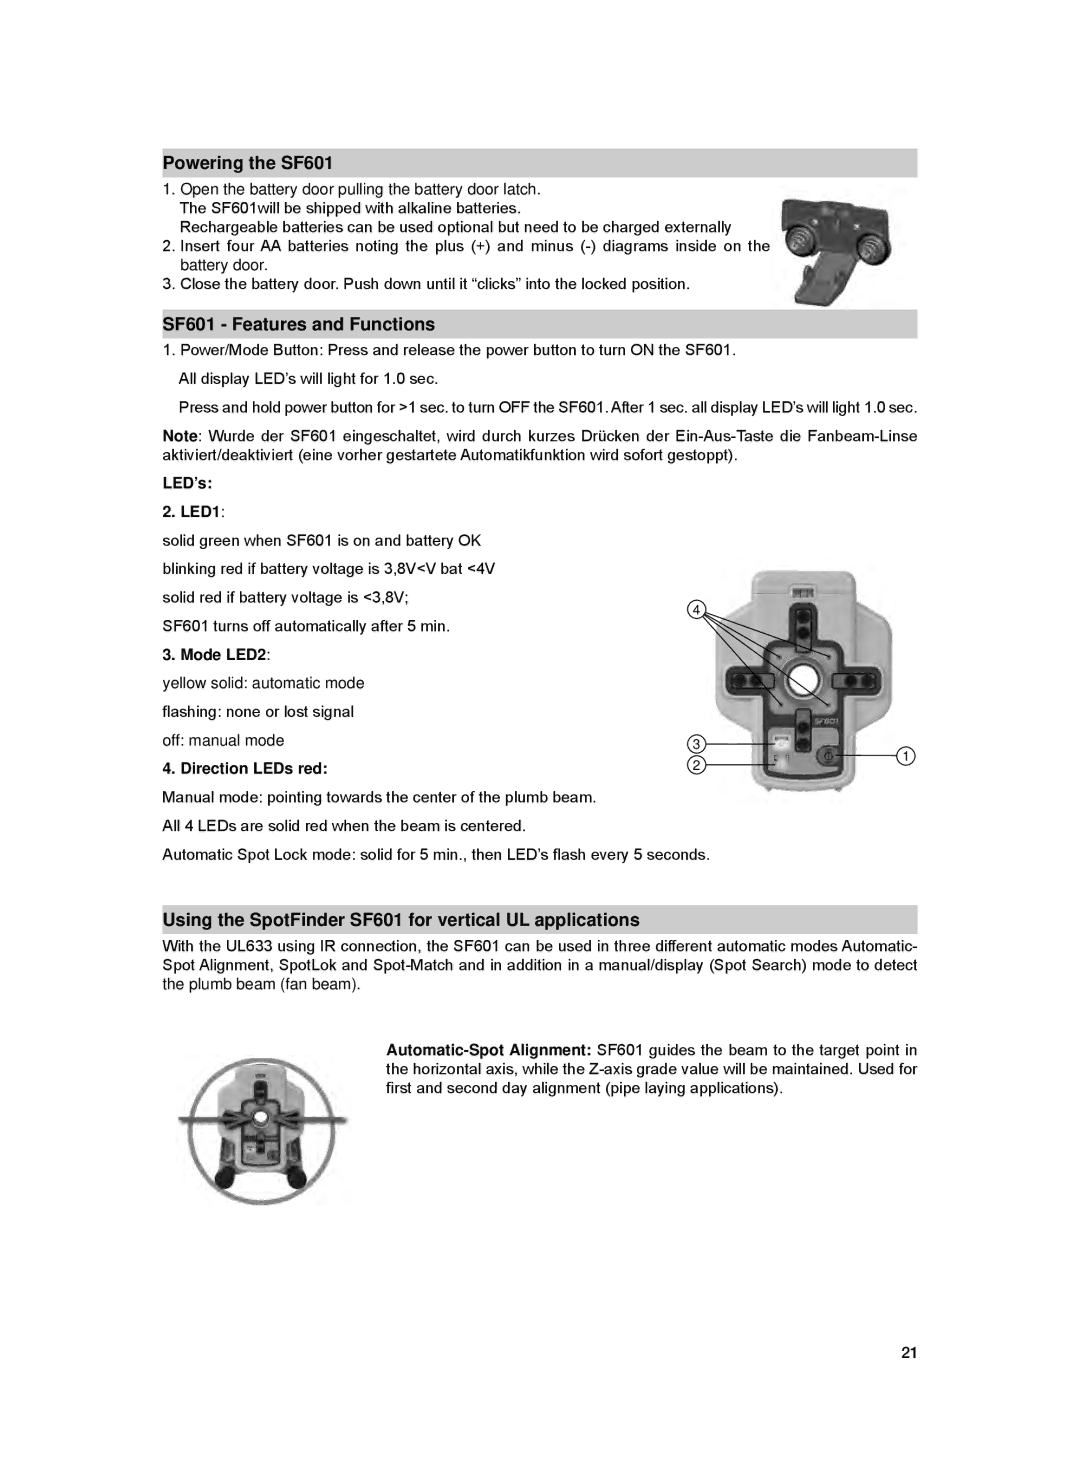
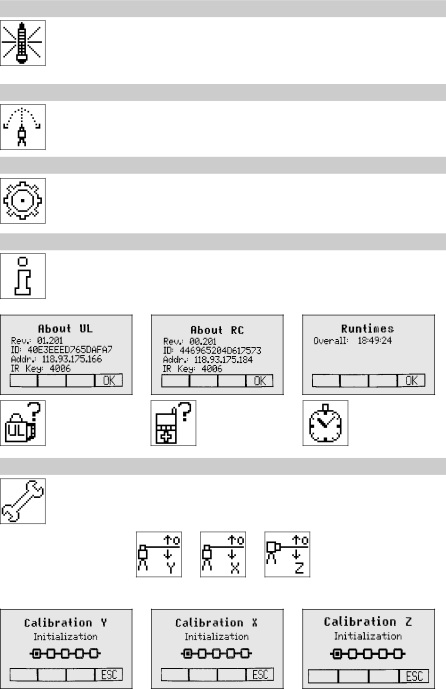
Press and release the MENU button at the Standard Display and select Info. Buttons 6/7 can be used to toggle between UL, RC and Runtime.
Press and release button 4 to confirm the selection.
The UL/RC information (software version, ID, etc.) or the runtime of the UL will be displayed.
Service
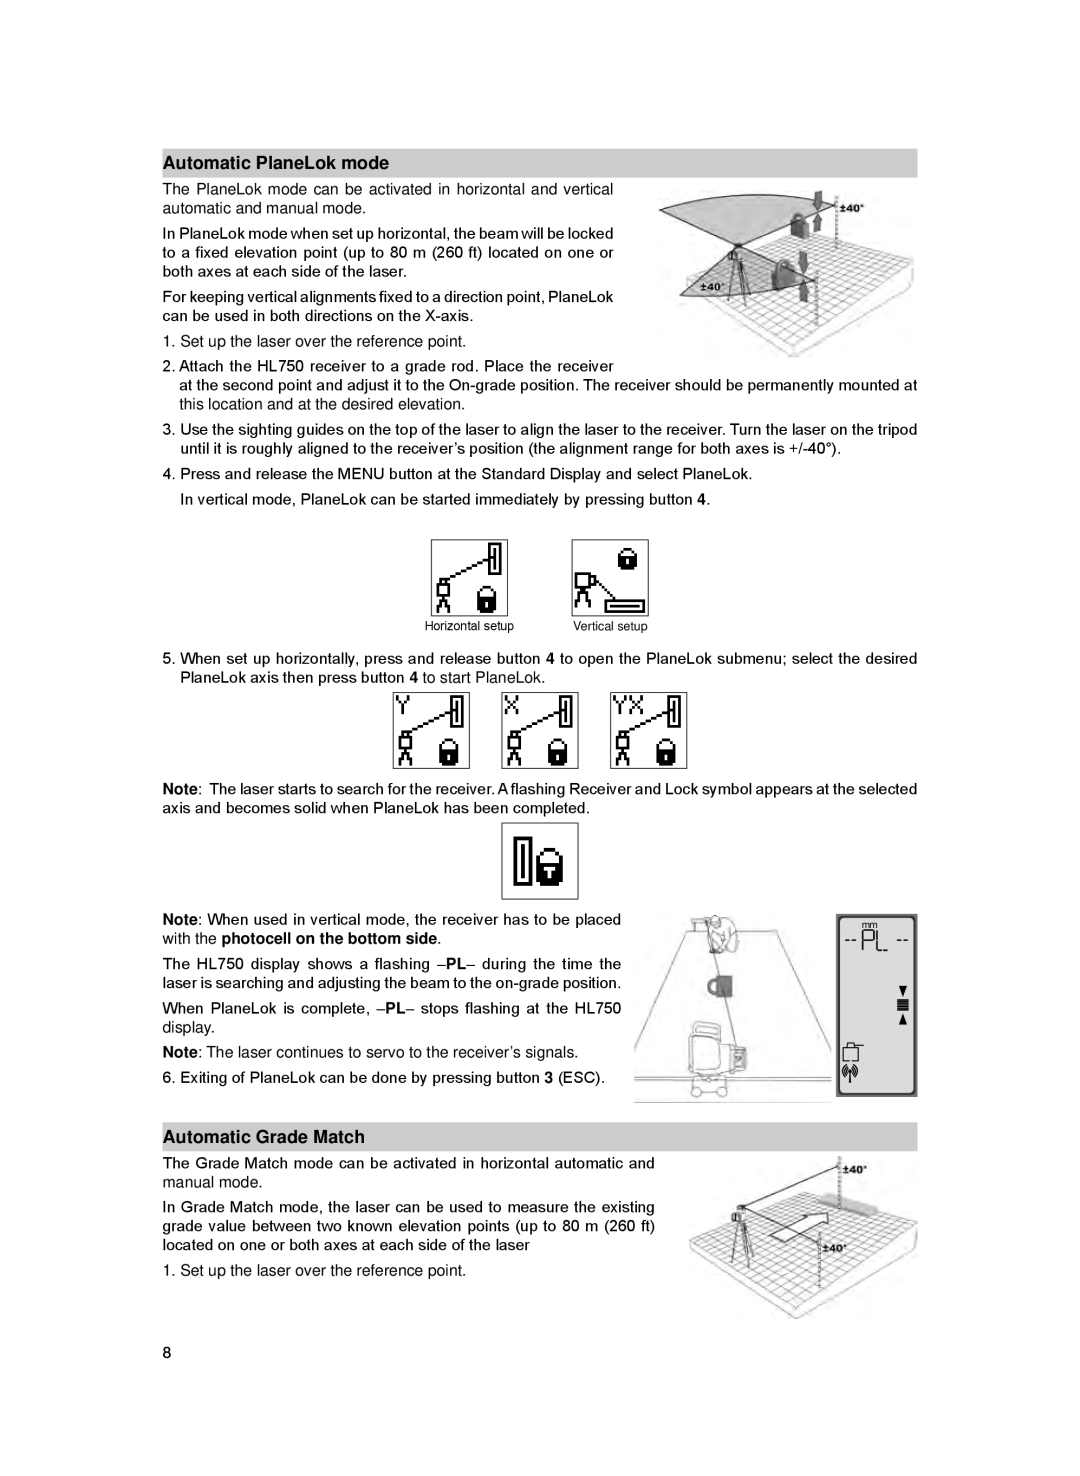
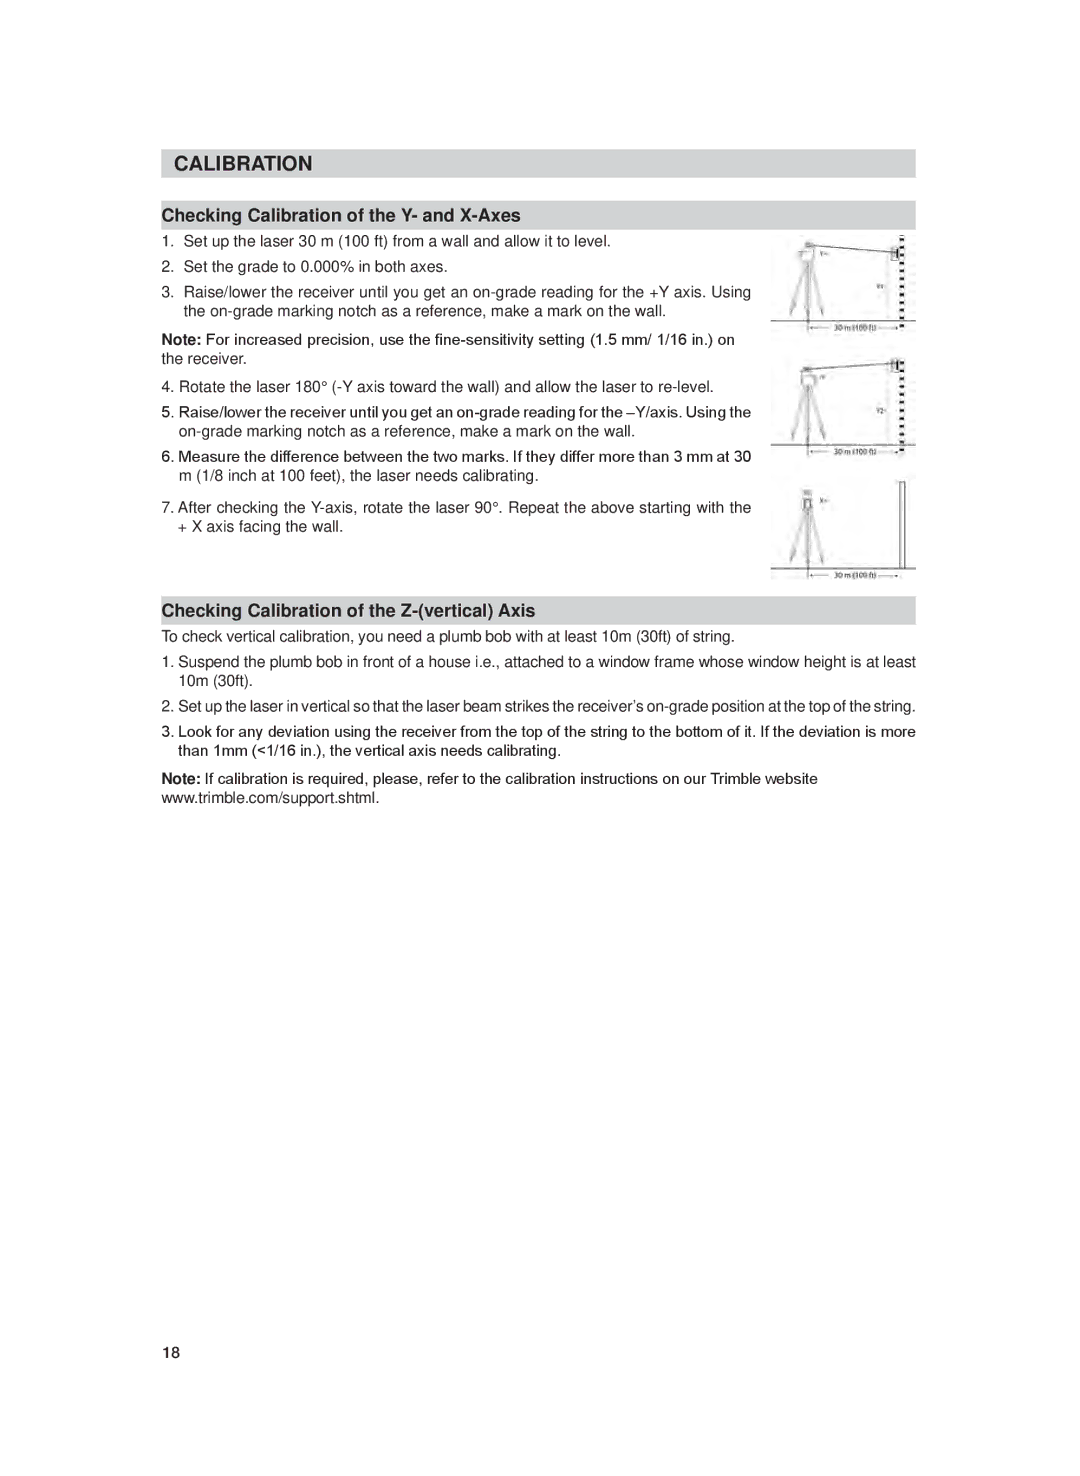
Press and release the MENU button at the Standard Display and select Service. Buttons 6/7 can be used to toggle between Calibration Y and Calibration X OR Calibration Z when set up vertically.
Press and release button 4 to confirm the selection. The calibration at the selected axis starts the field calibration procedure.
11
