Craftsman 315.220381 owner manual Be Sure the Blade Clears the Work

Page 6

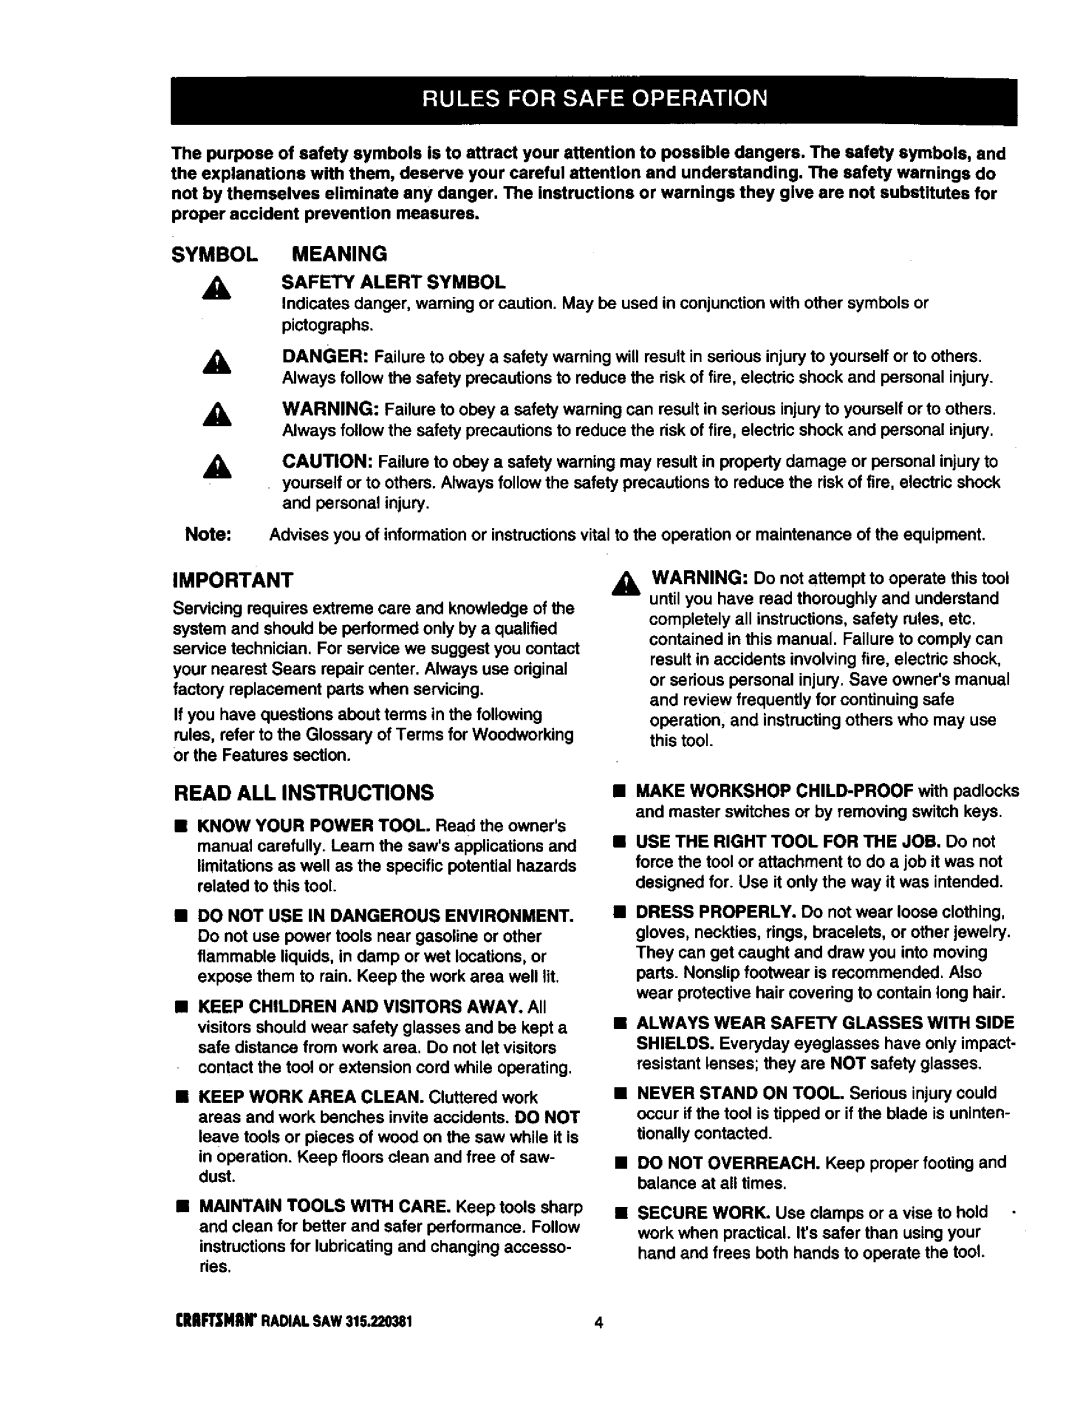
GUARD AGAINST KICKBACK. Kickbackcan occur when the blade stalls, driving the work piece back toward the operator. It can cause your hand to contact the blade, resulting in serious personal

injury. Stay out of the blade path and turn switch off immediately if blade binds or stalls.

DO NOT USE A PERSON AS A SUBSTITUTE

FOR A TABLE if additional support is needed. Use a support the same height as the table.

USE A SUPPORT FOR THE SIDES AND BACK OF THE SAW TABLE when sawing wide or long workpieces to minimize the risk of blade pinching and kickback. Use a sturdy "outrigger"support to prevent tipping if a table extension more than 24 inches long is attached to the saw.

CUT ONLY WOOD, PLASTIC OR WOOD-LIKE MATERIALS. Do not cut metal.

BEFORE MAKING A CUT, be sure all adjustments are secure.

NEVER cut more than one piece at a time. DO

NOT STACK more than one workpiece on the saw table at a time.

DO NOT REMOVE THE SAW'S BLADE GUARD. Never operate the saw with the blade guard removed. Make sure all guards are operating properly before each use.

NEVER PERFORM ANY OPERATION FREE- HAND. Always place the workpiece to be cut on the saw table and position it firmly against the fence as a backstop.

USE THE RIP FENCE. Always use a fence or straight edge guide when ripping.

BE SURE THE BLADE PATH IS FREE OF NAILS. Inspect for and remove all nails from lumber before cutting.

BE SURE THE BLADE CLEARS THE WORK-

PIECE. Never start the saw with the blade touching the stock.

KEEP HANDS AWAY FROM CUTTING AREA. Do not reach underneath work or in blade cutting path with your hands and fingers for any reason.

Always turn the power off when cut is complete.

USE A PUSHBLOCK OR PUSHSTICK in rip mode for workpieces so small that your fingers go under the blade guard. NEVER TOUCH BLADE or other moving parts during use, for any reason.

ALLOW THE MOTOR TO COME UP TO FULL SPEED before starting a cut to avoid blade binding or stalling.

ALWAYS PUSH THE WORKPIECE when ripping; never pull it toward the saw.

DO NOT FEED THE MATERIAL TOO QUICKLY. Do not force the workpiece against the blade.

ALWAYS TURN OFF SAW before disconnecting it, to avoid accidental startingwhen reconnecting to the power supply. NEVER leave the saw unattended while connected to a power source.

BEFORE CHANGING THE SETUP, REMOVING COVERS, GUARDS, OR BLADE; unplugthe saw and remove the switch key.

KEEP TOOL DRY, CLEAN, AND FREE FROM OIL AND GREASE. Always use a clean cloth when cleaning. Never use brake fluids, gasoline,

petroleum-based products, or any solventsto clean tool.

KEEP BLADES CLEAN, SHARP AND WITH SUFFICIENT SET. Sharp blades minimize stalling and kickback. Keep blades free of rust, grease, and pitch.

being turned off.

_k WARNING: Blade coasts after " =

USE ONLY OUTDOOR EXTENSION CORDS. Use only extension cords with the marking =Ac- ceptable for use with outdoor appliances;store indoorswhile not in use." Use extension cordswith an electrical rating not less than the saw'srating. Always disconnectthe extension cord from the outlet before disconnectingthe productfrom the extension cord.

INSPECT TOOL CORDS AND EXTENSION CORDS PERIODICALLY and, if damaged, have repaired by a qualified service technician at a Sears repair center. Stay constantlyaware of cord

locationand keep it well away from the moving blade.

DO NOT ABUSE CORD. Never yank the cord to disconnectit from receptacle. Keep the cord from heat, oil, and sharp edges.

SAVE THESE INSTRUCTIONS. Refer to them

frequently and use to instructother users. If you loan someone this tool, loan them these instruc- tions also.

SAVE THESE INSTRUCTIONS

Clltl_HIIIr RADIALSAW315.220381

6

Image 6
Contents Radial ARM SAW Ofess IonalFull ONE Year Warranty on Craftsman Radial ARM SAW 28-29 Symbol Meaning Safety Alert SymbolAvoid Awkward Operations and Hand Be Sure the Blade Clears the Work RIP only Workpieces Longer than Groundinginstructions Grounding PIN Coverofgrounded OutletboxChanging Voltage See FiguresBladearbor BladeBevelAngle GumRAFTSNANRADIALSAW315,220381 Sawassemblyshownaspacked IIoII Cdef000 Io@C LevelInch Radii Arm Saw RE.ANTPARTSAdvertencia Knowyourradialsaw See aYoke Miterscale Armlockknob Yokepivotlatch RIP FeatureslistSee Figures 9A-9D 19IIRFTSMRNRADIALSAW315.220381Figures 9A and 9B MOTOR13/6.5AMP- Powersthebladeand is Dustguide HolddownSee Figure I OA Assembly and Adjustments sections beforeTighten. See Figure I OA See Figure lOBSAW Base LEG Sawbase Hexbolt Flat Washer Lockwasher Mounting SAW to LEG Stand Attaching Elevating HandwheelSee Figure Elevating Shaft Handwheel Screw StarwasherArmlockknob ARM Capscrews Installing the Yoke AssemblyArmviewedfrombelow Carriagearm LockknobBlade Arbor Mounttablesupports Usingtheseholelocations Removing the BladeAttaching Table Supports See Figures 17,4and 17B Setting the ARM Lock KnobArmcap Motor Yokelock Handle Assembly Yokelock HandleBevellockleverin Setting the Bevel Lock LeverStarwasher Bevel Bevel BevelSee Figures 20A 20D Rear Coverscrews HEXBOLT2 HEXNUT2 Adjusting the Column TubeTightening the ARM and Column Column ARM Tube SupportColumntube Elevation AdjustmentRotation Adjustment Silverblack Screws ColumnsupportAdjusting the Carriage Bearings CarriagebearingEccentricscrew Wrench Graspandhold Carriagebearing Blade Wrenchat Front Armlockknob Leveling Table SupportsSee Figures 22A and 22B Rightside Tablesupport23A Installing the Front TableSee Figures 23A 23C HexnutLeveling the Front Table See Figures 25A 25CReartablefence Spacertablefronttable Clamp Bracket Squarenut HoleBlade Rotation Hten WRENCH2 See Figures 27A 27C Installing RIP Scale Indicators Carriage SpeednutSpring Carriage Screws Lockknob Aligning the ARM for Cross Cuts See Figures 29,4 2gCIndexcap Bevel Aligning Blade to Table AT 0 BevelSee Figures 30A 30D Lock Lever Fronttable Socket Elevating Headscrews HandwheelHexbolts Squaring Blade to FenceSee Figures 31A 31C Framingsquare YokelockhandleParalleling Blade to Table Noadjustment Needed BevelAdjustment GAP See Figures 32A-32CAligning the RIP Scale Indicators IN-RIPSCALEONRIGHTSIDEOFARM RIP-SCALEINDICATORSee Figures 33A 33B Installing Control CUT Device Barrel Carriage Assembly SOCKETF.34Cross Cuts Basic Operation of the Radial ARM SAWTypes of Cuts RIP CutsSwitch and Switch KEY Insertswitchkey Switchon Switchoff Causes of KickbackAvoiding Kickback Featnerboards PushsticksPushblocks Pushsticks Pushblocks FeatherboardMaking a Cross CUT Carnage Lockknob TableclampsMaking a Miter CUT Making a Bevel CUT Making a Compound Cross CUT Beveledand Elevating HandwheelYoke Armpivotlatch Swwchyokelock Handle RIP CUT Hazards and Precautions Setting UP a RIP CUTElevating Handwheel Infeedfor Ripcutting See Figure Review the Hazards and Precautions Making a RIP CUTCutting Long Workpieces Making Other CutsSee Figures 48 SupportlongworkpiecesNON-THROUGH CutsGeneral Maintenance MOTOR/ELECTRICALProblem Cause SolutionProblem Remove handwheel clean and lubricate the shaft Adjustmentssection See Adjusting the ColumnTube in Assembly section See Squaring the Blade toCause Solution Fence in AdjustmentssectionAssembly section Seefigure Description Quan Craftsmanradial ARM SAW- ModelnoKEY Part Number KEY PartFigureb Craftsman Radial ARM SAW Model no KEY Part NO.NUMBER63CRRFTSMRNRADIALSAW315.220381 Figurec Parts List for Figure C Descripon QuanFigured Parts List for Figure D 67CRRFTSNHNRADIALSAW315220381Figuree Parts List for Figure E Figuref See Figure G976287-001 71CRAFTSMANRADIALSAW315.220381See Figure F Seefigureh CRAFTSMANTABLESAW315,22038172Parts List for Figure G 73CRRPTSNRNRADIALSAW315.220381Figureh Parts List for Figure H Descripon OuanFigurei Parts List Craftsmanradial ARM SAW ModelnoFigurej Parts List for Figure J Craftsmanradial ARM SAW- Modelno ,220381Figurek Parts List for Figure K Parts Direct s