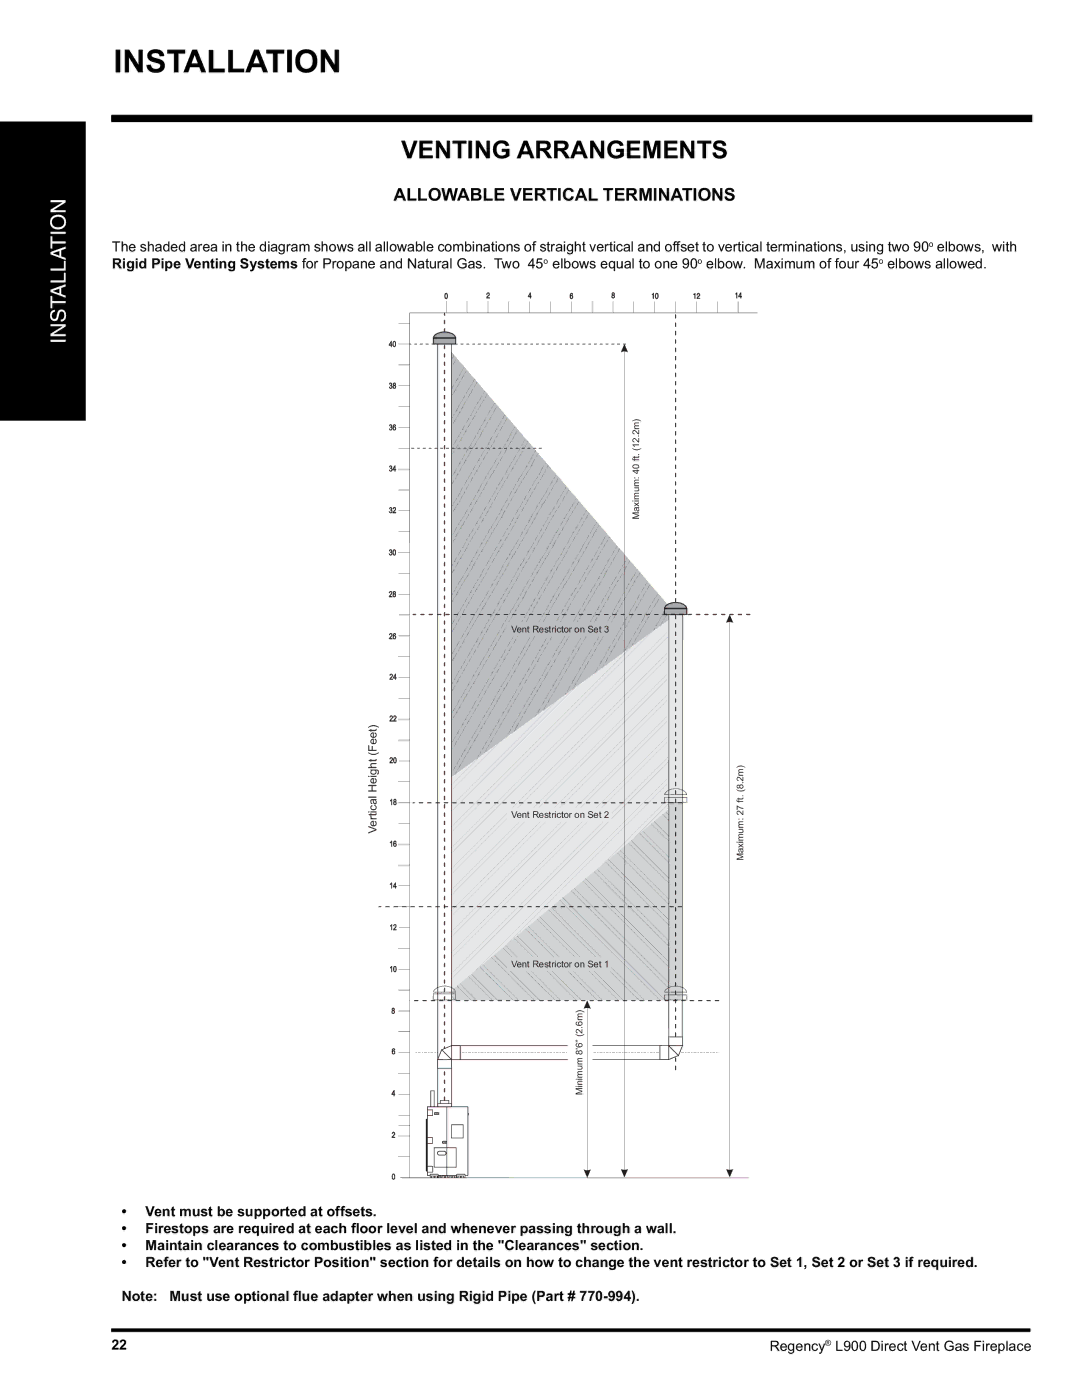
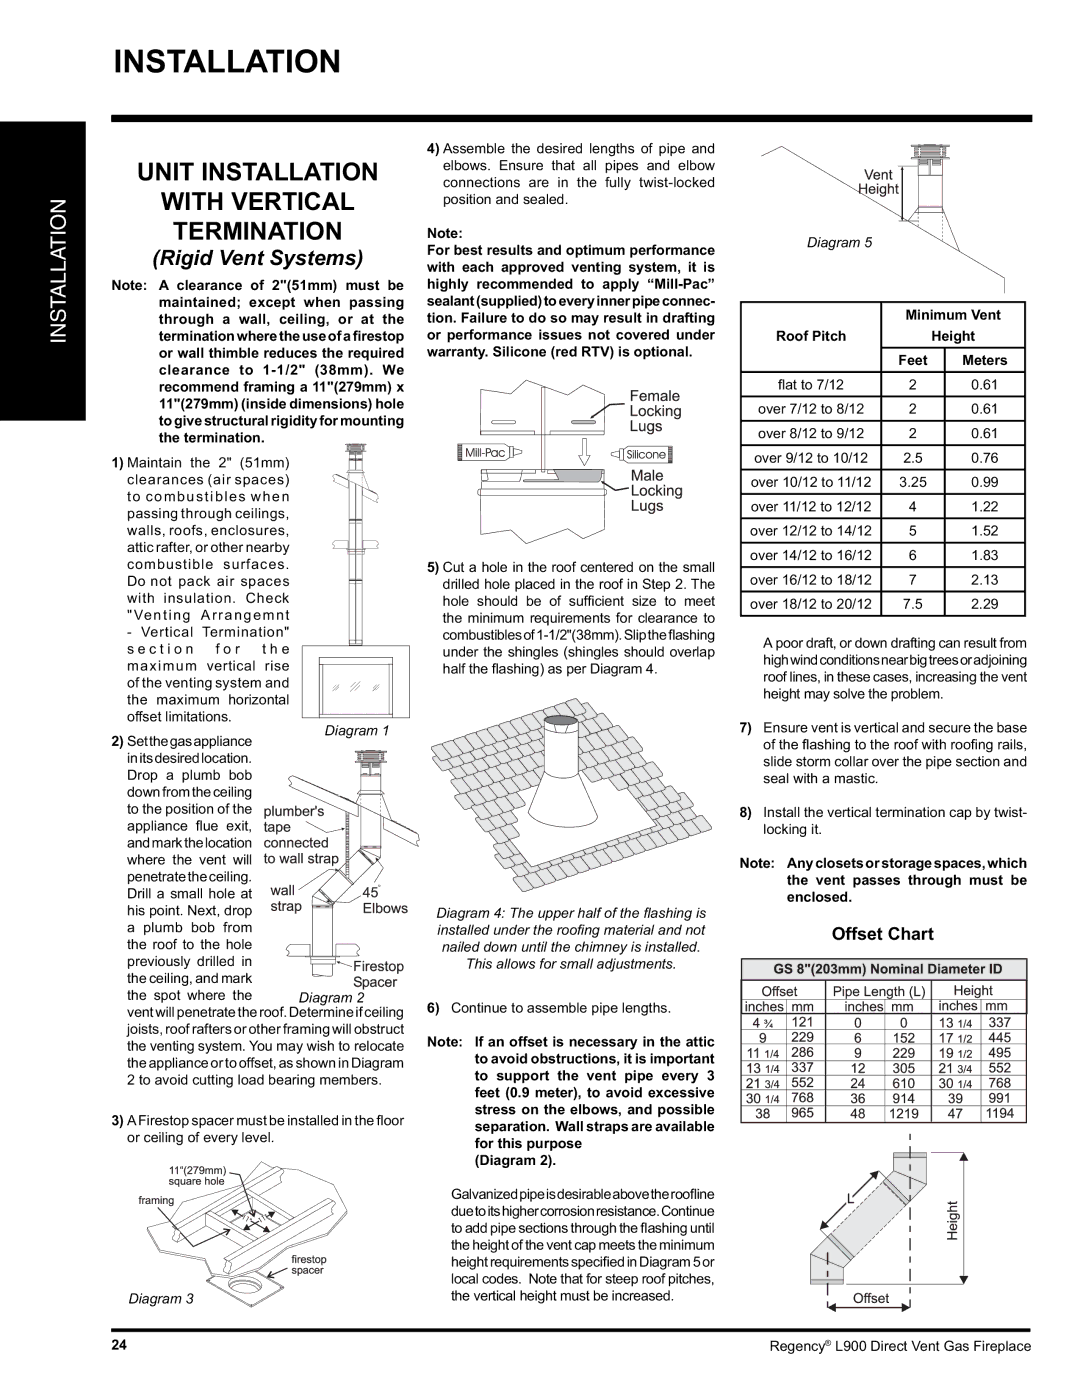
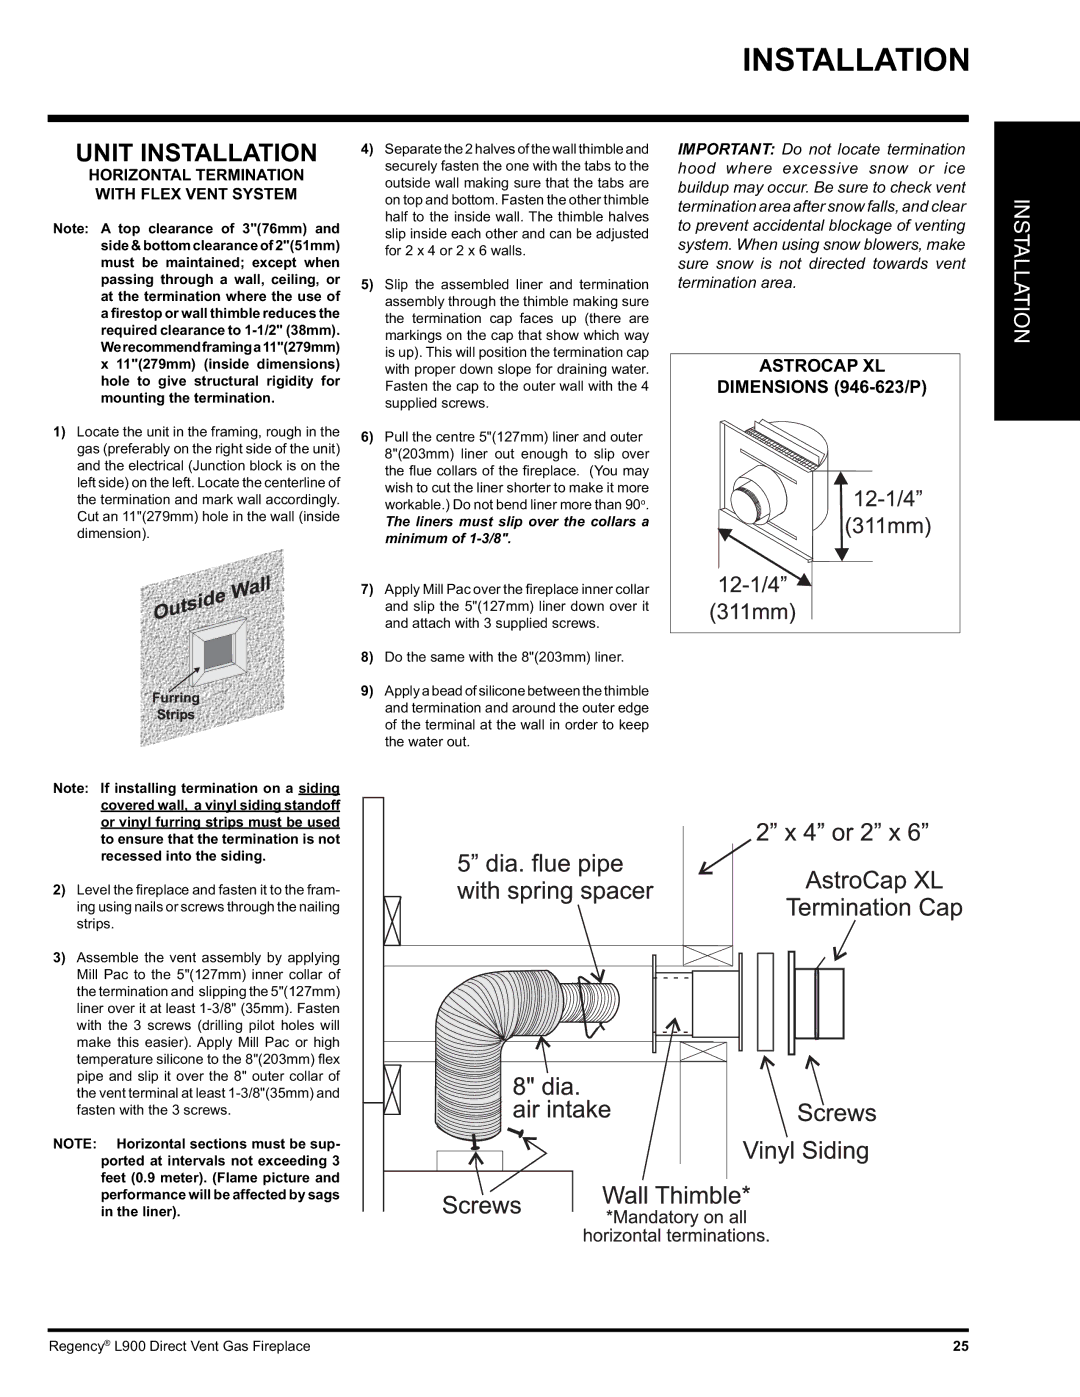
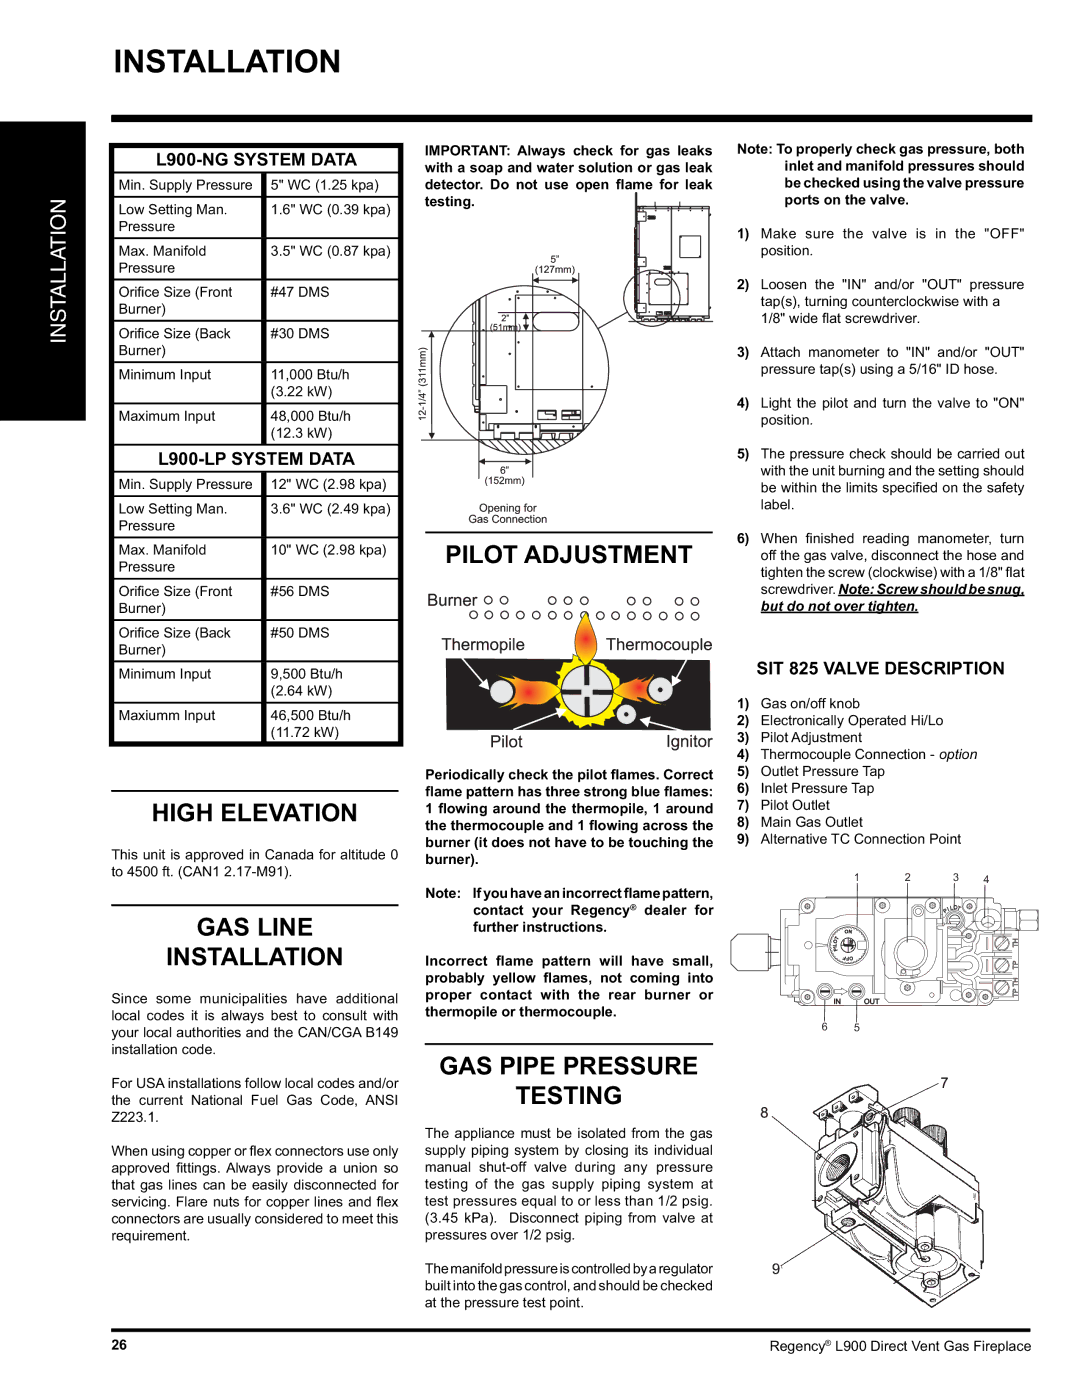
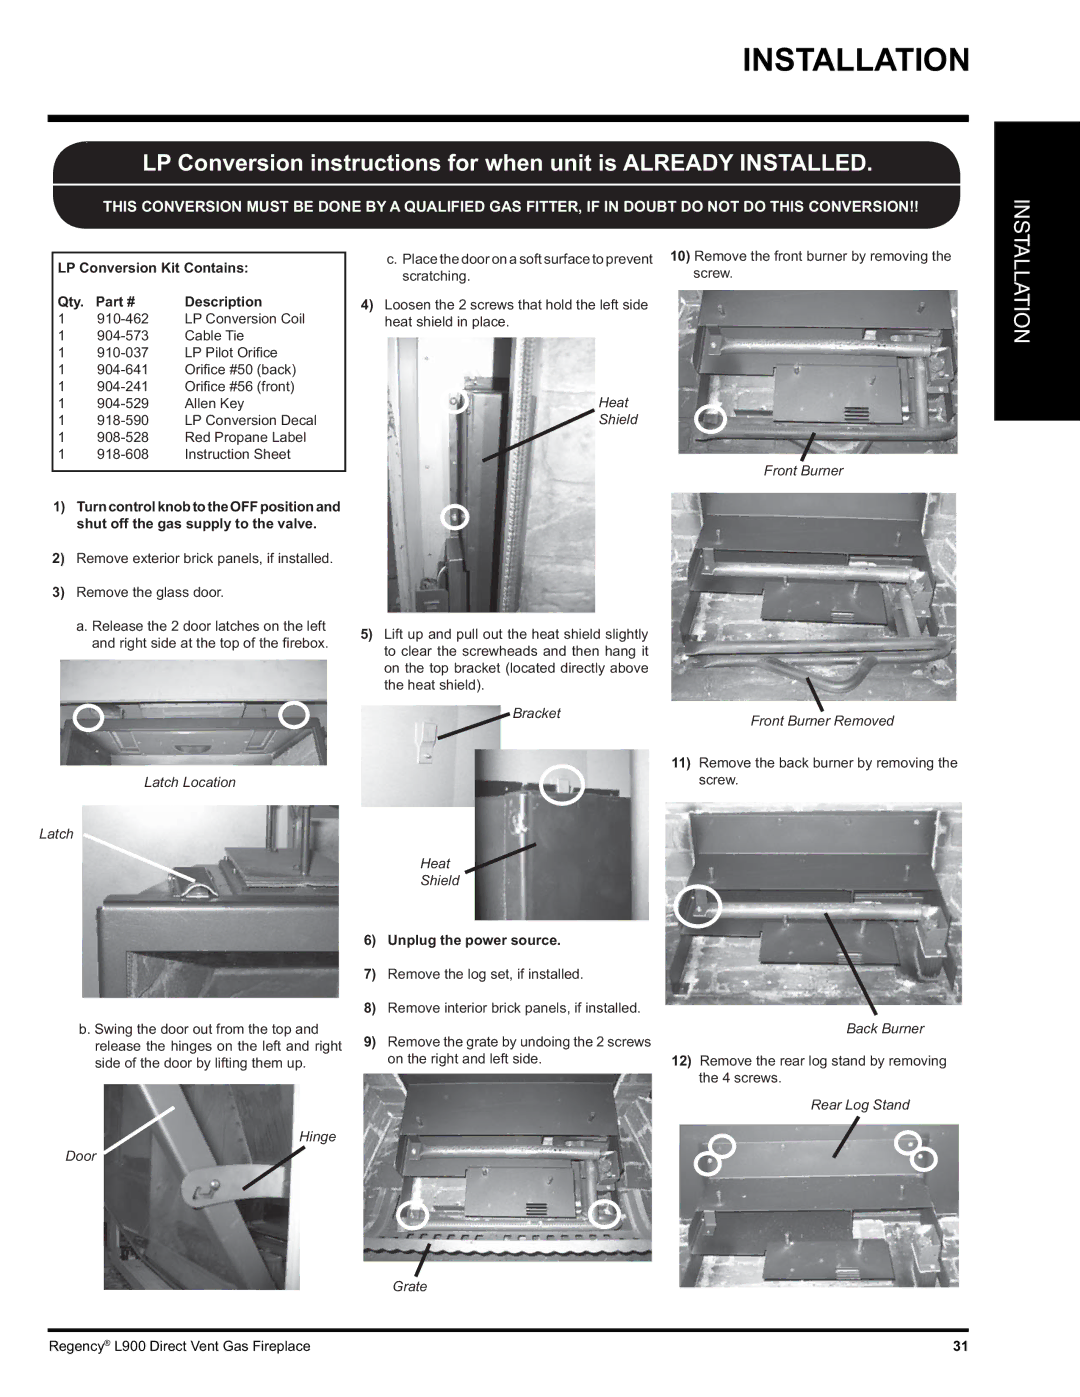
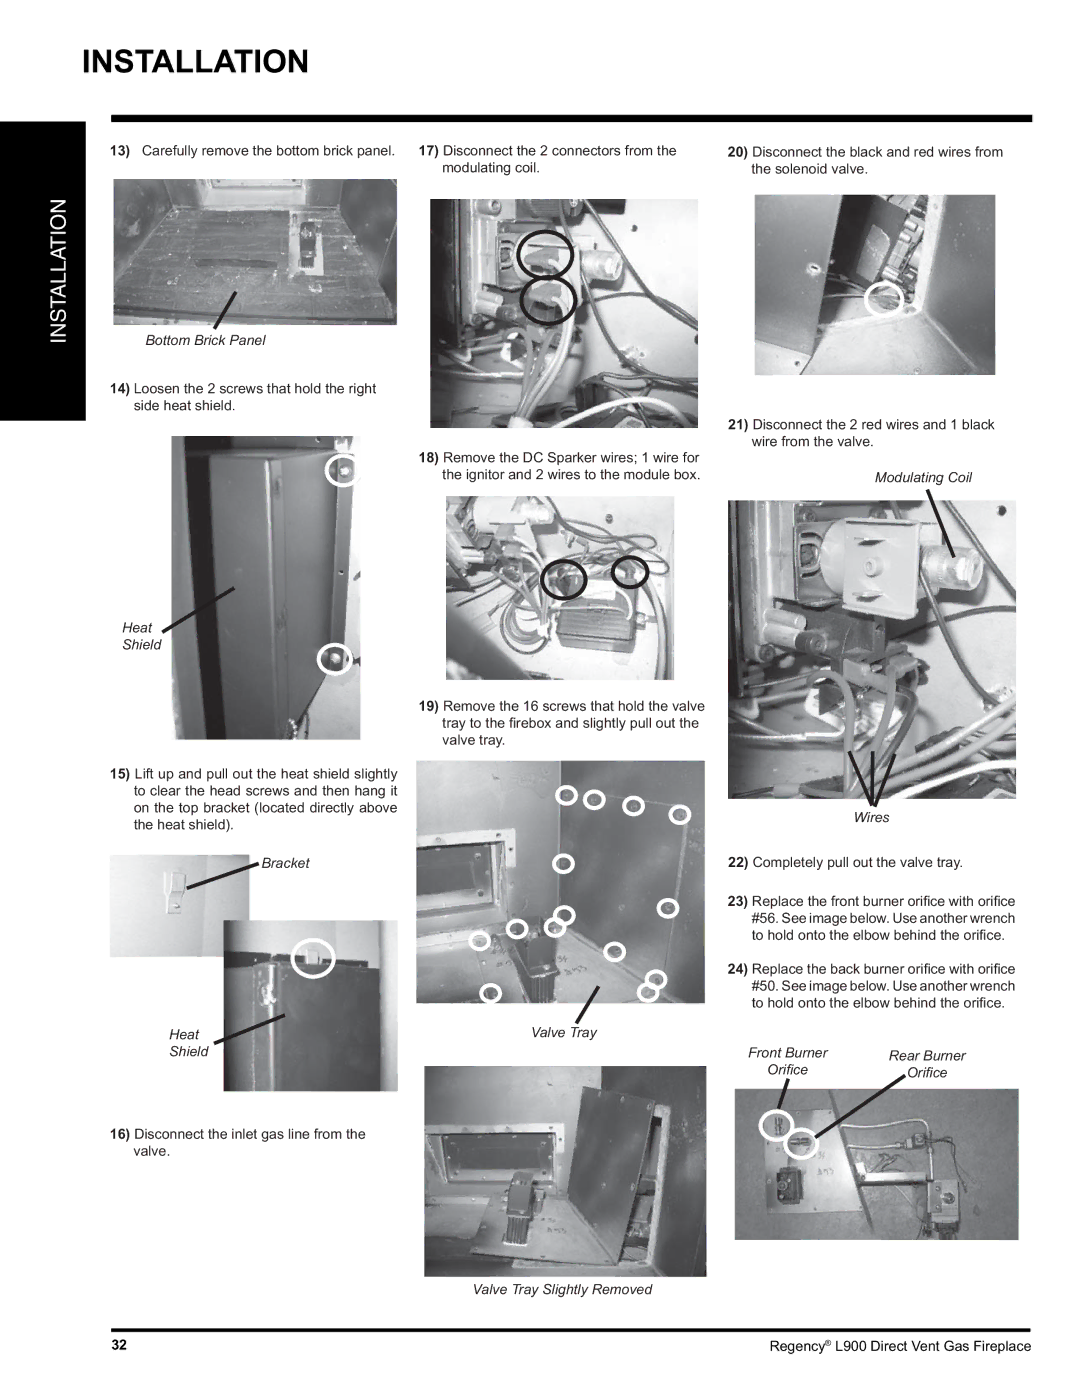
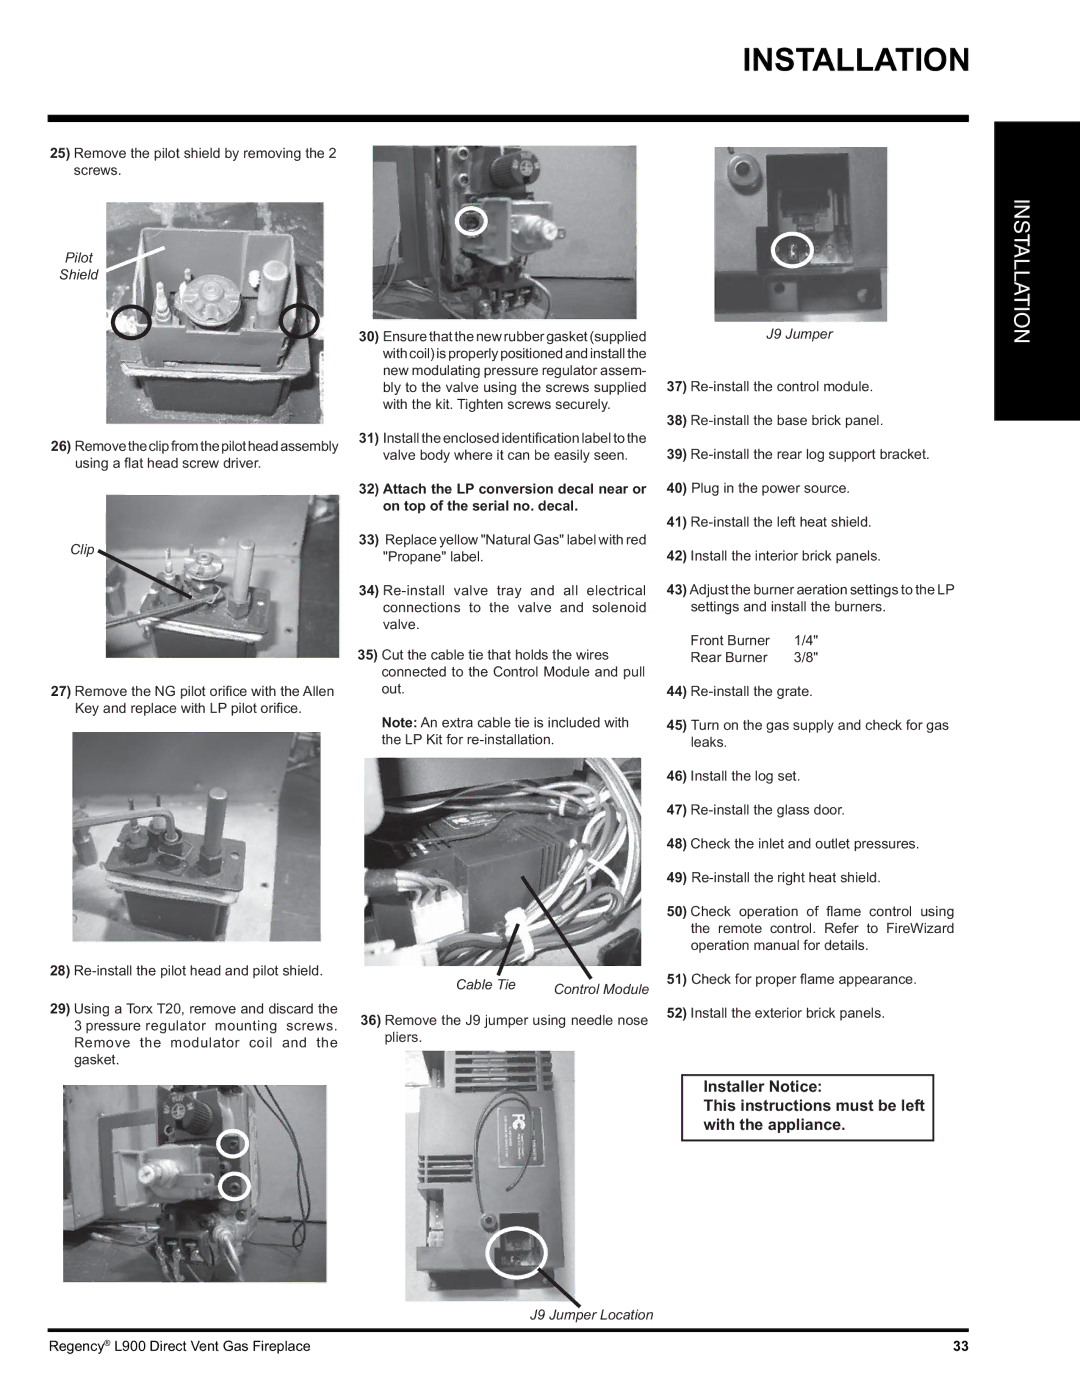
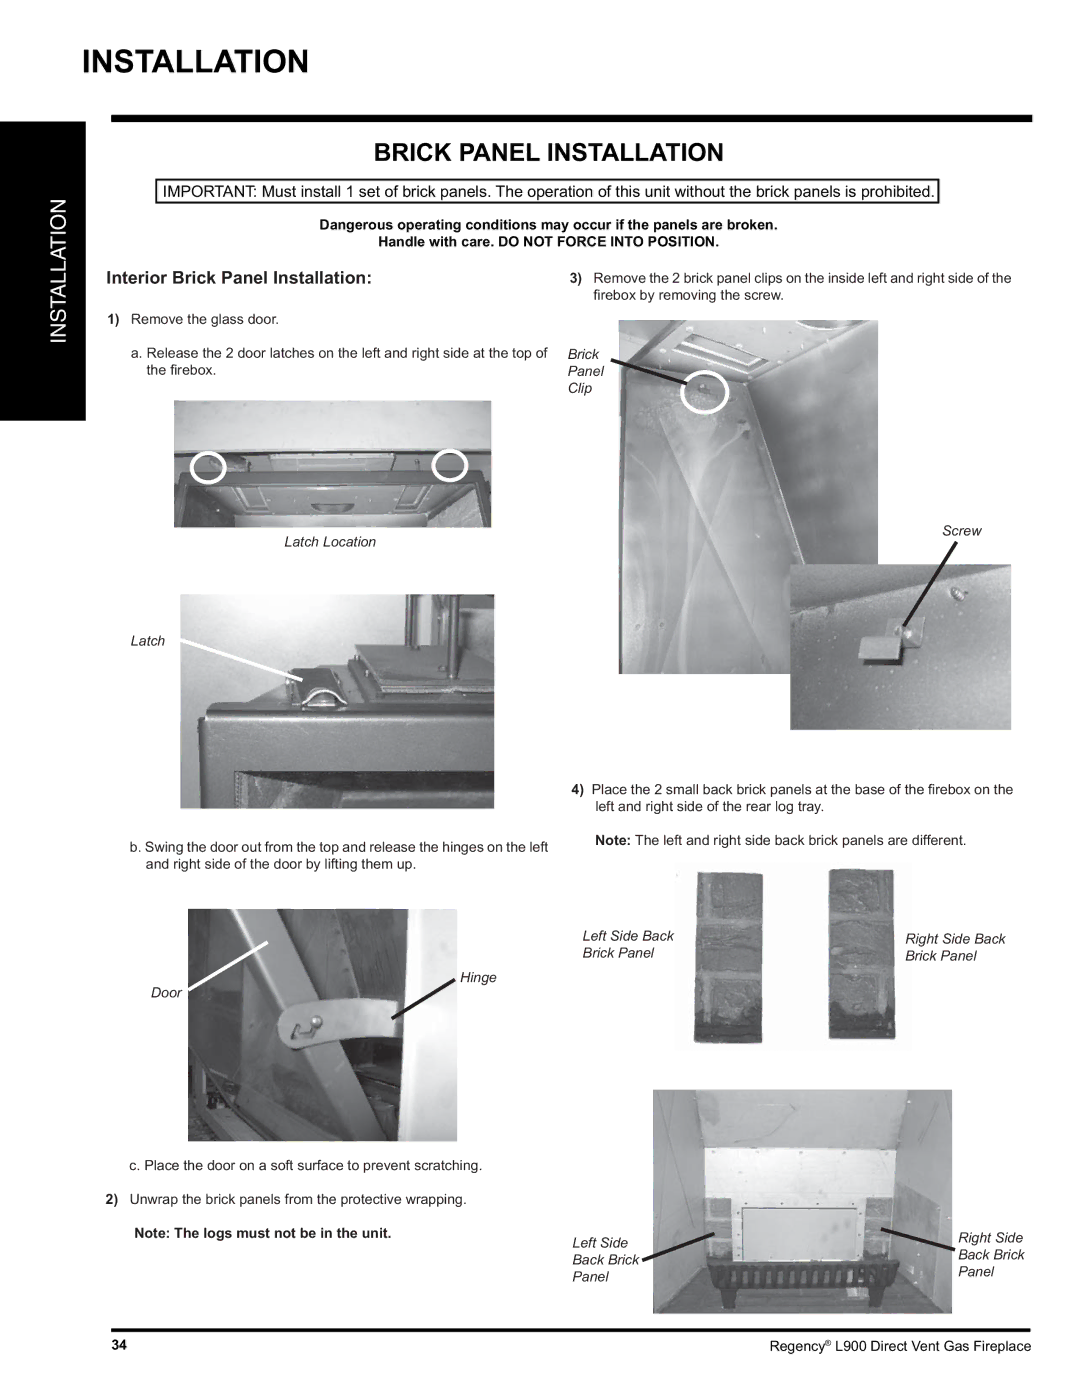
L900-LP, L900-NG specifications
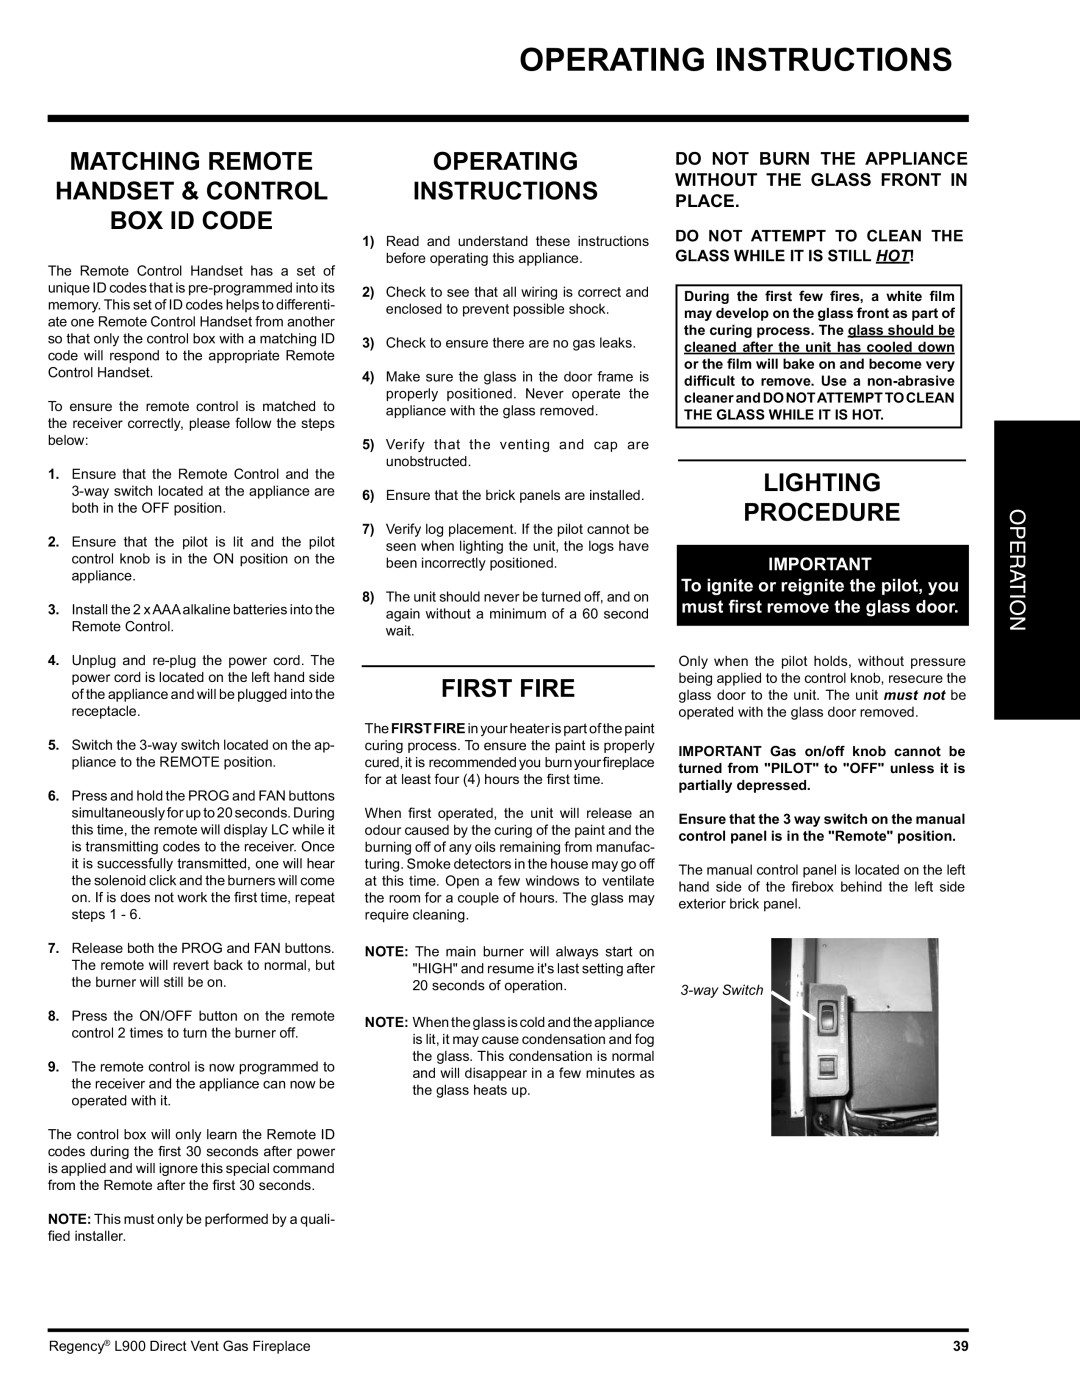
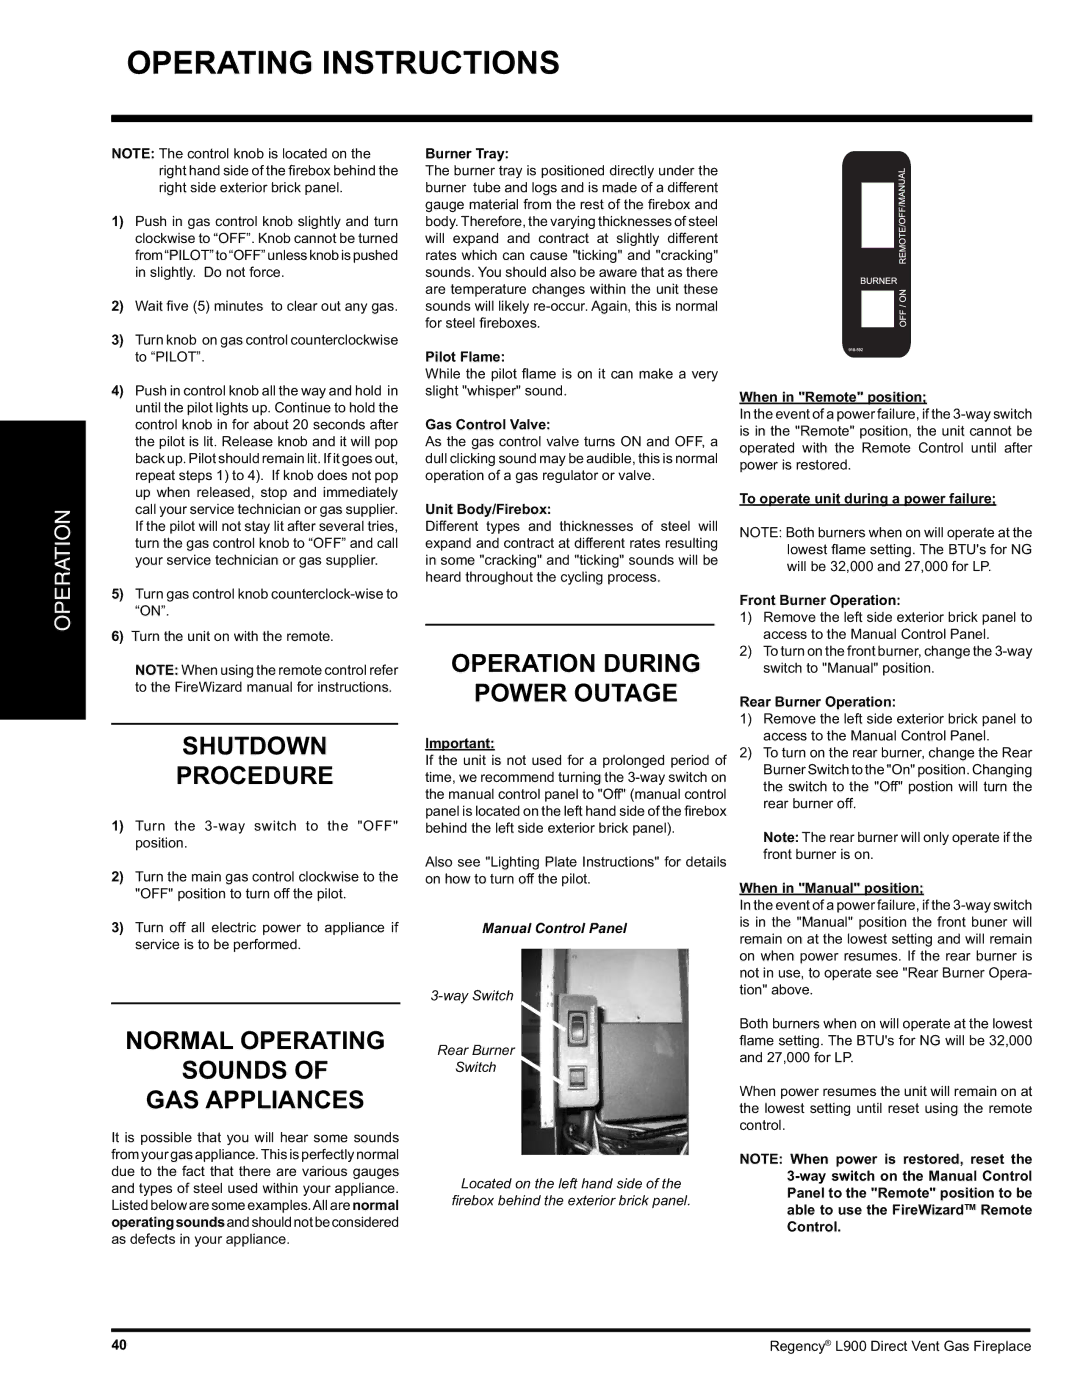
The Regency L900-NG and L900-LP are remarkable gas fireplaces that epitomize both elegance and efficiency, bringing a blend of modern technology and traditional aesthetics to any living space. Designed for versatility, these units are suitable for homes with natural gas (NG) or propane (LP) gas lines, thus catering to a wide range of customer preferences.One of the standout features of the L900 series is its impressive heating capacity. With up to 30,000 BTUs, these fireplaces can efficiently warm large areas, making them an exceptional choice for both residential and commercial settings. Their exceptional airflow and heat distribution ensure that users enjoy a cozy ambience throughout the space.
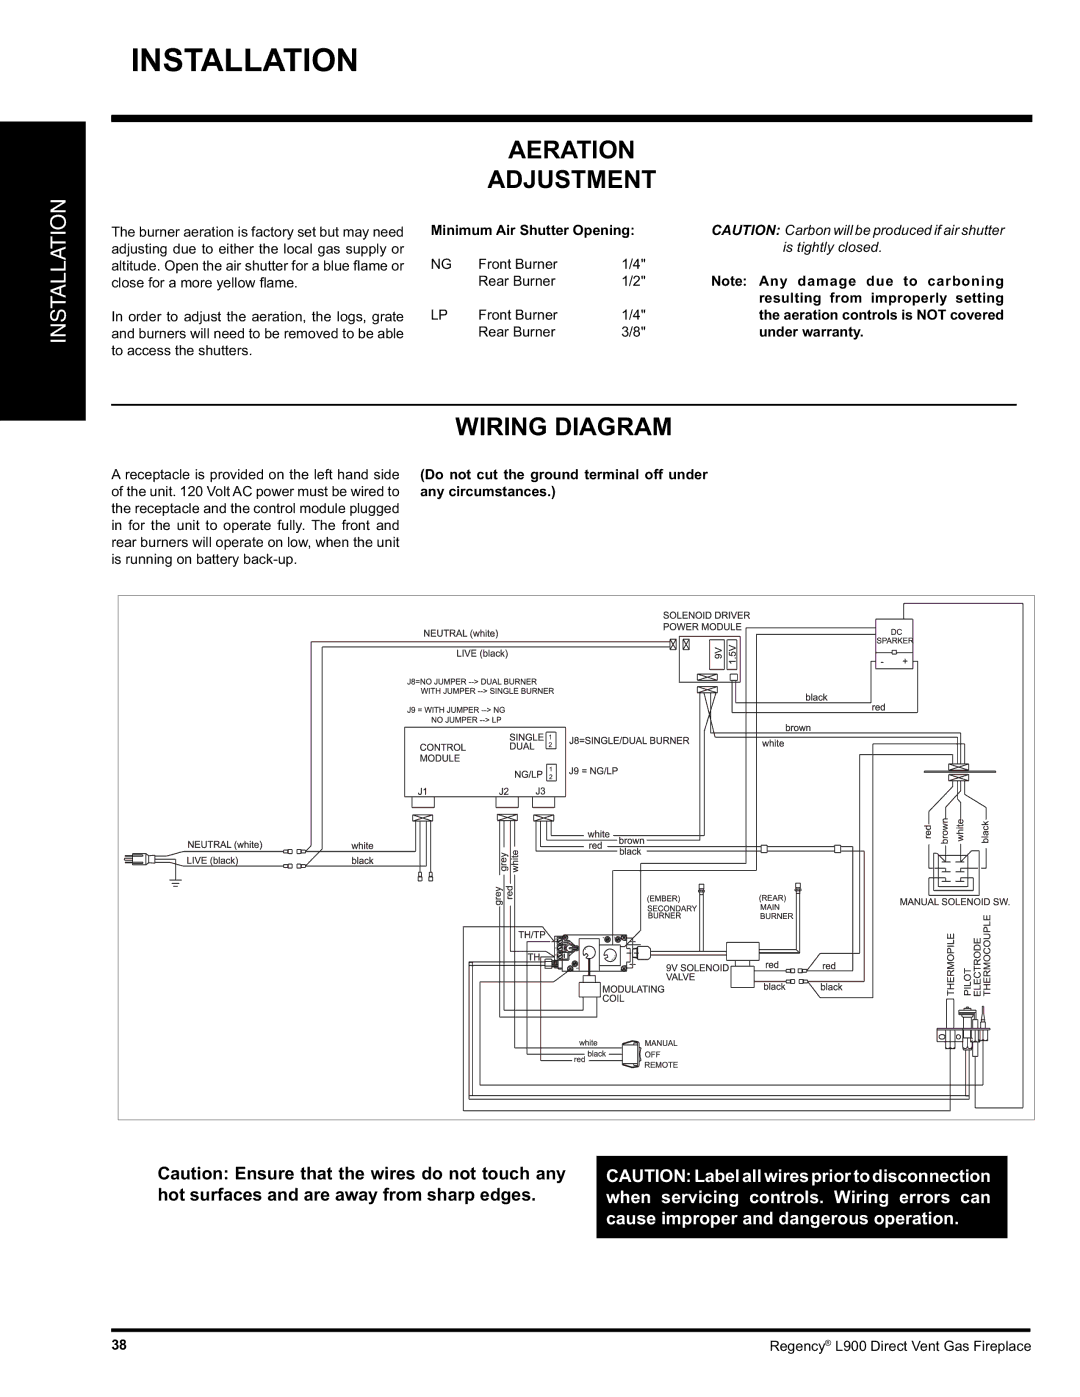
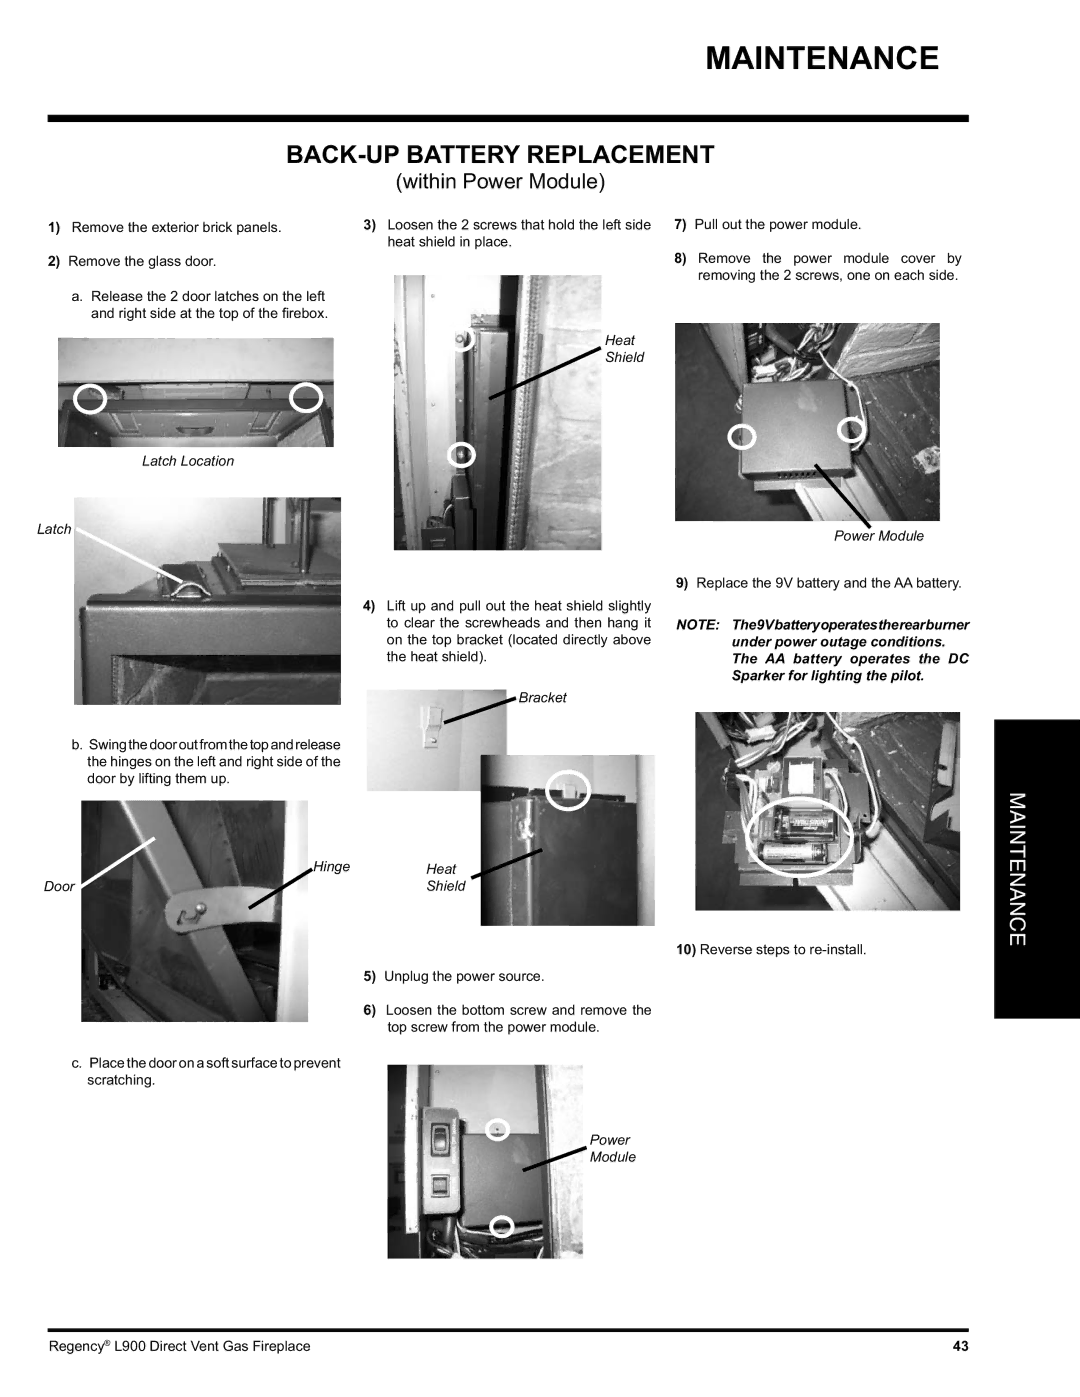
The L900 models are integrated with cutting-edge technology that enhances user experience. The advanced electronic ignition ensures reliable start-ups, while the variable flame height adjustment provides flexibility, allowing users to customize the heat output according to their needs. The inclusion of an optional remote control system adds an extra layer of convenience, enabling homeowners to operate the fireplace from anywhere in the room.
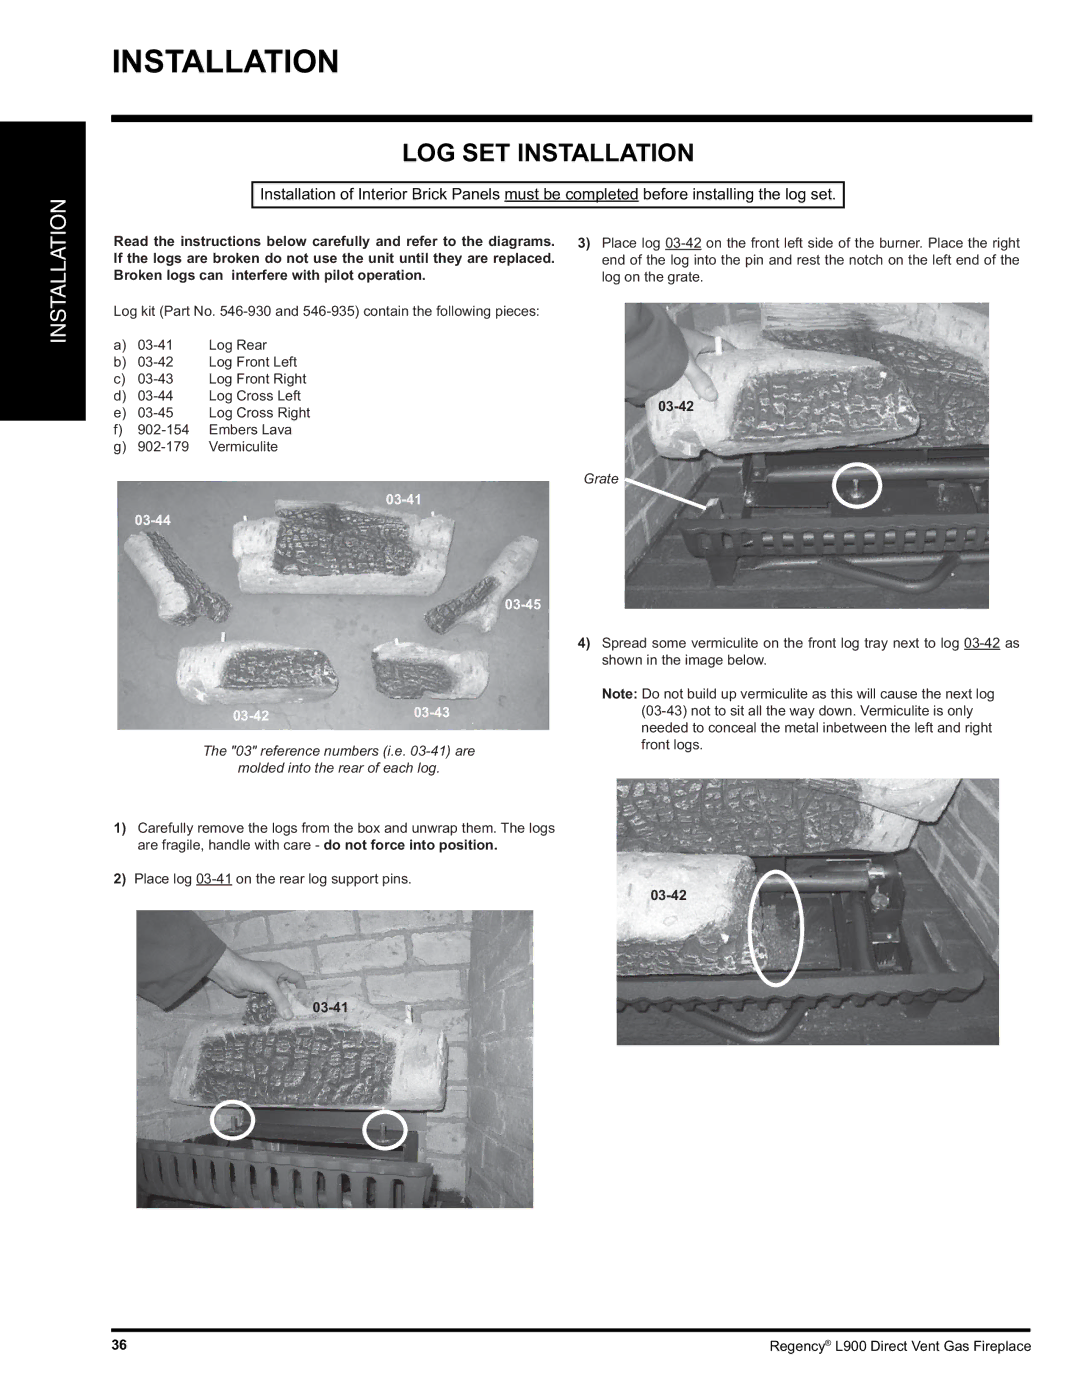
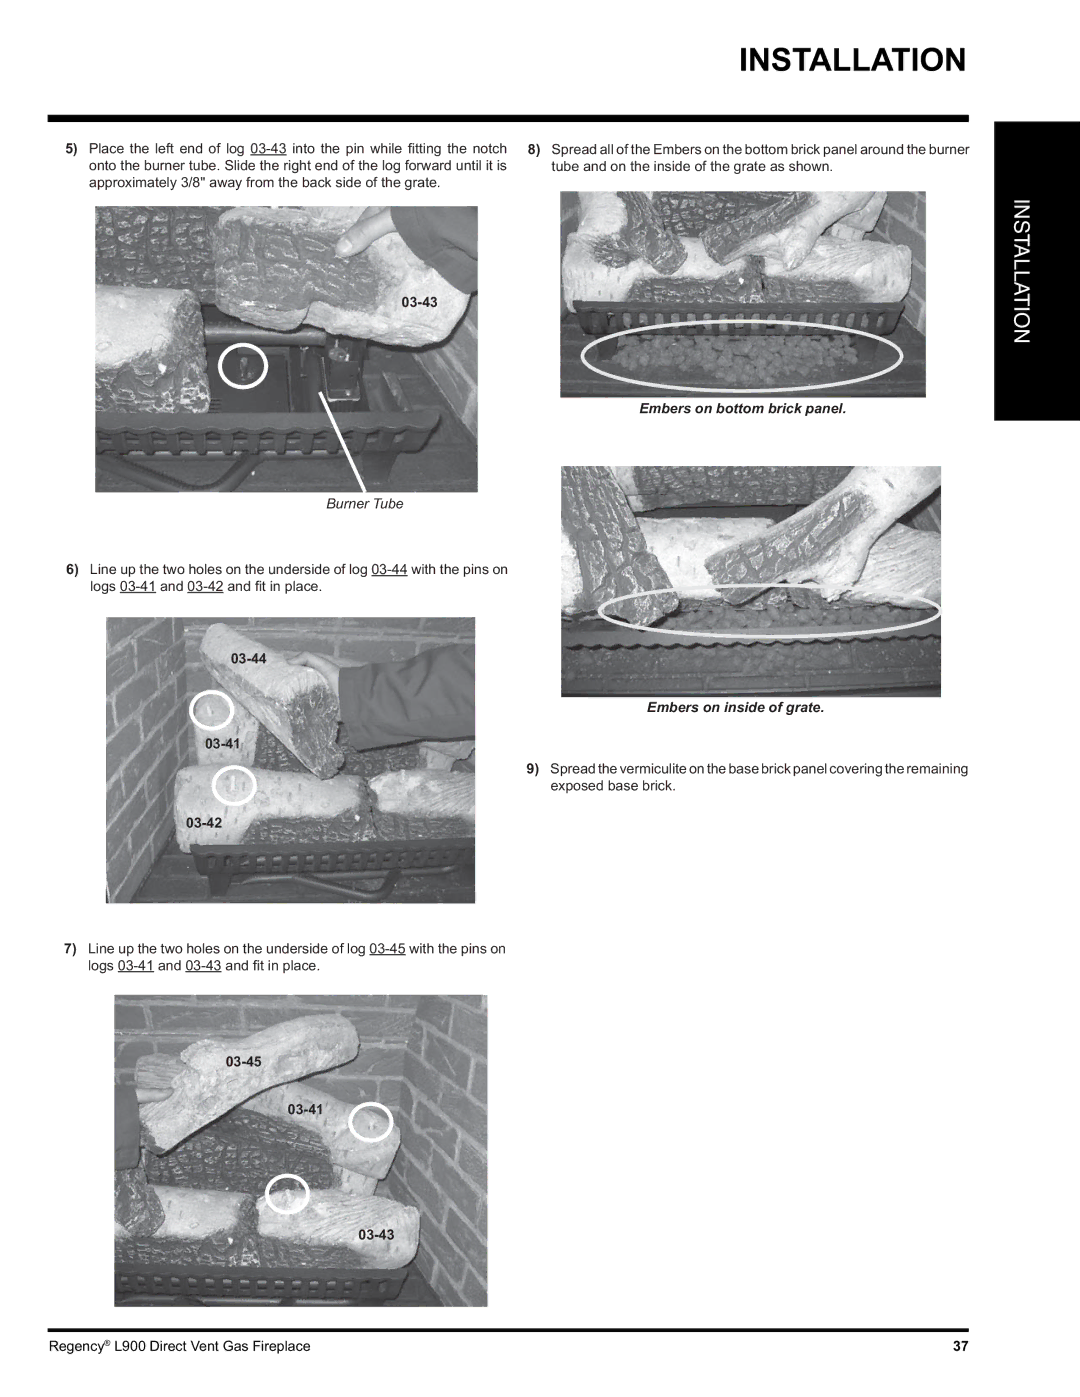
Aesthetic appeal is also a major highlight of the Regency L900 series. The full-view glass front maximizes the viewing area, allowing users to enjoy the mesmerizing flames fully. The sleek, contemporary design can easily complement various interior styles, from modern to traditional settings. Moreover, with several customizable options, including media choices such as glass, pebbles, or logs, users can personalize their fireplace to suit their decor.
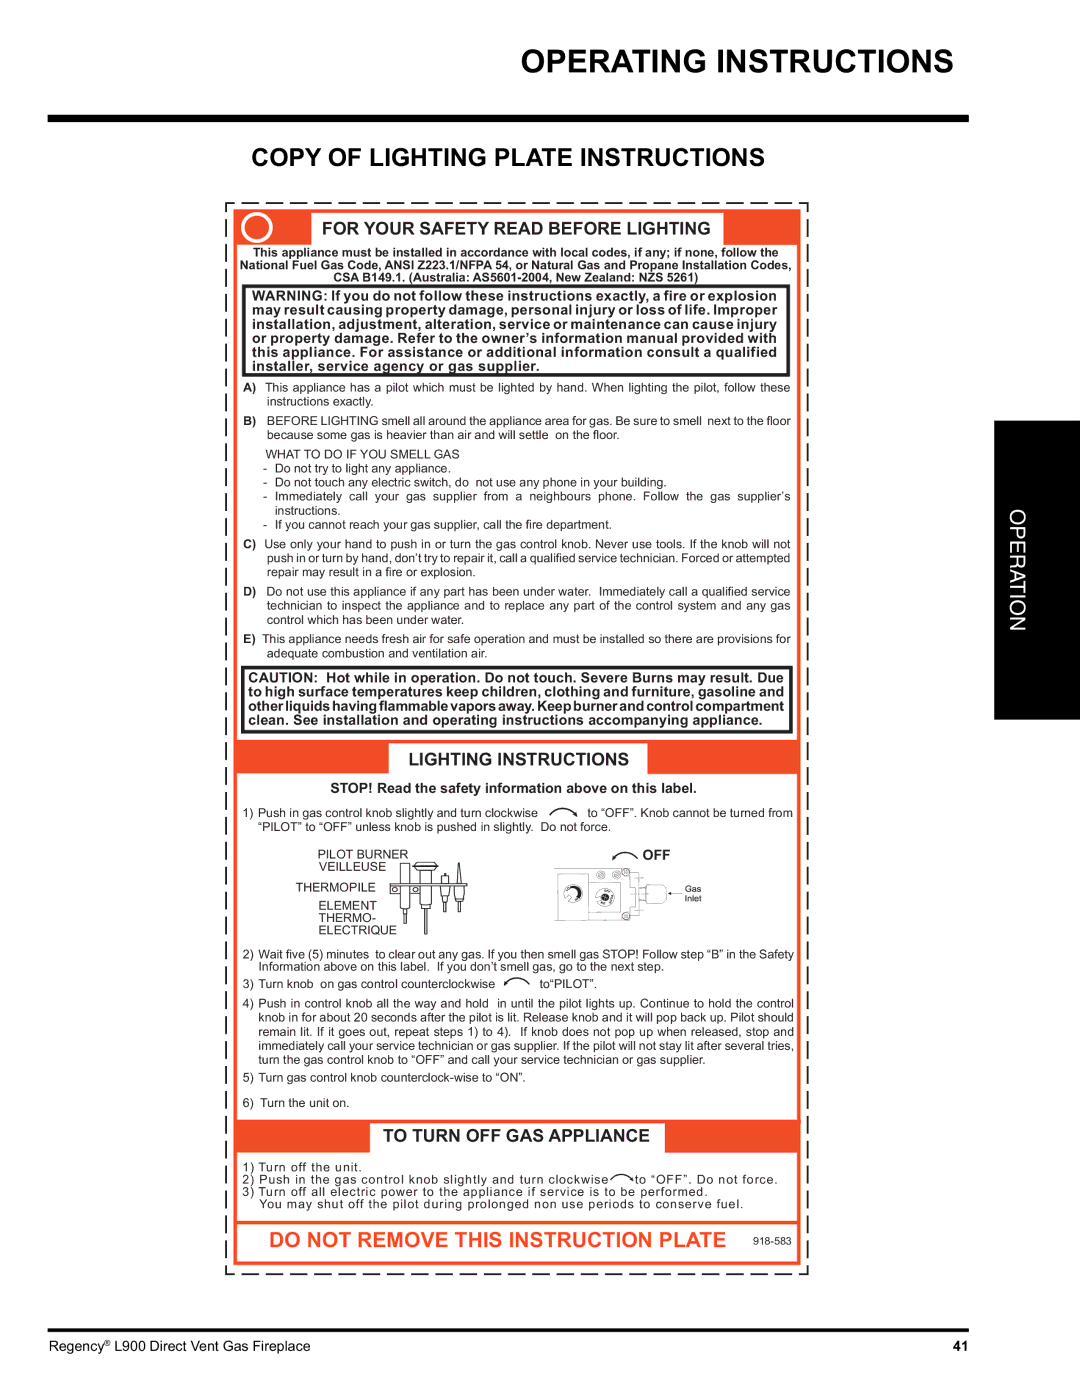
Safety is always a priority with Regency products. The L900 models come equipped with a safety shut-off valve that activates in case of any irregularities, providing peace of mind for users. Additionally, the fireplace’s direct venting system ensures that combustion gases are safely expelled outside, allowing for effective ventilation without compromising indoor air quality.
Durability is another significant characteristic of the Regency L900 series. Constructed from high-quality materials, these fireplaces promise longevity and resilience, ensuring they can withstand the test of time.
Overall, the Regency L900-NG and L900-LP gas fireplaces stand out for their combination of performance, efficiency, and style. With their advanced features, customizable options, and focus on safety, they provide an enticing heating solution for any home or business, merging warmth with a touch of elegance.
