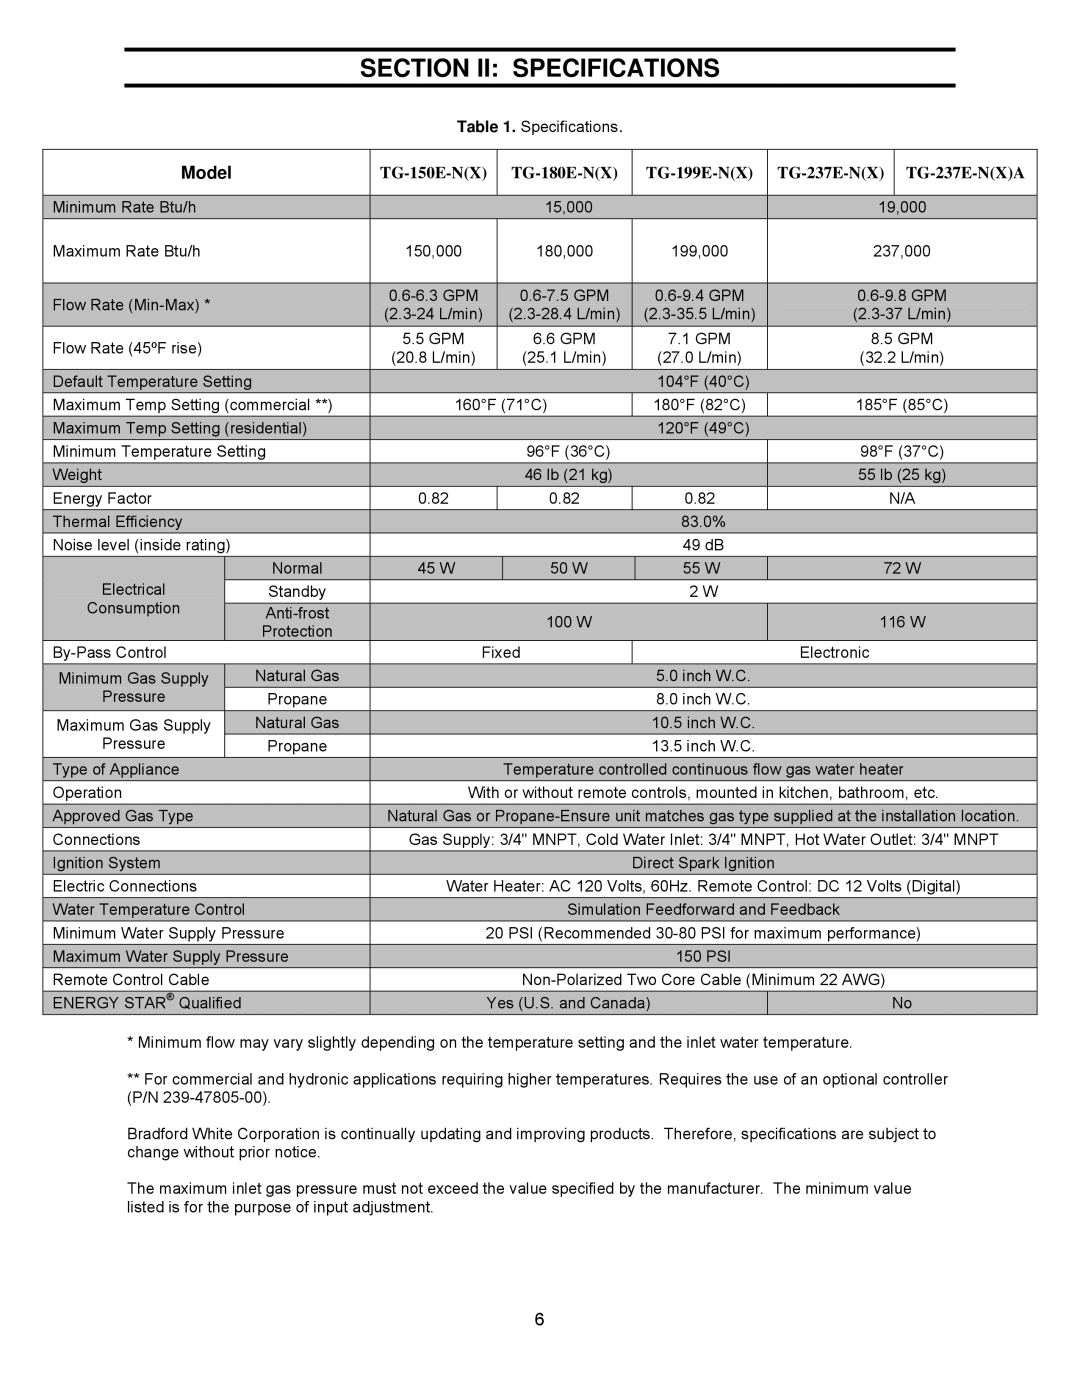
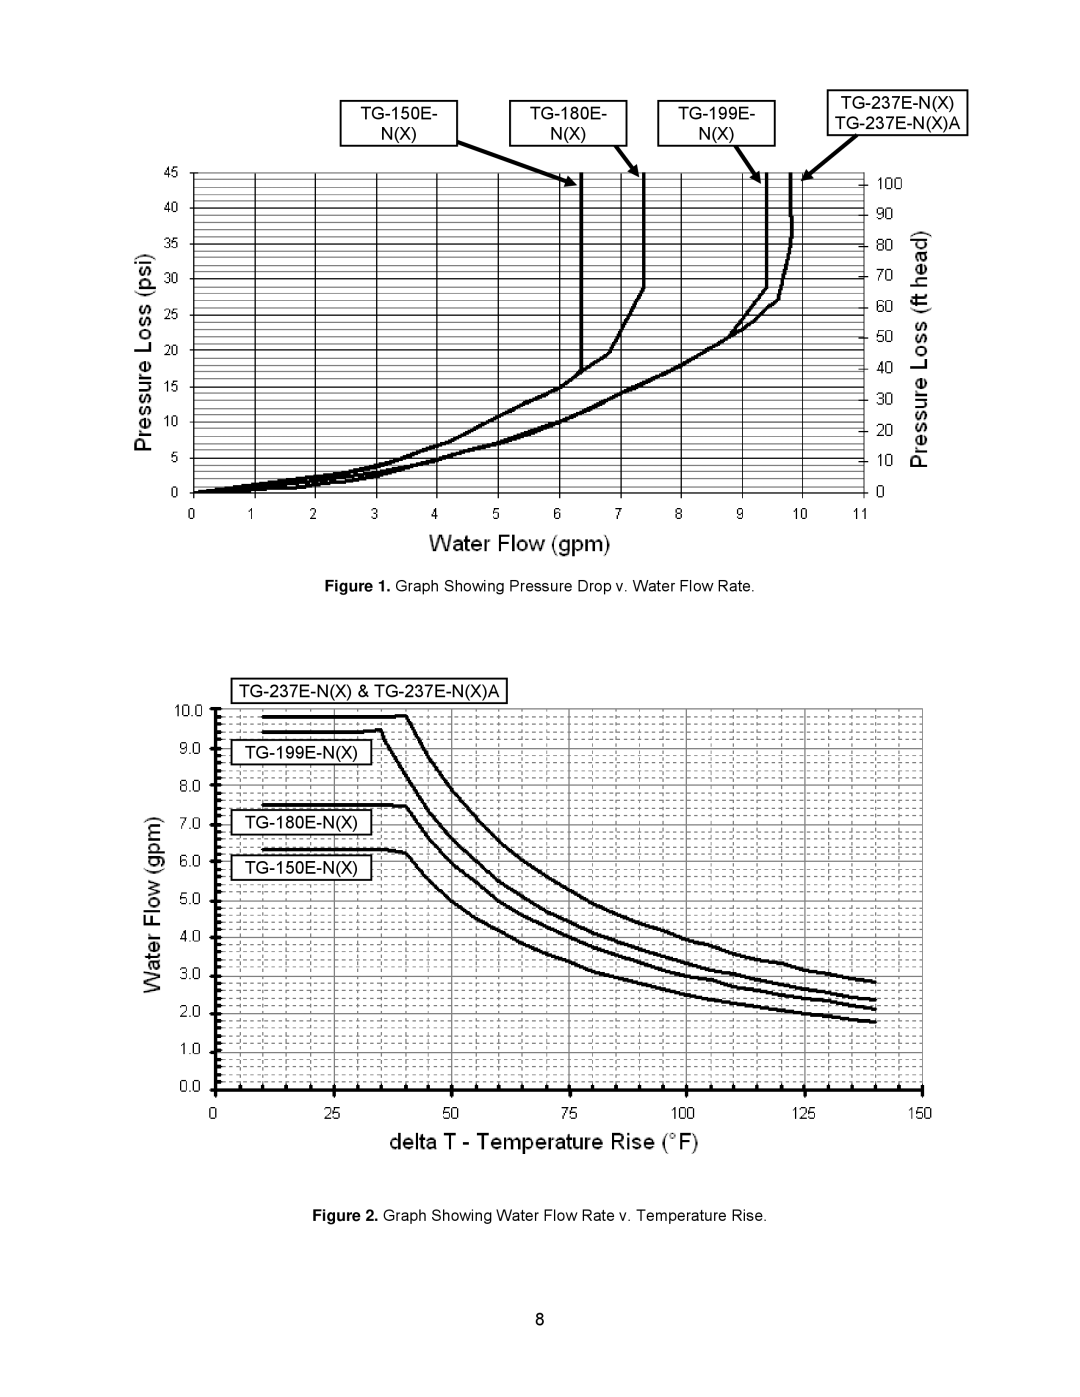
TG-199E-N(X), TG237E-N(X), TG-180E-N(X), TG-150E-N(X), TG-237E-N(X)A specifications
Bradford White Corporation is renowned for its innovative solutions in the water heating and storage sector, offering a range of high-quality products designed for residential and commercial applications. Among its standout offerings are the TG series models, including TG-237E-N(X)A, TG-150E-N(X), TG-180E-N(X), TG-237E-N(X), and TG-199E-N(X). These models are specifically designed to maximize efficiency while providing reliable hot water delivery.One key feature of the TG series is its high Energy Factor (EF) ratings, which signify exceptional energy efficiency. The models employ advanced technologies that not only reduce energy consumption but also minimize environmental impact. These products typically include a highly efficient burner system that enhances heat transfer, ensuring that users enjoy maximum hot water availability without incurring high utility costs.
Each model is crafted with robust materials, designed to withstand the rigors of everyday use. For example, the tanks are typically built from durable steel and feature an advanced glass lining that protects against corrosion and extends the lifespan of the unit. Additionally, these models are equipped with high-quality insulation that helps retain heat, further improving efficiency.
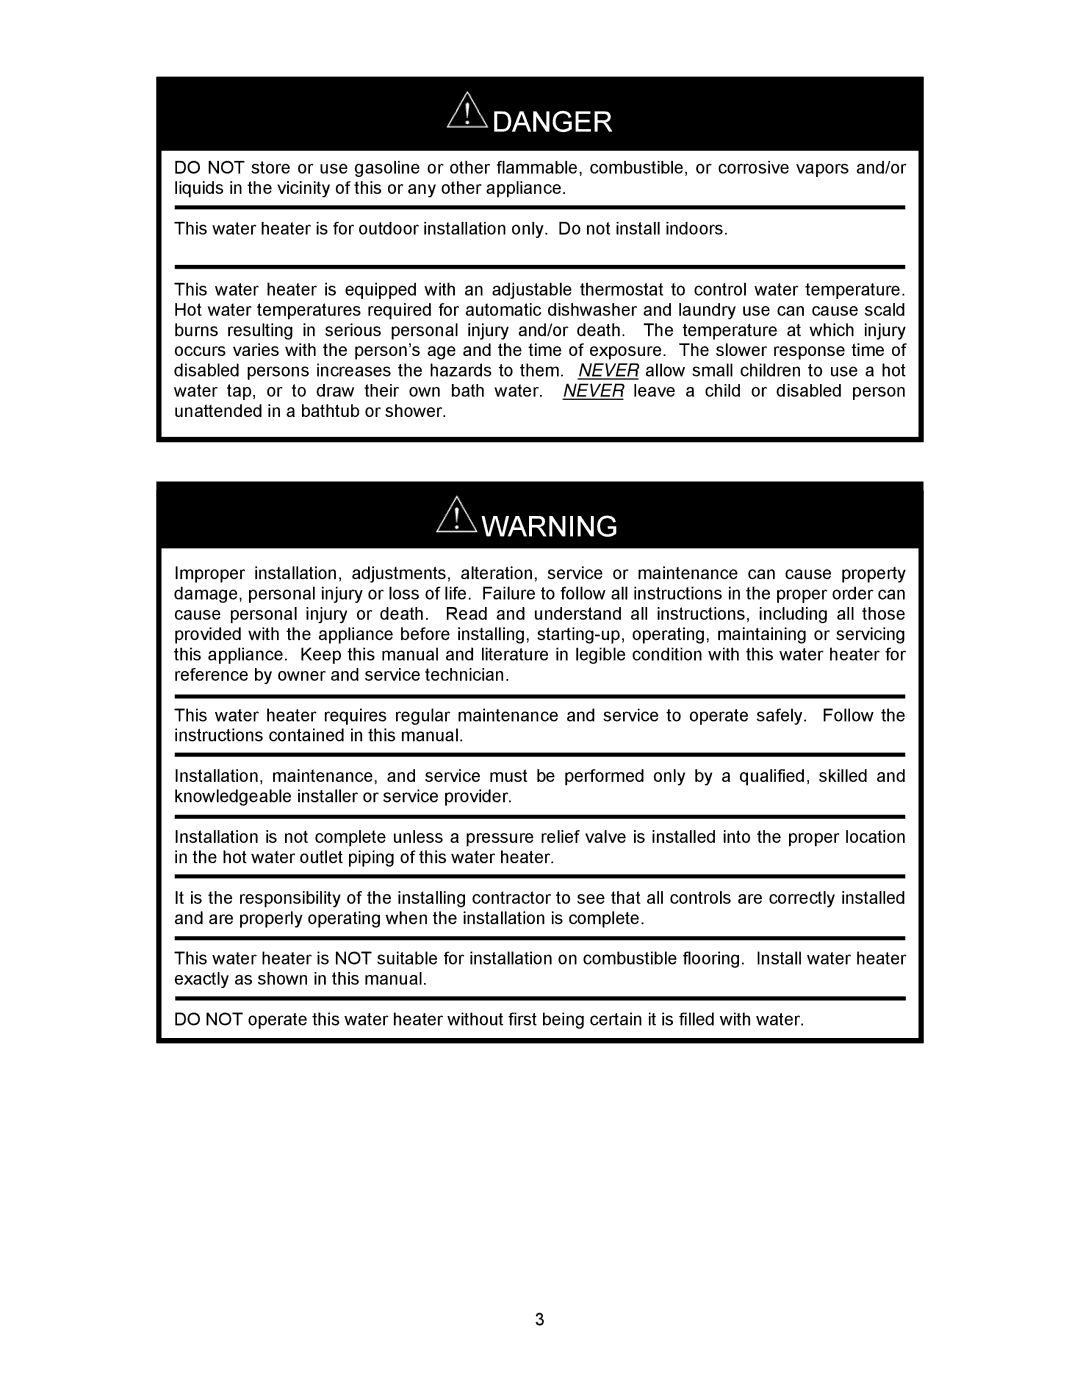
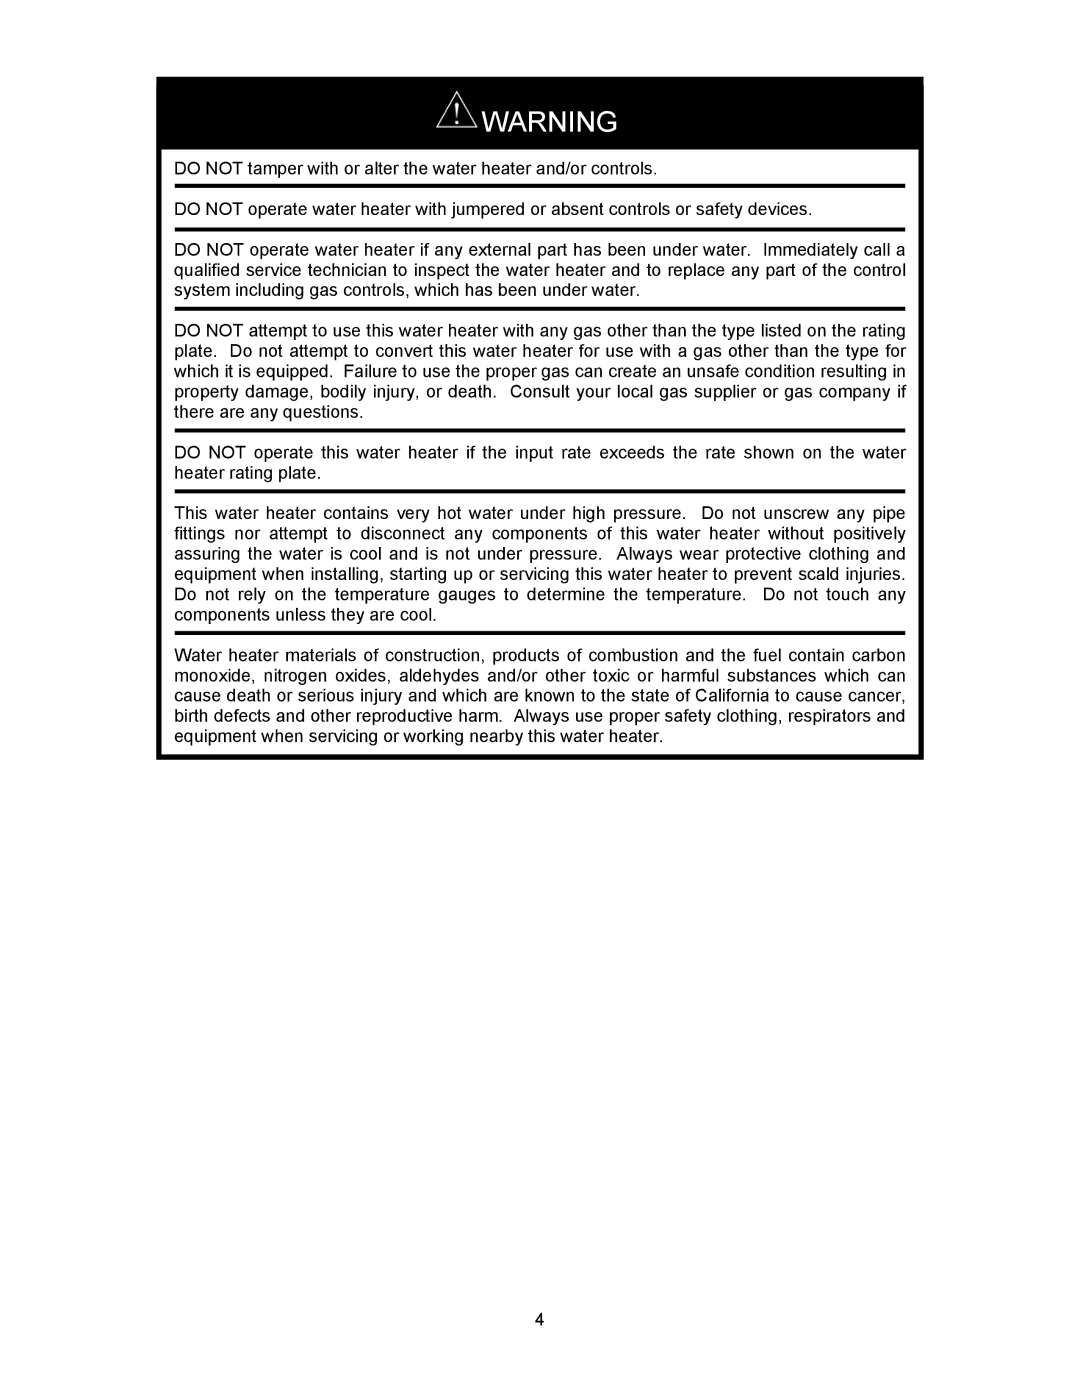
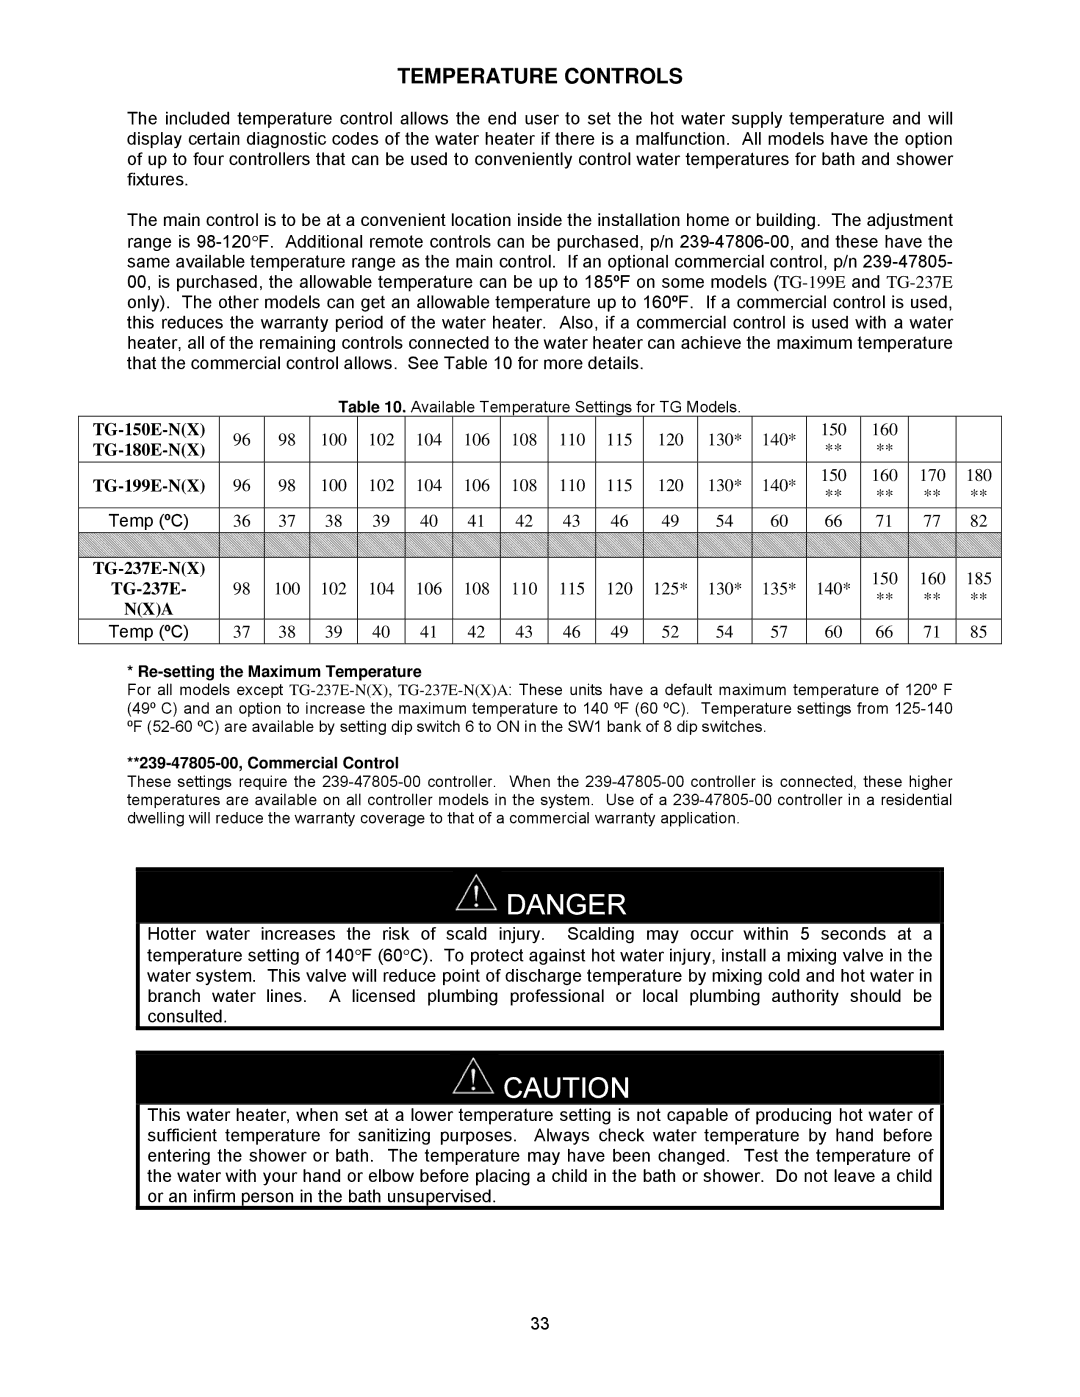
The TG series also emphasizes user convenience and safety. Many units come with a user-friendly control system that allows for easy temperature adjustments and monitoring. This is complemented by built-in safety features such as automatic shut-off capabilities, helping to prevent overheating or other potential hazards.
Another characterizing aspect of the TG series is its flexibility in installation. These water heaters are designed to fit various spaces and configurations, ensuring that they can meet the needs of different households or commercial facilities. Additionally, some models are compatible with both natural gas and propane, offering versatility in fuel options.
In terms of technology, these Bradford White water heaters include features such as electronic gas control systems that provide precise temperature management, and advanced airflow designs that optimize combustion efficiency. This focus on technology ensures that the TG series is not only reliable but also a smart choice for cost-conscious consumers looking to reduce their energy bills.
In summary, the Bradford White TG series, with models like TG-237E-N(X)A, TG-150E-N(X), TG-180E-N(X), TG-237E-N(X), and TG-199E-N(X), stands out for its robust design, efficiency, and advanced safety features. Whether for residential or commercial use, these hot water solutions continue to meet the evolving needs of consumers while prioritizing reliability and performance.
