36CHAPTER 5: ROUTER CONFIGURATION
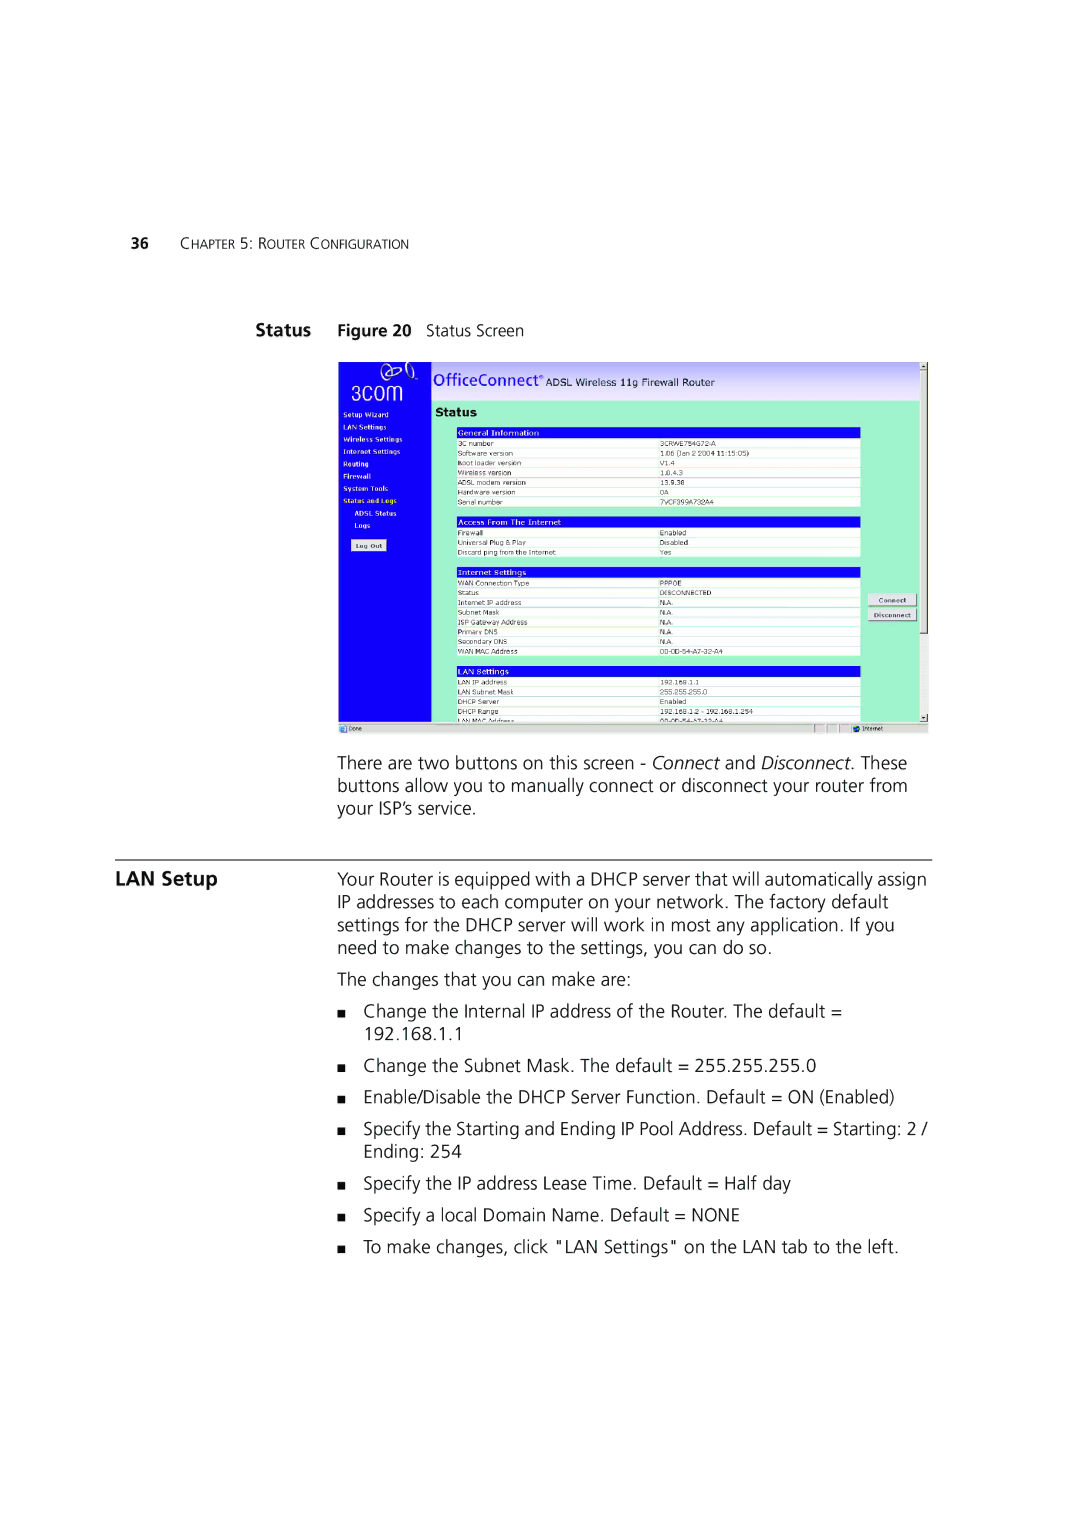
Status Figure 20 Status Screen
| There are two buttons on this screen - Connect and Disconnect. These |
| buttons allow you to manually connect or disconnect your router from |
| your ISP’s service. |
|
|
LAN Setup | Your Router is equipped with a DHCP server that will automatically assign |
| IP addresses to each computer on your network. The factory default |
| settings for the DHCP server will work in most any application. If you |
| need to make changes to the settings, you can do so. |
| The changes that you can make are: |
| ■ Change the Internal IP address of the Router. The default = |
| 192.168.1.1 |
| ■ Change the Subnet Mask. The default = 255.255.255.0 |
| ■ Enable/Disable the DHCP Server Function. Default = ON (Enabled) |
| ■ Specify the Starting and Ending IP Pool Address. Default = Starting: 2 / |
| Ending: 254 |
| ■ Specify the IP address Lease Time. Default = Half day |
| ■ Specify a local Domain Name. Default = NONE |
| ■ To make changes, click "LAN Settings" on the LAN tab to the left. |