Maintenance (Continued)
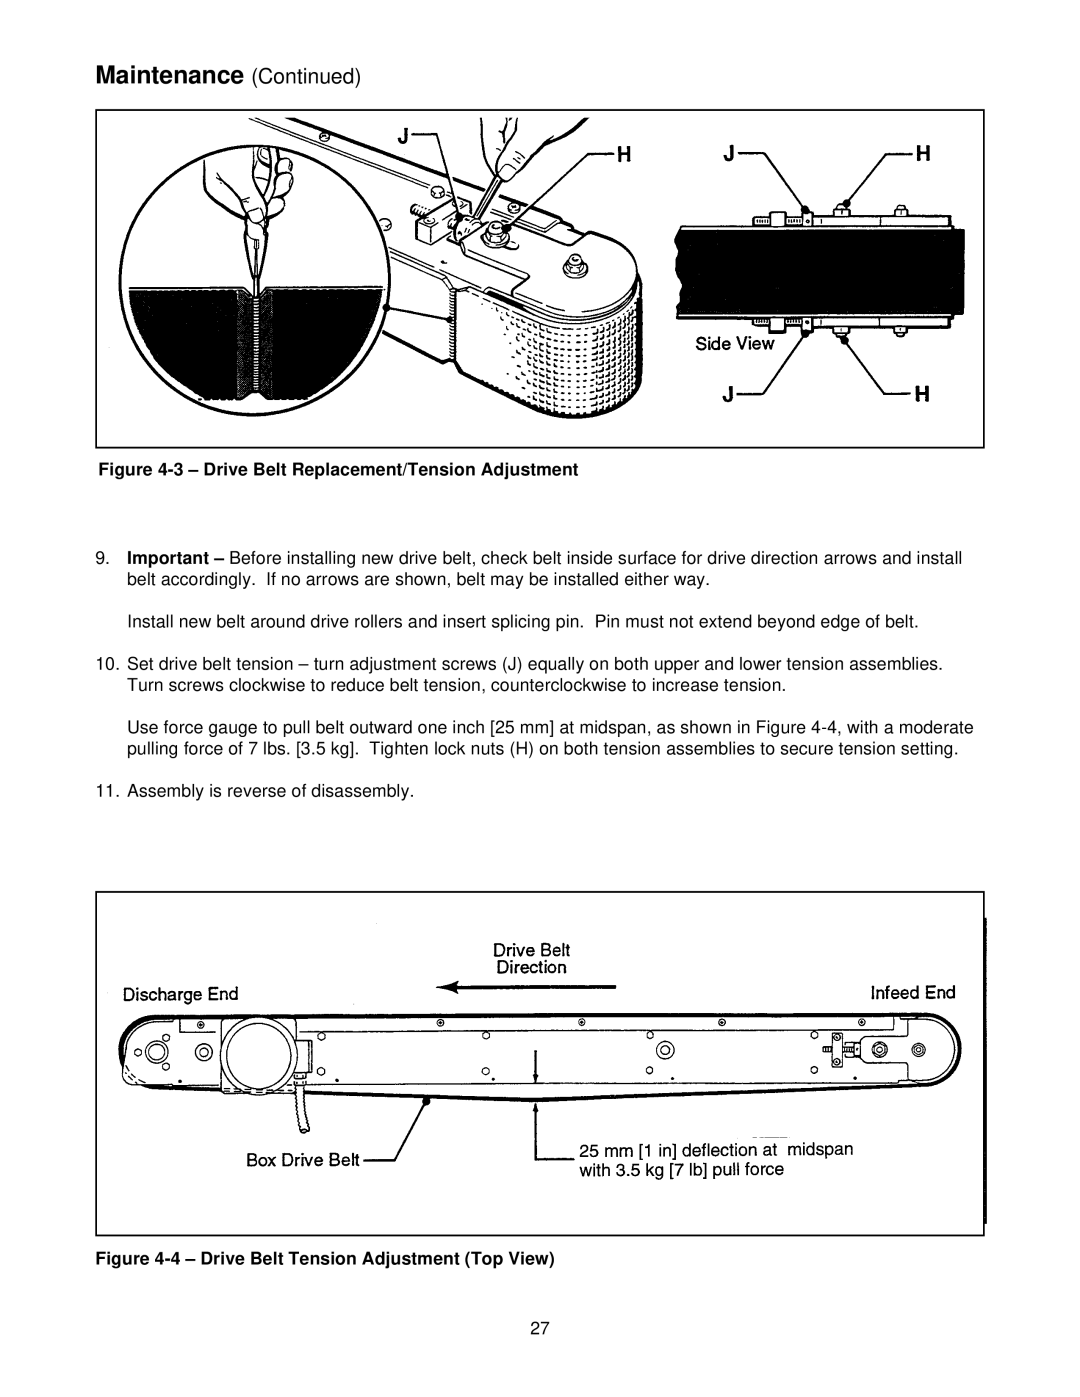
Figure 4-3 – Drive Belt Replacement/Tension Adjustment
9.Important
Install new belt around drive rollers and insert splicing pin. Pin must not extend beyond edge of belt.
10.Set drive belt tension – turn adjustment screws (J) equally on both upper and lower tension assemblies. Turn screws clockwise to reduce belt tension, counterclockwise to increase tension.
Use force gauge to pull belt outward one inch [25 mm] at midspan, as shown in Figure
11.Assembly is reverse of disassembly.
Figure 4-4 – Drive Belt Tension Adjustment (Top View)
27